

Creating and setting up a widget
Create a widget
- Open the project and choose "Widgets" in the menu.
- Click "Create".
The widget is created right away, without a form, and opens in the builder. It already has the title "Hello!" and the description "Contact us through any of the following channels:". There are no links yet — add at least one, otherwise the widget will not be saved.
The list of widgets
The "Widgets" section of the project gathers all its widgets. A widget's title serves as its name in the list.
- View. The switcher on the right shows widgets as a "List" or as "Cards". A card shows a thumbnail of the widget and the icons of its links; if there are no links — the "No channels connected" label.
- Order. Widgets are dragged by the icon on the left. The order is shared by all members of the project.
In the "⋯" menu on the right:
- "Icon" — upload the widget's image for your account.
- "Duplicate" — create a widget with the same texts, links, banner, colours and domains. The copy's title gets the "(copy)" mark.
- "Move to ..." — move the widget to another project of yours. The item is visible only to the project owner.
- "Delete" — delete the widget. It stops showing on the websites where its code is placed.
Note
When the widget is moved to another project, the chat with the bot in it is turned off: the bot stays in the original project.
Builder
The builder shows the widget the way a visitor will see it: the window is open, and below it is the round button. Next to it is a button with a gear: it opens the "Widget settings" panel.
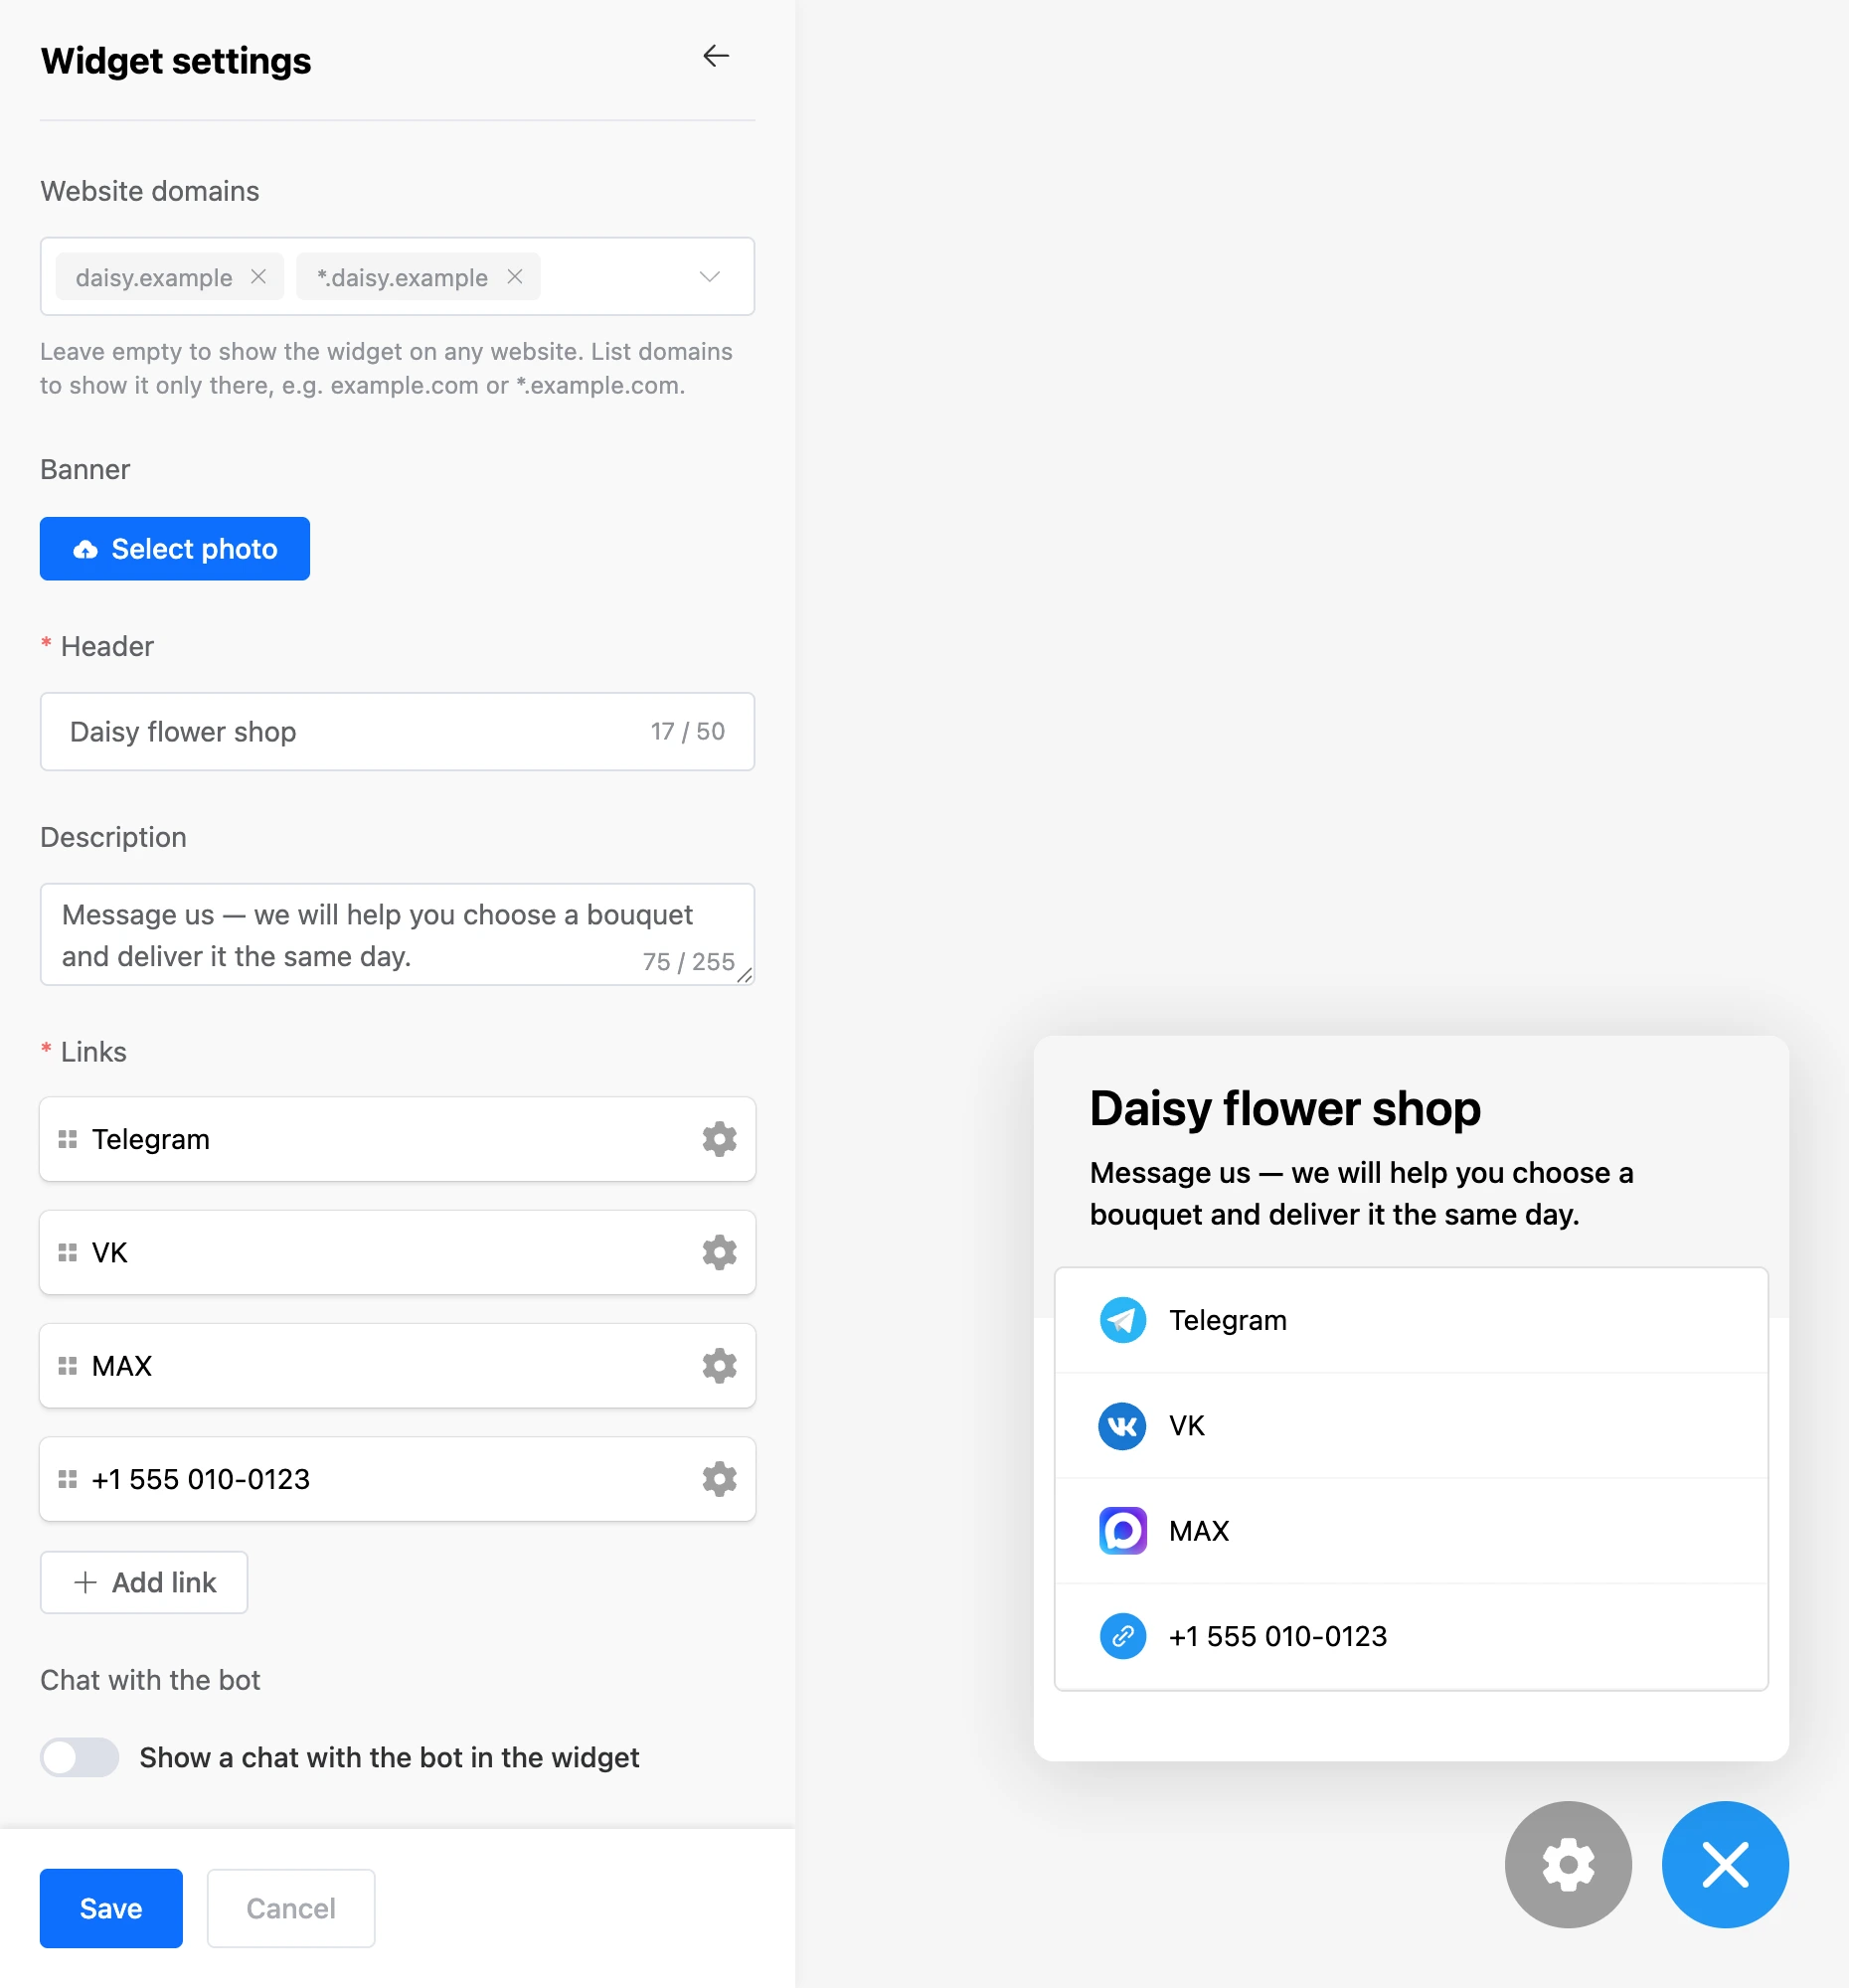
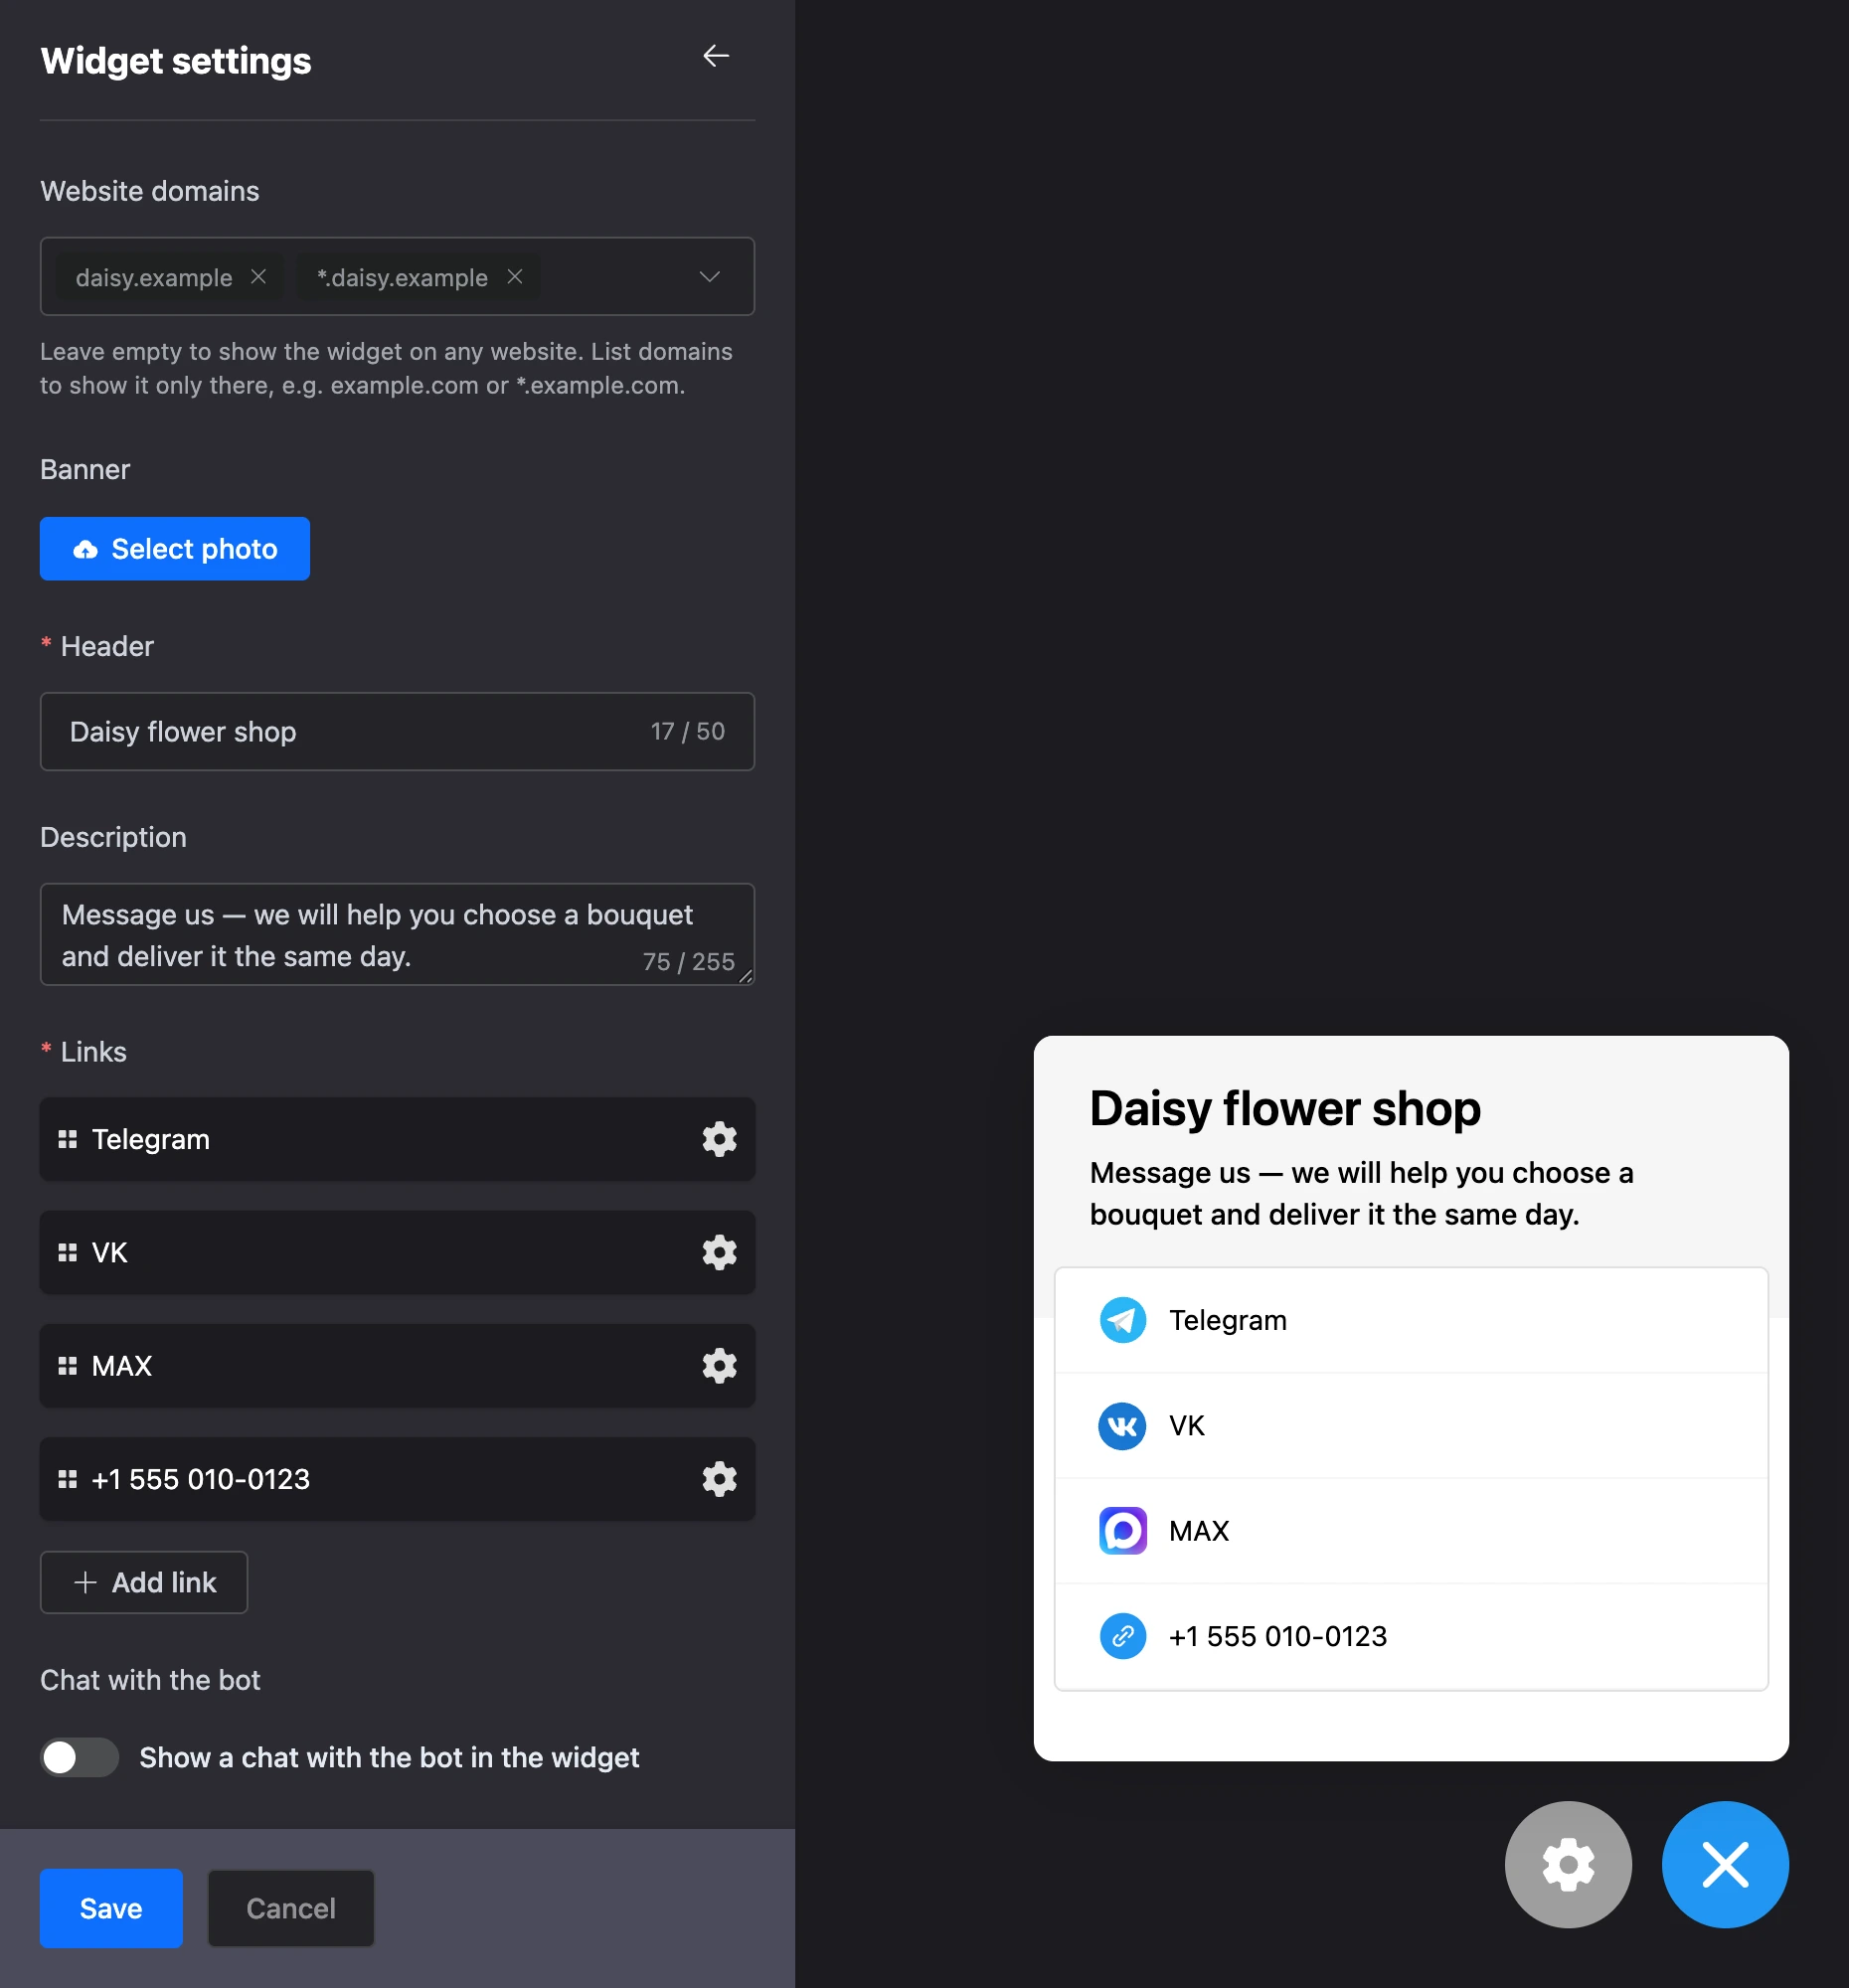
Edits in the panel are immediately visible on the widget, but they reach the website only after you click "Save". "Cancel" brings back the last saved state. If you leave the page with unsaved edits, your account asks: "Changes are not saved. Leave the page?".
Widget settings
| Setting | What it sets |
|---|---|
| "Website domains" | On which websites the widget may be shown |
| "Banner" | An image above the title |
| "Link in banner" | The address that opens on a click on the banner. The field appears when a banner is uploaded |
| "Title" | The large line at the top of the window, up to 50 characters. A required field |
| "Description" | The text under the title, up to 255 characters |
| "Links" | Ways to contact you — rows in the widget window |
| "Chat with the bot" | A chat right in the widget window — see Chat in the widget |
| "Button" | "Button color" and "Icon color" — the background of the round button and the colour of the icon on it |
Links
Click "Add link" and choose the kind:
| Kind | What to enter |
|---|---|
| "Link" | The "Link name" — the label in the widget — and the address itself. Any address will do: a website page, tel: with a phone number, mailto: with an email |
| Telegram, MAX, VK, Viber | Only the address. The name and icon are filled in automatically |
For the messenger your bot works in, paste the bot's general or additional link from the "Links to chatbot" section — then transitions from the widget get into the bot's statistics. Where to get it is in the Links to chatbot section. You can also paste a regular link to a profile or group.
The gear icon at a link opens the "… link settings" window, the cross deletes the link. The order is changed by dragging the icon on the left.
How links behave on the website:
- On a phone a tap opens the link right away.
- On a computer a link to a messenger or a social network opens a QR code inside the widget with the hint "To write to …, scan the QR code or follow the link below" and a button to go there. A regular "Link" opens right away in a new tab.
- If the address of a messenger link is not filled in, the visitor sees: "The link is not set. This contact channel is temporarily unavailable".
Banner
Click "Select photo" and upload an image — JPG, PNG or GIF. A large image is reduced to 600 pixels on the long side. The bin icon on the image removes the banner.
Only a web address will do in "Link in banner" — one that starts with http:// or https://.
When the visitor opens the chat, the banner is hidden so that the conversation has enough room.
Website domains
While the field is empty, the widget works on any website its code is inserted into. To keep someone else's website from showing your widget, list your domains:
example.com— only this domain (with and withoutwww.);*.example.com— the domain itself and all its subdomains.
You can paste a full page address — only the domain will remain. Cyrillic domains are fine too. The list holds up to 20 domains.
Widget icon
The icon is needed only in your account: it is shown in the list of widgets and in the switcher. On the website, the widget button is drawn in the colours from the settings.
Open "Icon" in the widget's "⋯" menu or "Change icon" in the widget switcher and upload an image: JPG, PNG, GIF, WebP or AVIF up to 5 MB, preferably square. The icon is saved right away.
If something does not work
- The widget is not saved, there is an error at the "Links" field. At least one link is needed. The exception is a widget with the chat turned on: links are not required for it.
- An error at a link of the "Link" kind. Its address is required.
- "This link cannot be opened: javascript:, data: and similar addresses are not allowed." Paste a regular address.
- "The banner could not be saved: the file is not available." An uploaded but unsaved image is kept only for a short time. Upload the banner again and click "Save" right away.
- "The banner must be a JPEG, PNG, GIF or WebP image." The file has another format. Re-save the image in one of these formats.
- An error at the "Website domains" field. Letters, digits, dots and hyphens are allowed in a domain; an asterisk only at the beginning, as
*.. - "A project can have no more than 100 widgets" — a hint on the disabled "Create" button.
- "You can create no more than 100 widgets per day." Wait until the next day.
- "Creating and editing widgets is restricted for violating the platform rules." See Widget checks by the platform.