

Conversations and messaging
The list of conversations
The list holds the contacts the bot has a conversation with. The conversation with the most recent message is at the very top; when a new message arrives, the conversation moves up. The list loads more as you scroll.
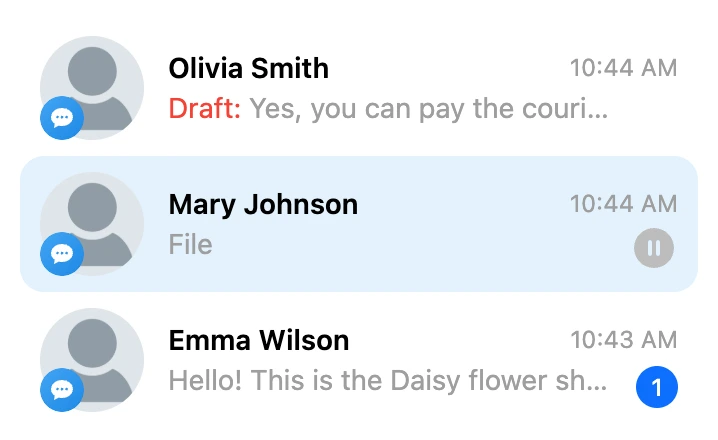
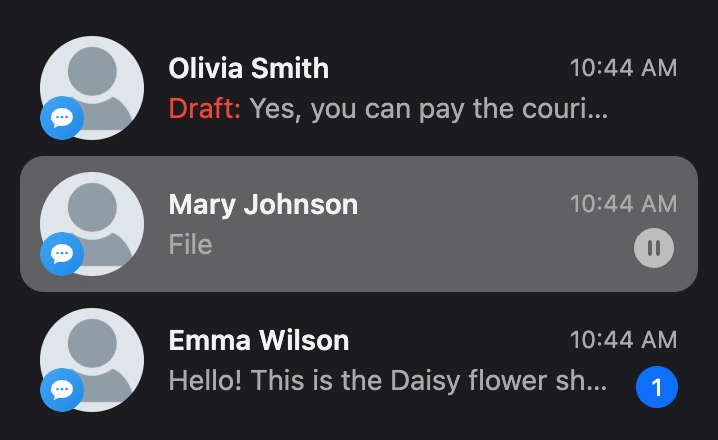
A conversation's row shows:
- the contact's avatar with the icon of the channel they write from;
- the contact's name, or the phone number if there is no name;
- the time of the last message — if it was sent today — or its date;
- the beginning of the last message. If it is an attachment without text — the "Photo", "Video", "Audio" or "File" label;
- the number of unread messages. Only messages from the person are counted; the counter is reset when you open the conversation;
- a pause icon if the bot is temporarily turned off for the contact, or a red stop icon if the bot is disabled forever. This is covered on the Operator's work page.


The border between the list and the conversation can be dragged with the mouse — the list's width is remembered in the browser.
The list has no filters or other ways of sorting. To pick contacts by tags, variables or channel, use the Contacts section.
Search
The "Search" field above the list finds a contact:
- by name;
- by phone number;
- by contact ID;
- by username in Telegram or MAX — start the query with the
@sign, for example@romashka_client.
The search covers all the bot's contacts, including those there is no conversation with yet. The first 50 matches are shown. The cross in the field brings the usual list back.


Drafts
Text you have typed but not sent is saved as a draft when you leave the input field. In the list, such a conversation has the "Draft" mark, and the next time you open the conversation the text is back in the field. A draft is shared: other team members see it too.
The conversation
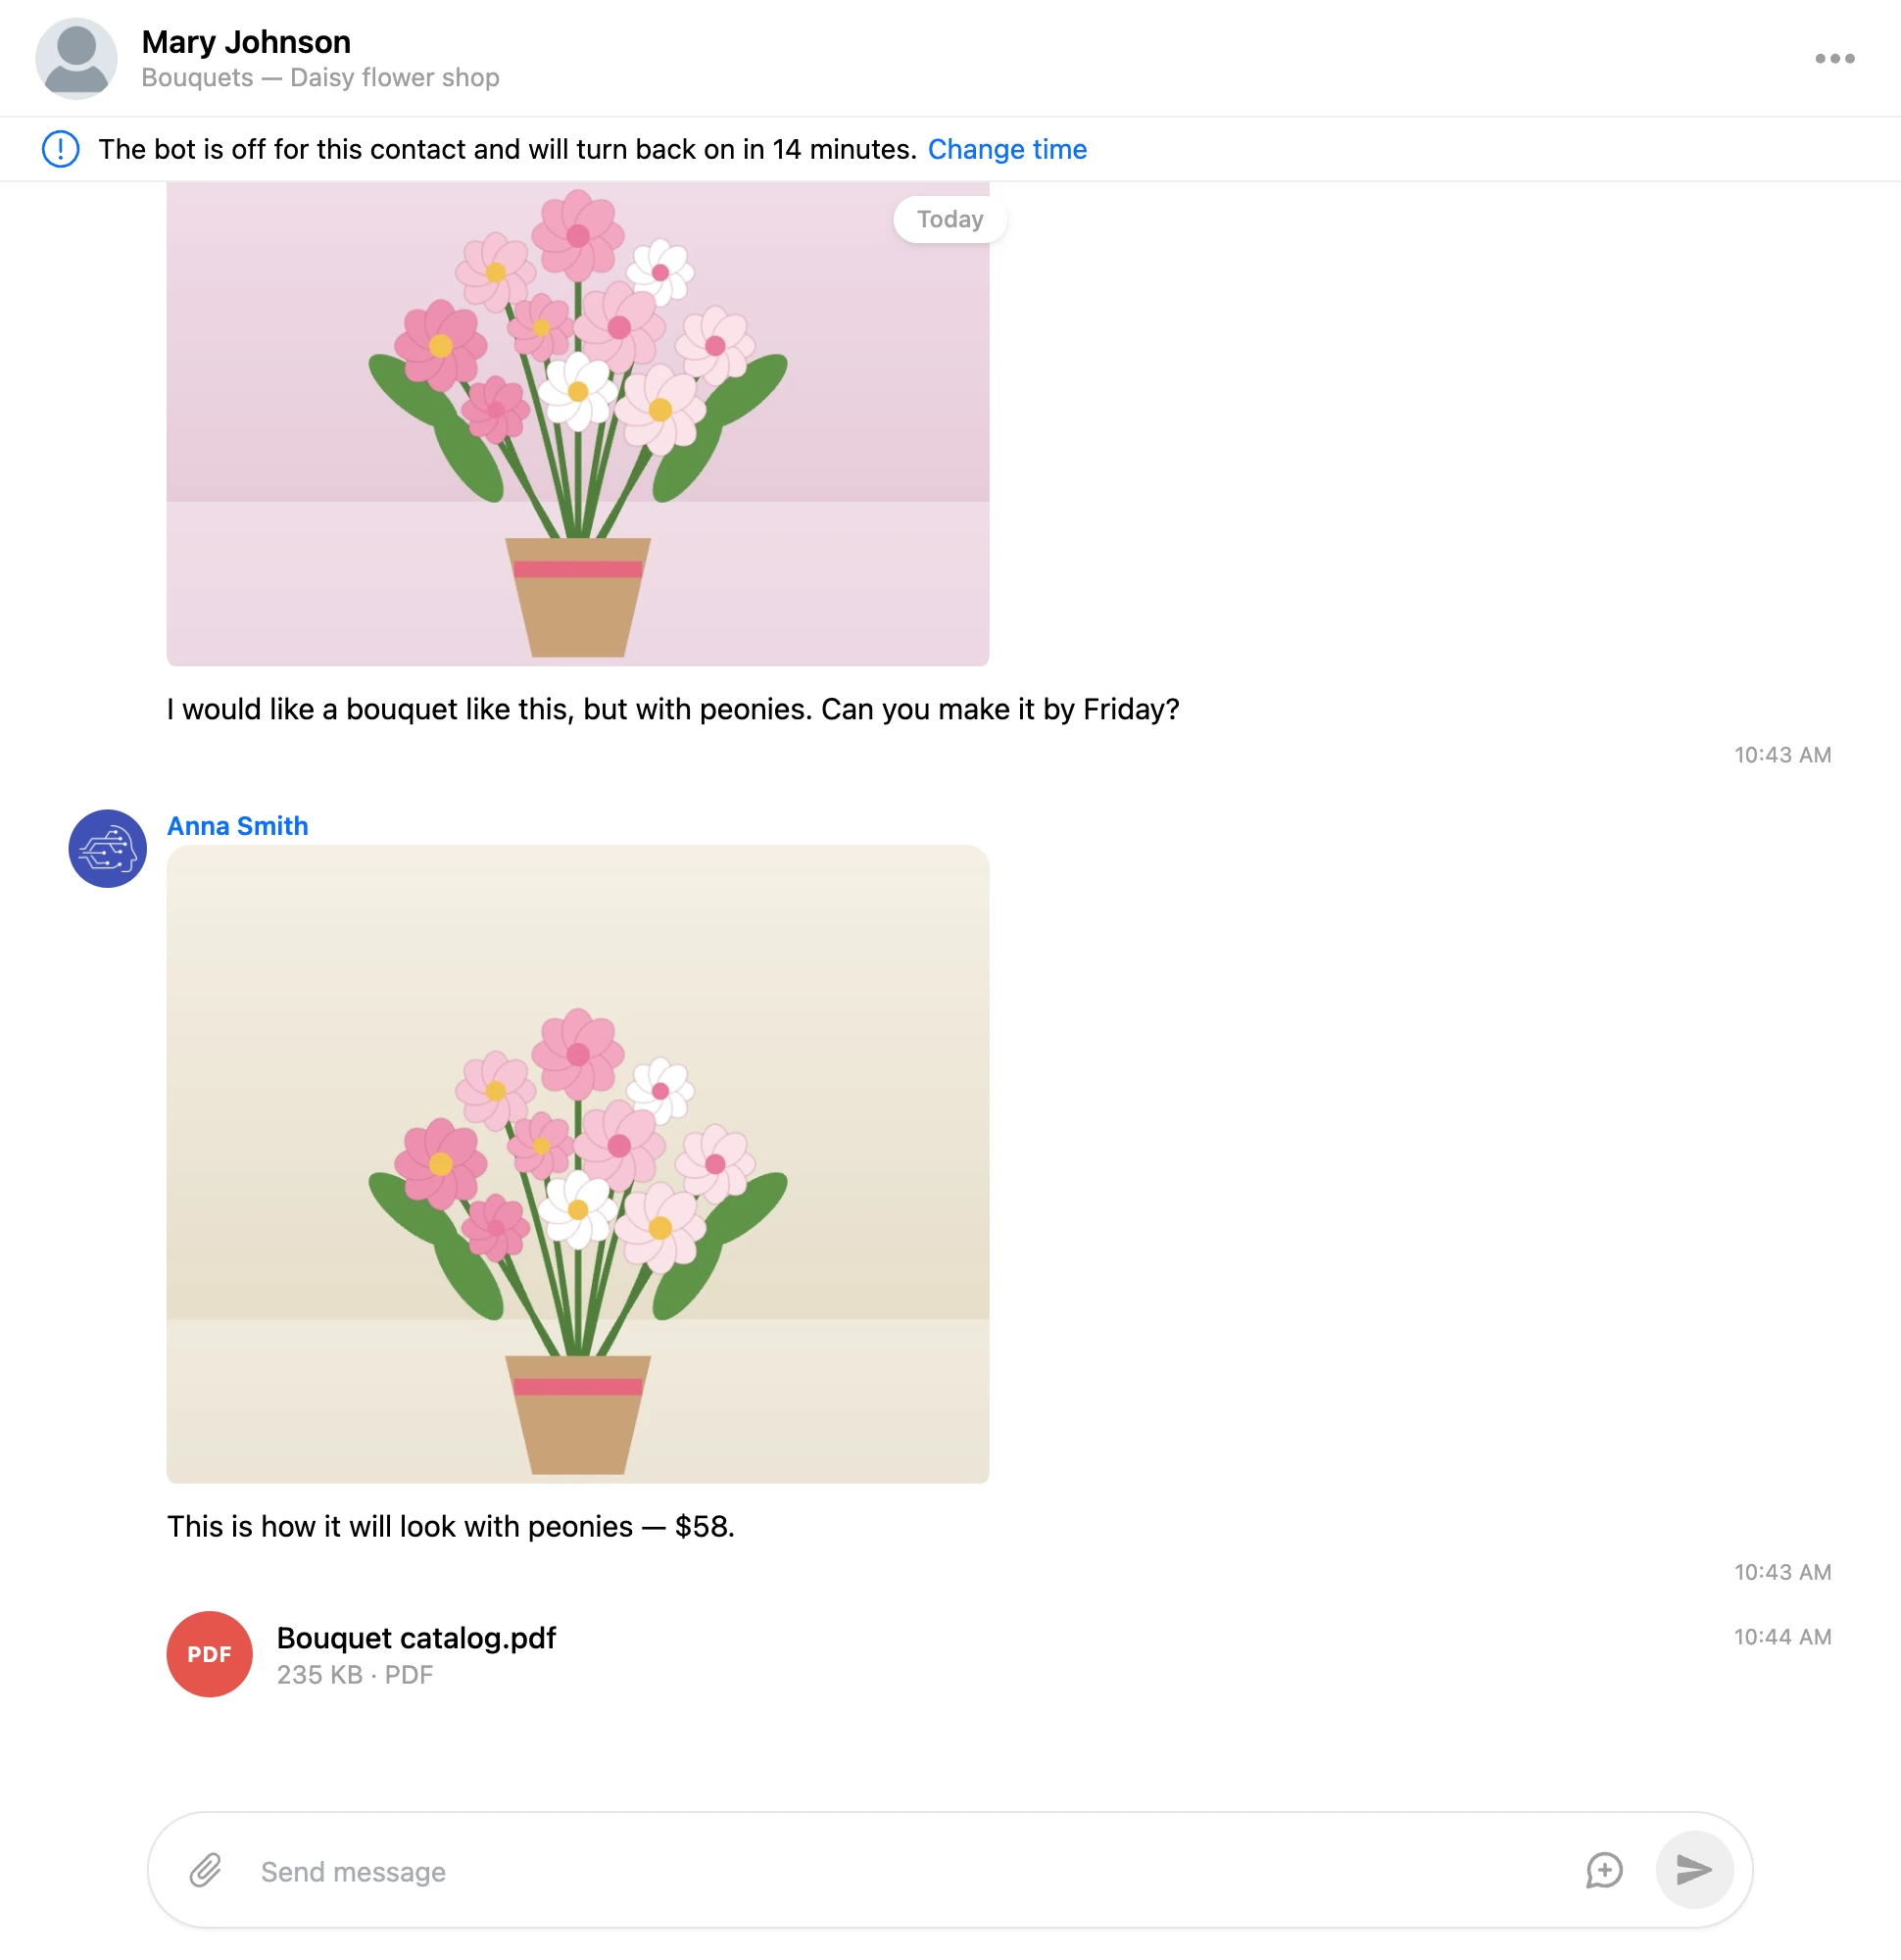
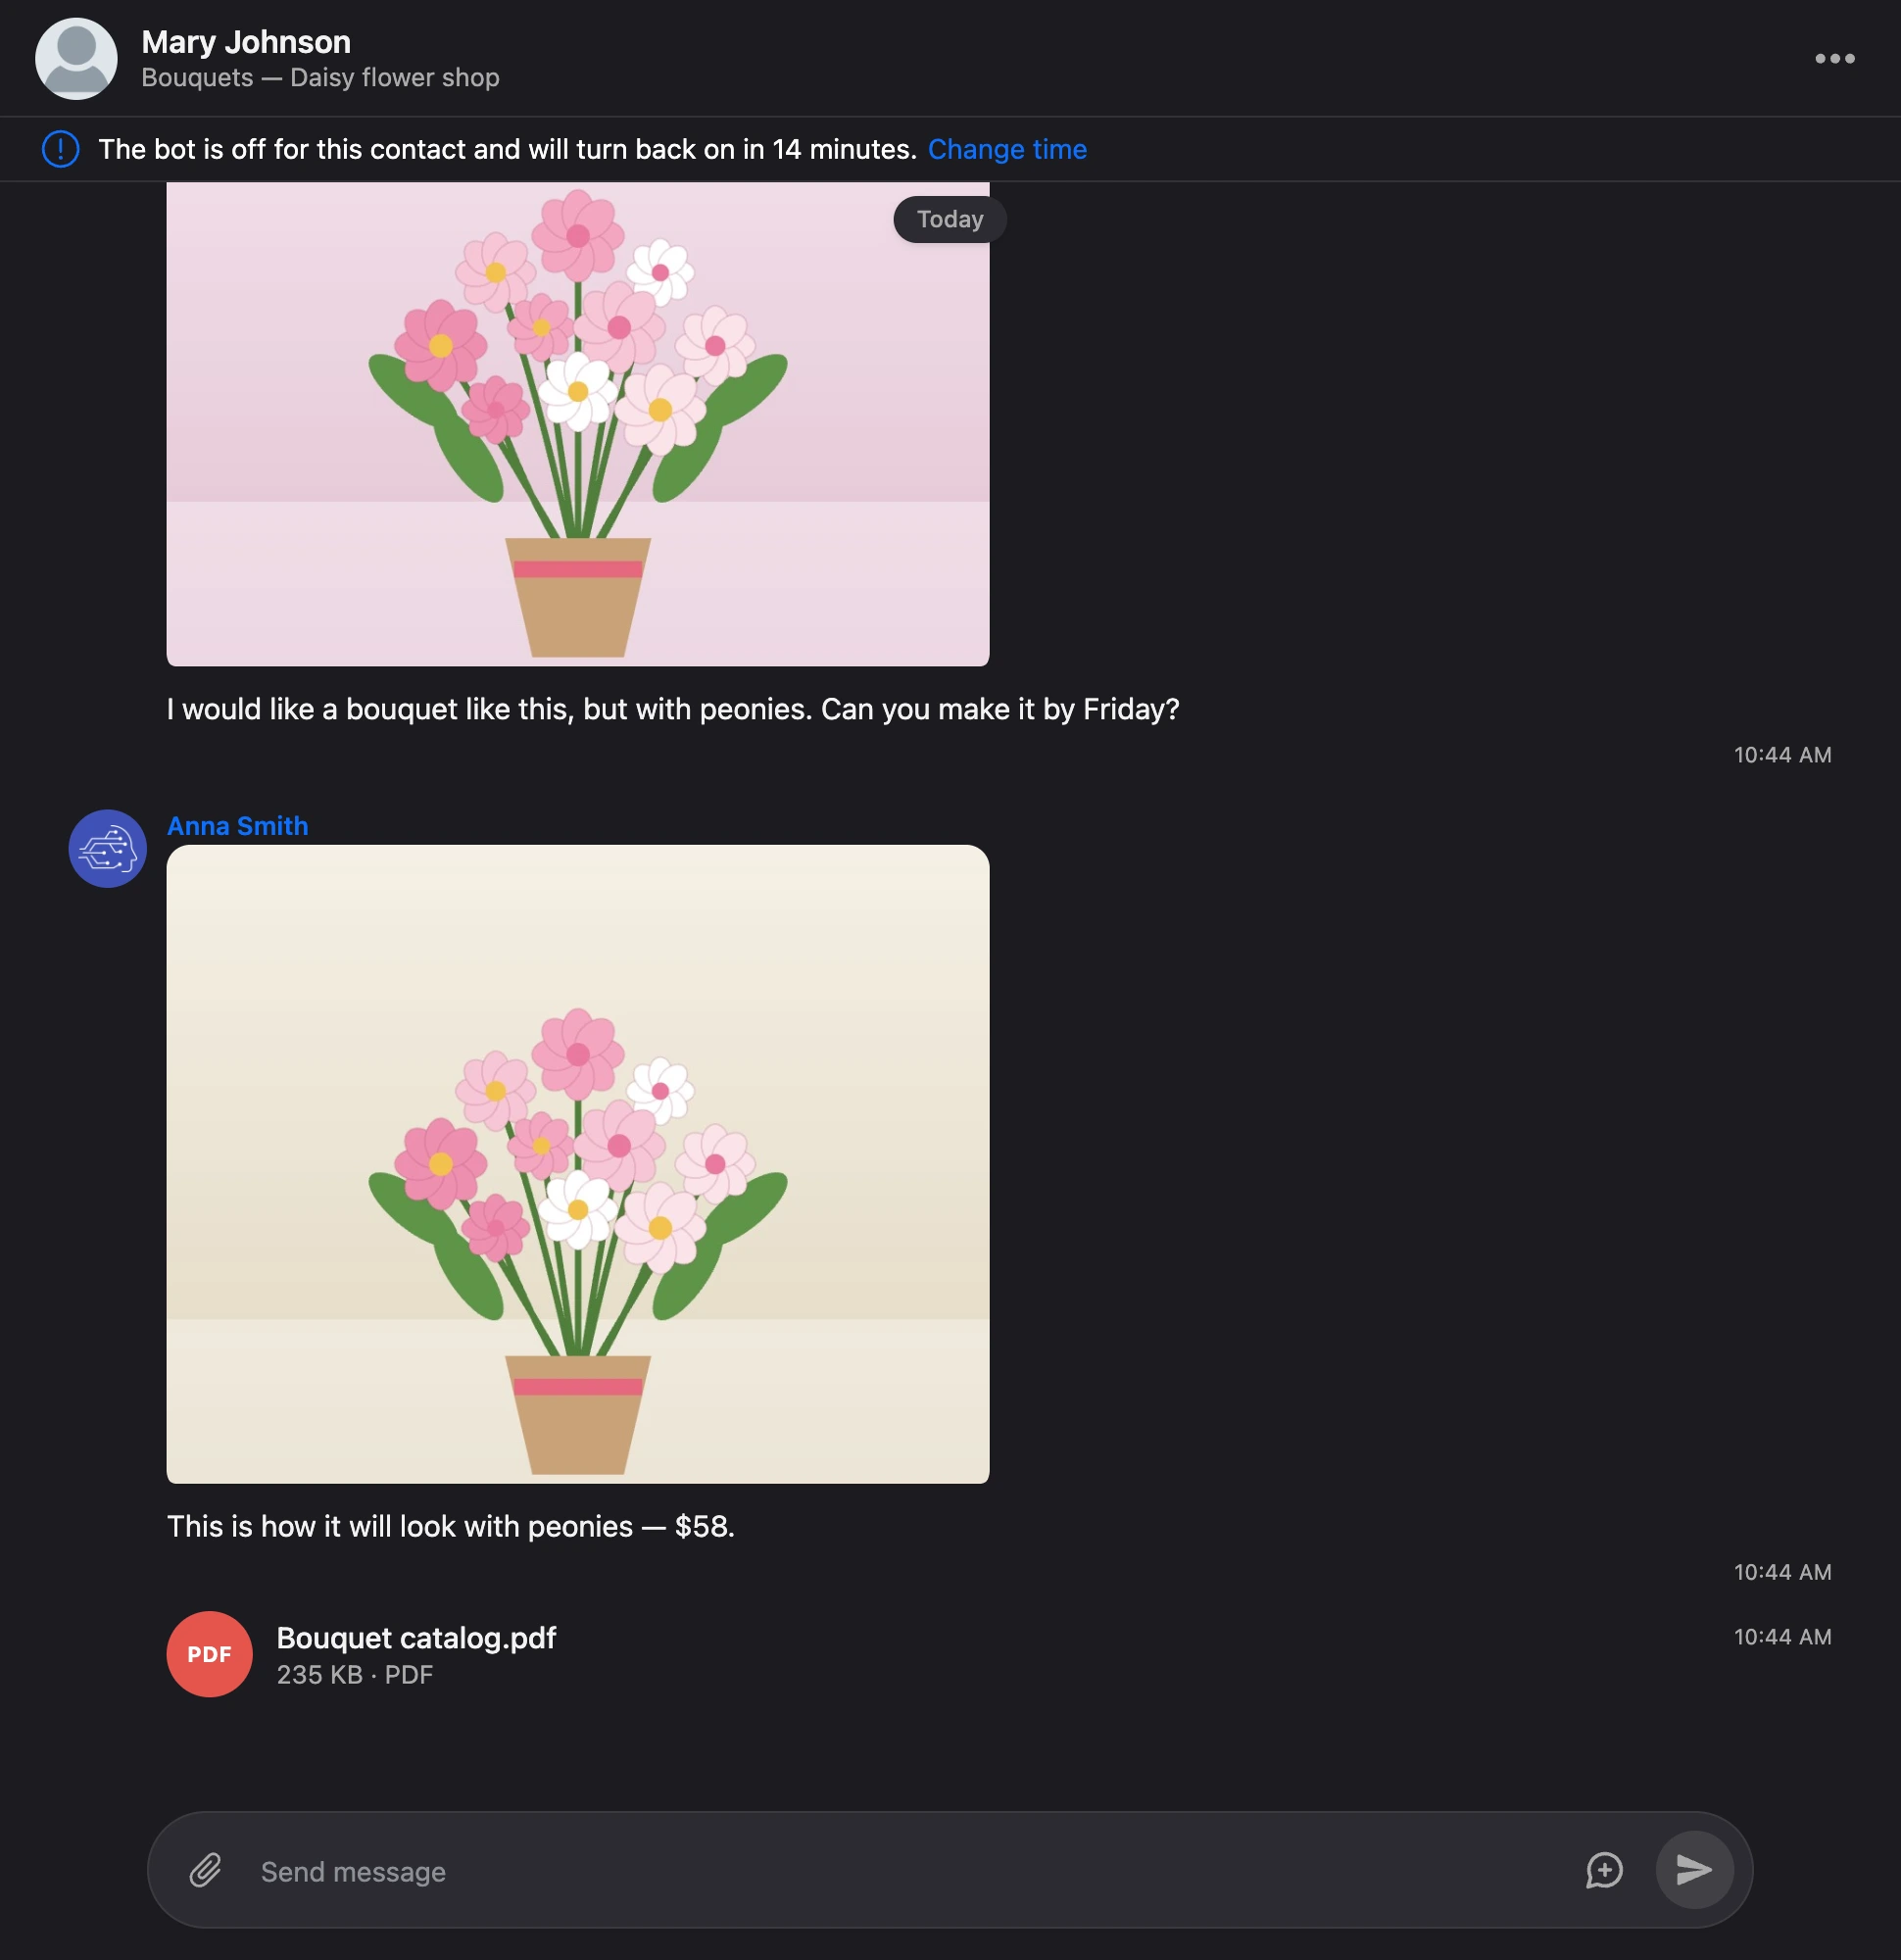
A click on a conversation opens the messages. They are separated by days with the "Today" and "Yesterday" labels or a date; every message has a time, and hovering over it shows the full date. Older messages load as you scroll up. The button with a down arrow returns to the latest messages.
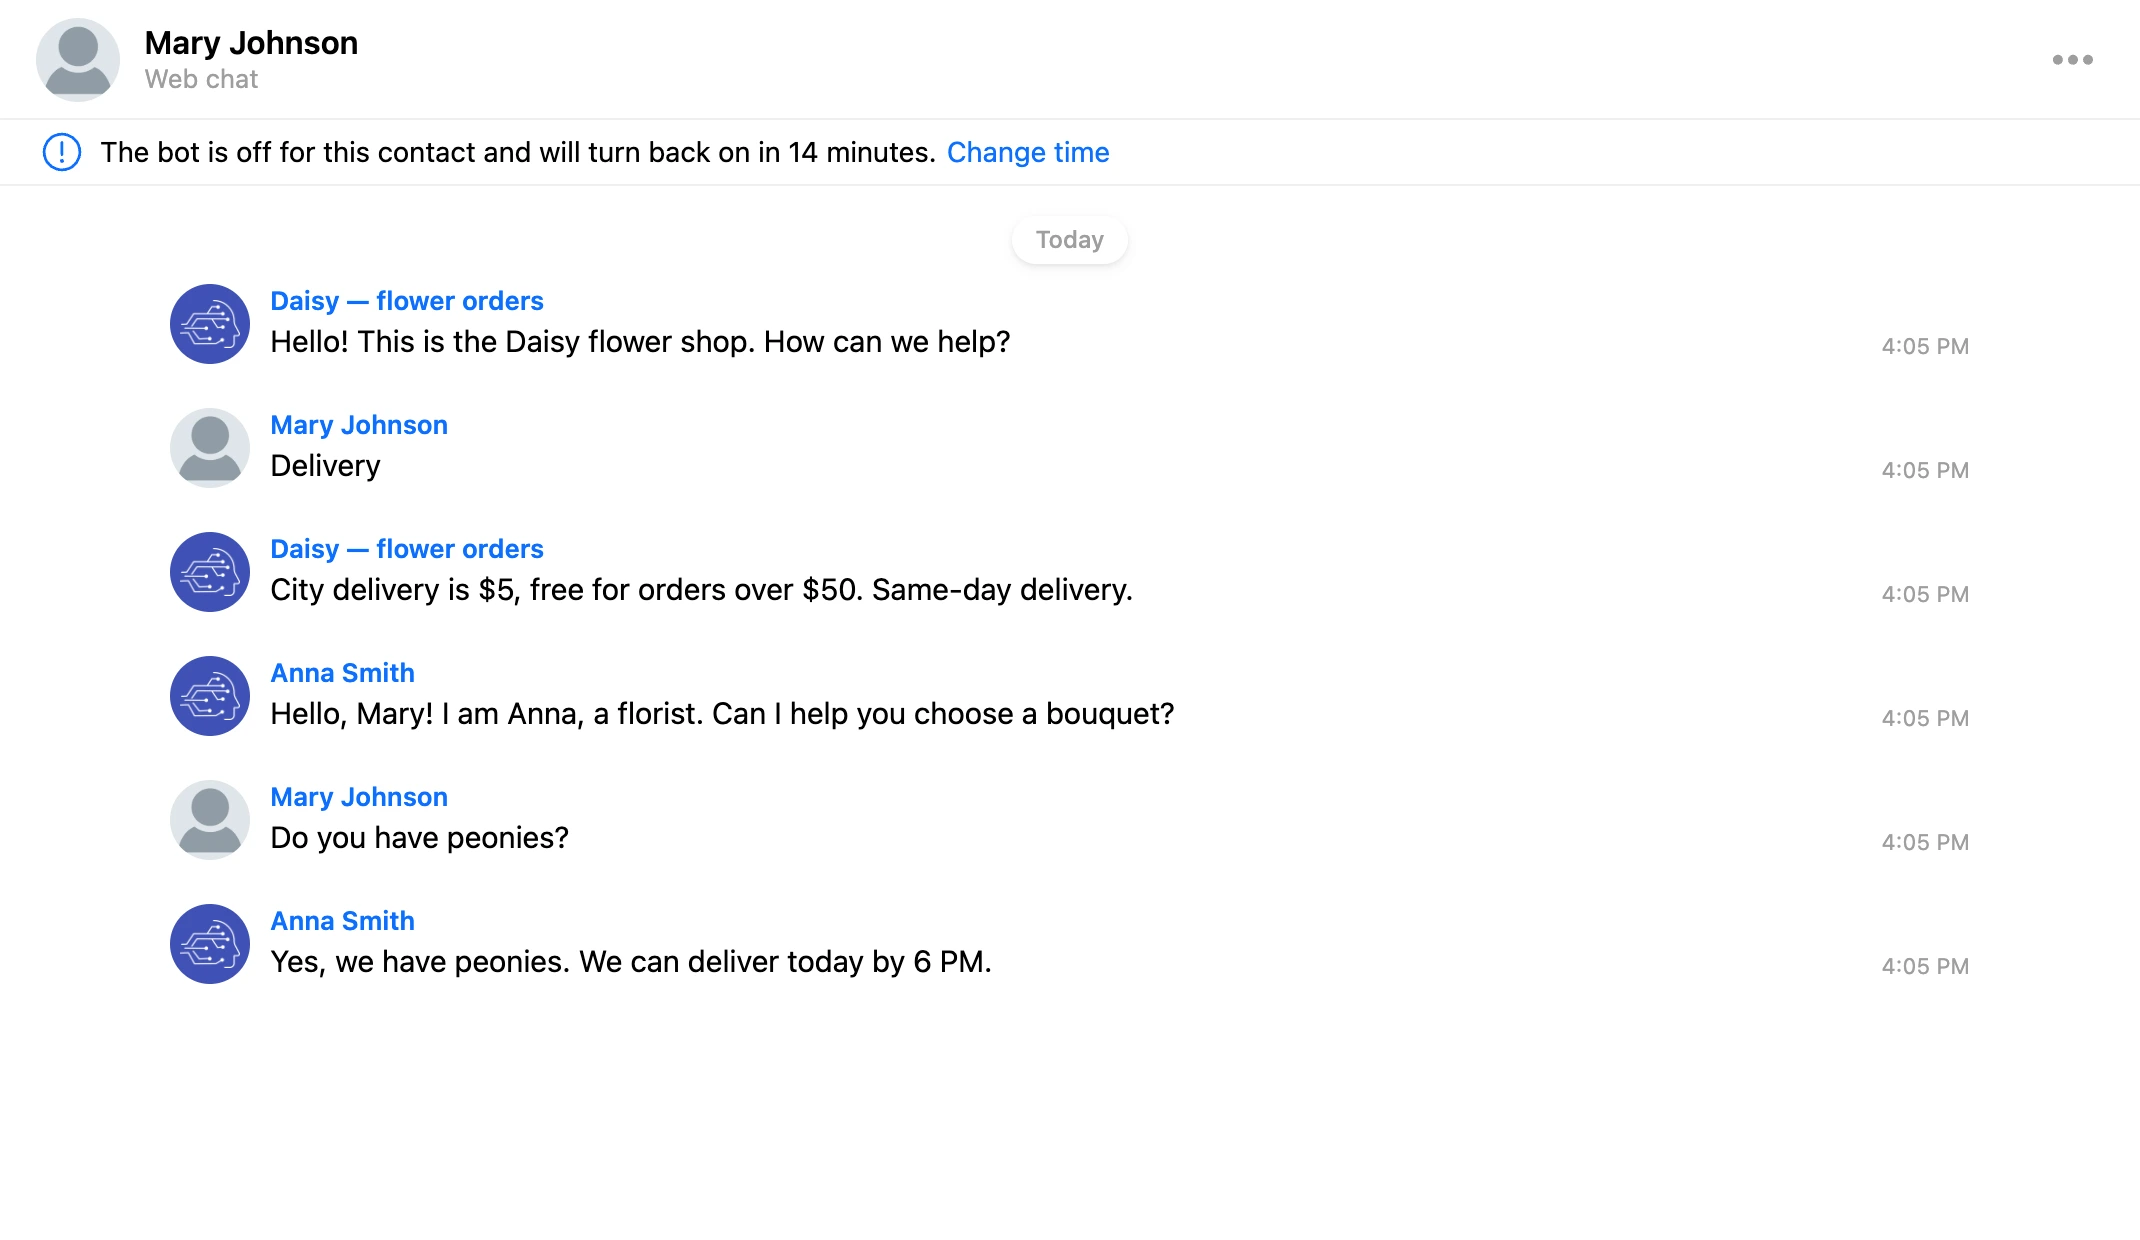
Who wrote a message is clear from its signature:
| Signature | Whose message |
|---|---|
| The contact's name | The person wrote to the bot |
| The bot's name | The bot replied according to the scenario |
| A team member's name | A team member replied manually from the "Messages" section |
The feed shows text, photos, videos, audio and files. A click opens an image in full screen and a file in a new tab.
The conversation's header shows the contact's name and, under it, the username in the messenger or a link to the VK page. For a website visitor, it shows the page they wrote from.
Sending a message
- Open the conversation.
- Type the text in the "Send message" field.
- Press Enter or the send button. Shift + Enter starts a new line.


The person receives the message in their channel on behalf of the bot. In the feed it is signed with your name — this way team members see who exactly replied.
After your reply, the bot stops replying to this contact for a while so as not to interfere with the conversation. How this works and how to bring the bot back is on the Operator's work page.
Note
There is no input field if the person has blocked the bot or unsubscribed from mailings. You cannot write to such a contact until they write to the bot again themselves.
If a message could not be sent, a warning icon with the "Message not sent" hint appears next to the time, and the error text appears above the conversation.
Photos, videos and files
- Hover over the paperclip to the left of the input field and choose "Photo or video" or "File".
- Choose the files — up to 10 at a time.
- In the "Upload photo or video" or "Upload files" window, fill in the "Description" field if needed and click the send button.


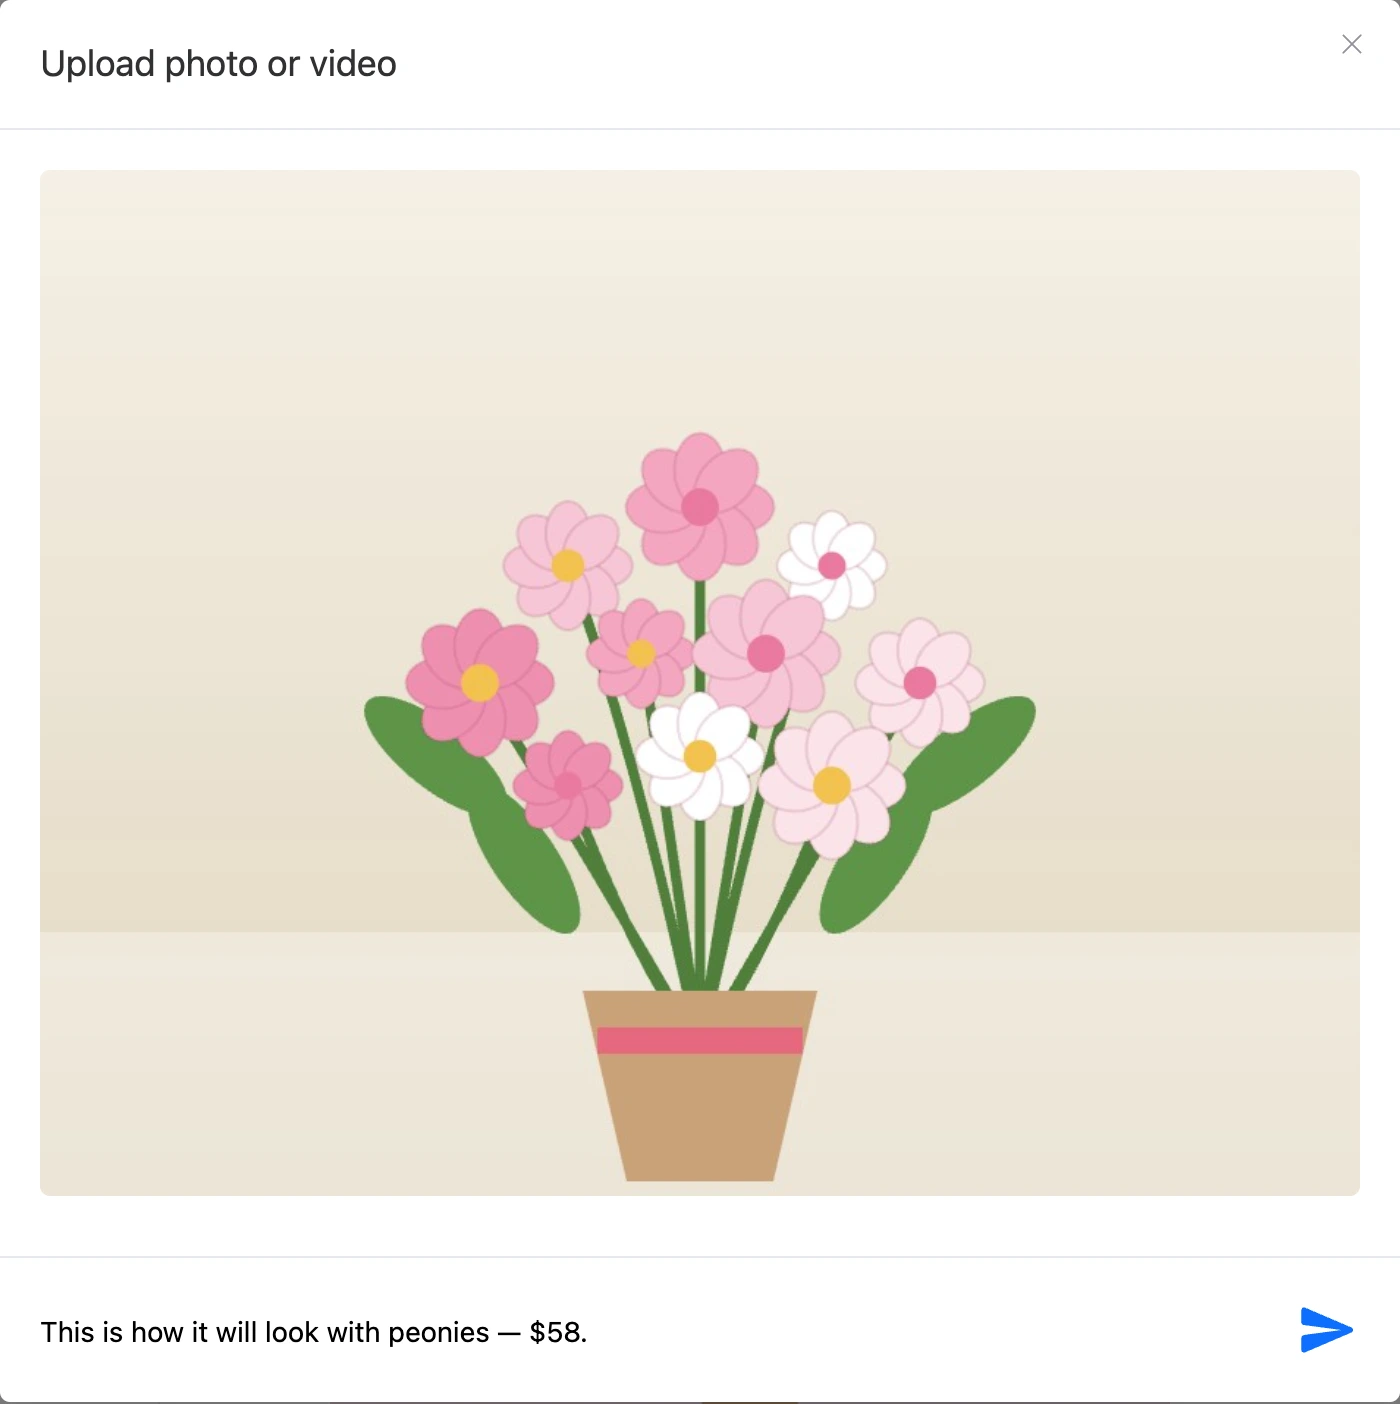
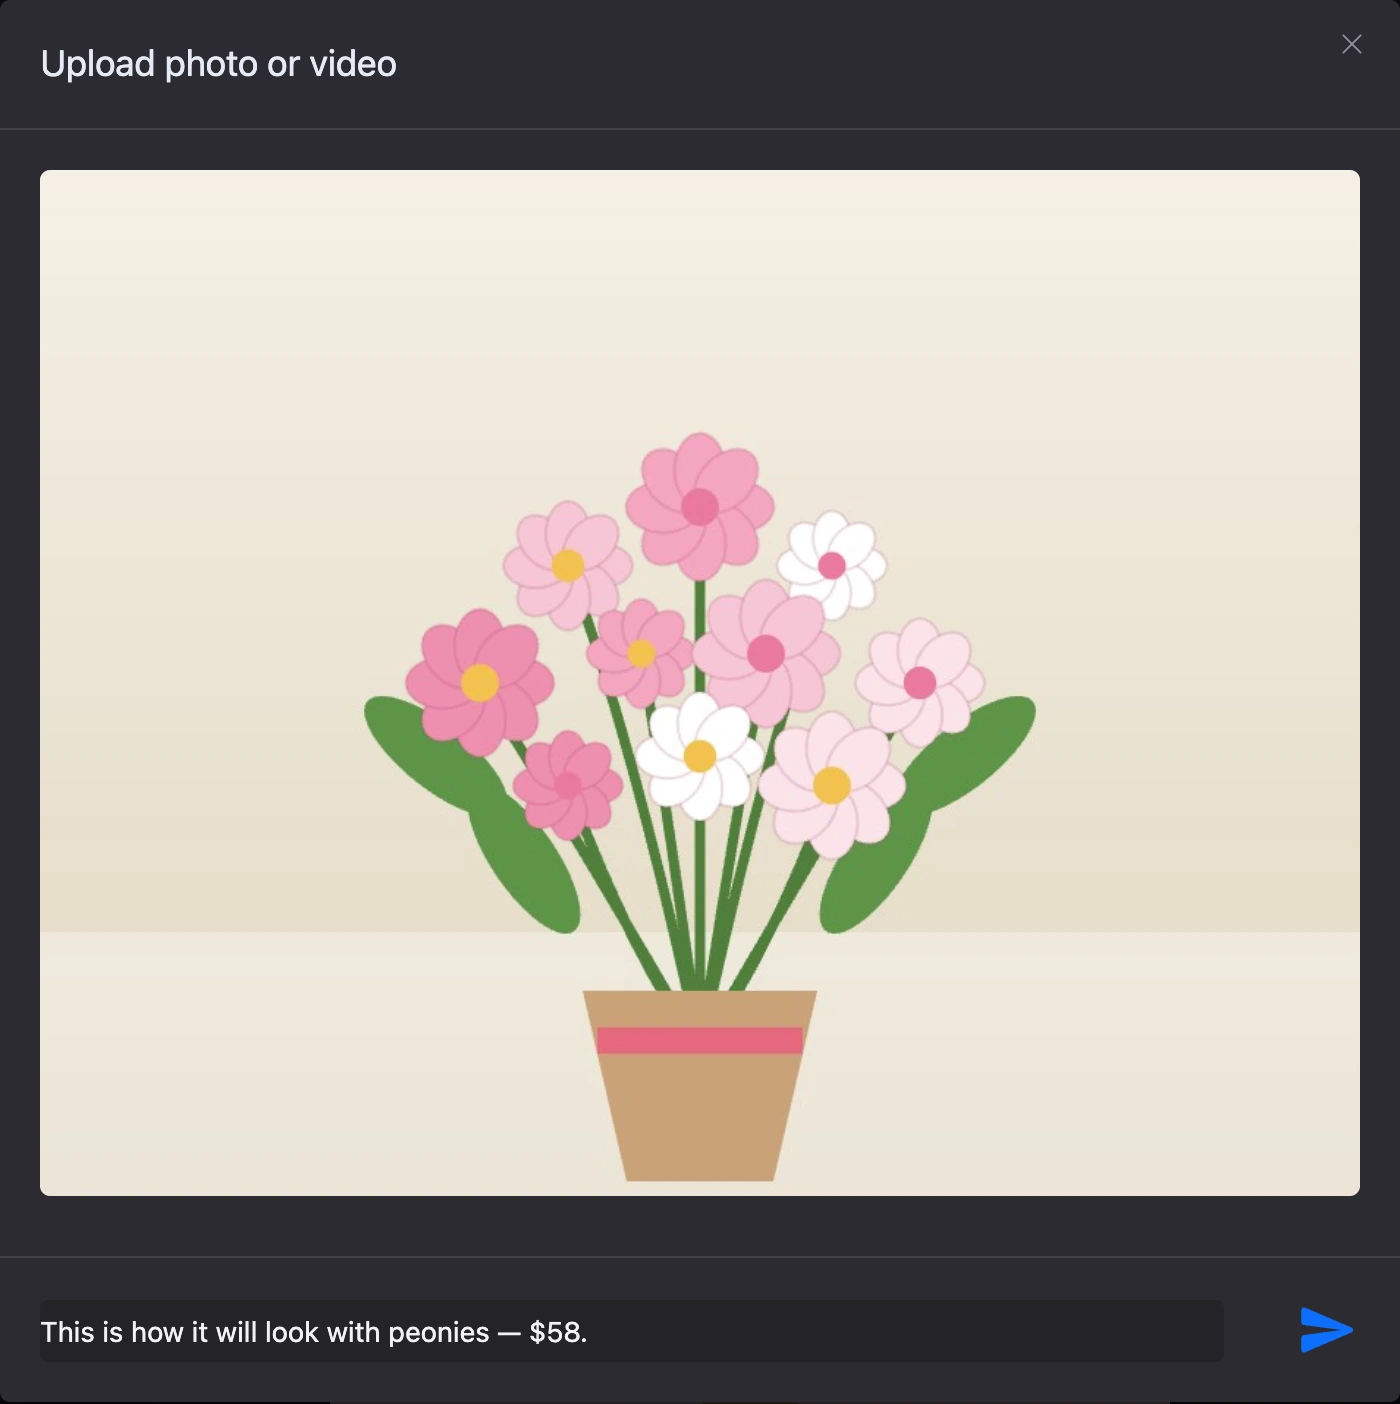
An image from the clipboard can be pasted right on the page — the same upload window opens.
If there is one file, the description goes as its caption. If there are several files, the description is sent as a separate message before them. While a file is uploading, the sending can be cancelled — click the upload icon on the file in the feed.
Limits:
- one file — no more than 300 MB;
- one user can upload no more than 2 GB of files per day.
Messengers also have their own limits on the size and kind of attachments.
Reply templates
Reply templates are ready-made texts for frequent replies. They are shared by all team members of the bot.
The templates button is to the right of the input field. In the window that opens:
- a click on a template inserts its text into the input field — you can edit it before sending;
- the search field finds a template by name or text;
- the icons in a template's row — viewing the full text, editing and deleting;
- "Create template" opens a window with the "Name" and "Text" fields.
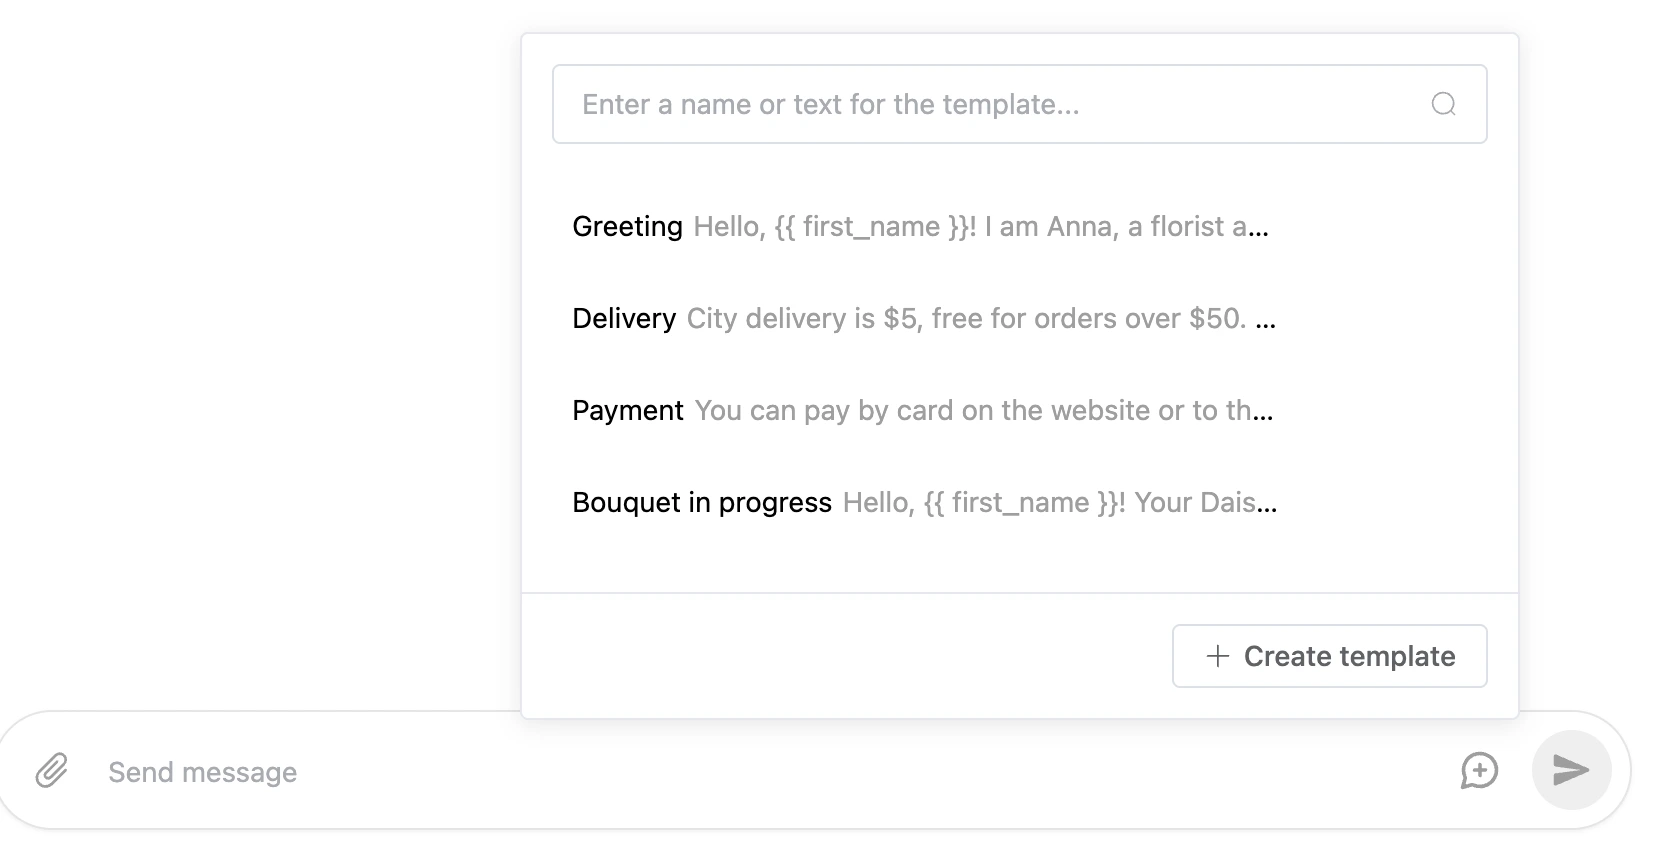
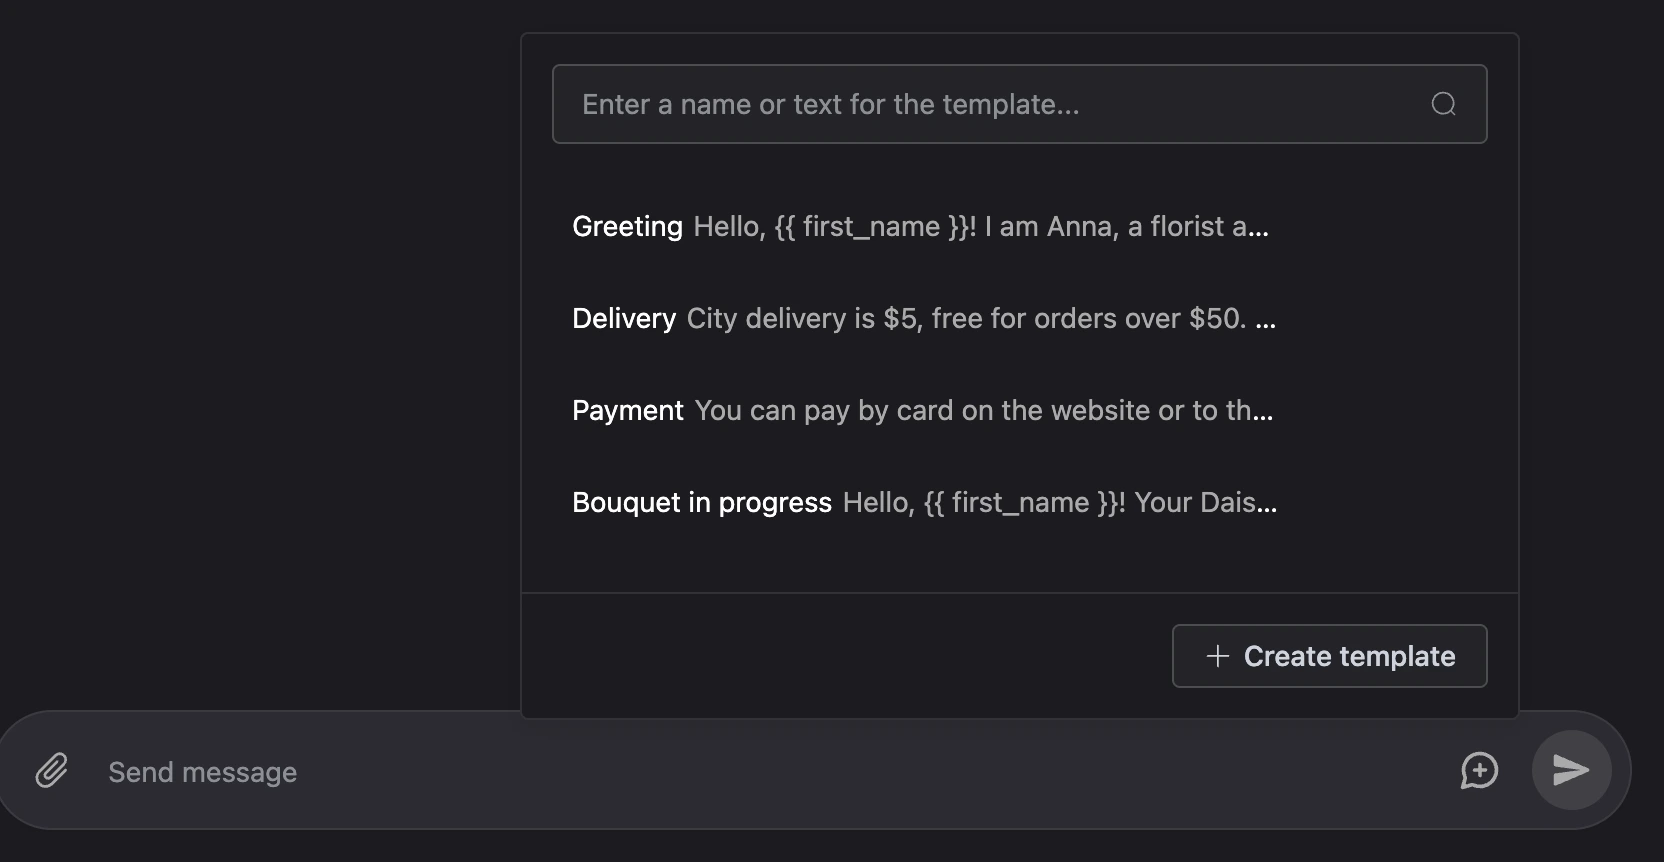
Templates that are used more often are higher in the list. For a new template to be the first right away, turn on "Insert at the top of the list" when creating it.
You can use the contact's data in a template's text — on insertion it is replaced with values:
| Notation | What is inserted |
|---|---|
{{ name }} |
The contact's name |
{{ first_name }}, {{ last_name }} |
The first and second word of the name |
{{ phone }} |
Phone number |
{{ email }} |
|
{{ address }} |
Address |
{{ username }} |
Username in Telegram or the VK page ID |
{{ id }} |
Contact ID |
{{ bot_id }} |
Bot ID |
{{ $variable }} |
The value of the contact's variable with that name |
For example, the template "Hello, {{ first_name }}! Your bouquet at Daisy is already being put together" is inserted for the contact "Anna Smirnova" as "Hello, Anna! Your bouquet at Daisy is already being put together".
If the contact does not have the value needed, the notation stays in the text as is — check the message before sending. The substitution happens only when a template is inserted. How {{ … }} templates work in a scenario is in the Templates section.
One bot can have no more than 3000 reply templates.
The contact panel
To the right of the conversation, the contact's card is open: their data, tags and variables — the same one as on the contact's page. A click on the name in the conversation's header hides and shows the panel, the cross in the panel's corner closes it; the choice is remembered.


What the card contains and how to work with it is in the Contacts section.
The conversation menu
The "⋯" button in the conversation's header opens a menu:
- "Download conversation" — go to the export of the bot's data with the "Dialogs" item ticked. Exports are covered in the section on creating and managing a bot.
- "Delete contact" — delete the contact with all the information about them. The platform asks you to confirm the deletion.
- "Disable bot" — the bot stops replying to this contact until you turn it on. The item is not shown if the bot is already turned off for the contact.
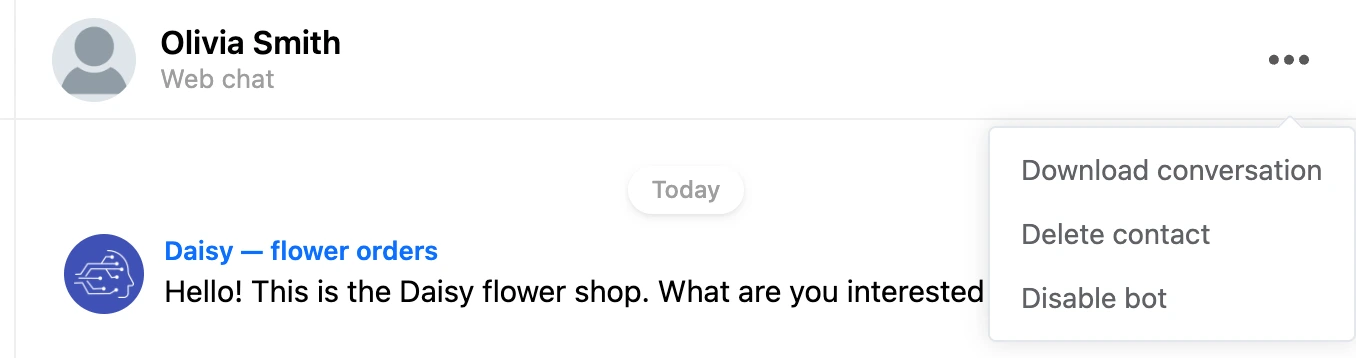
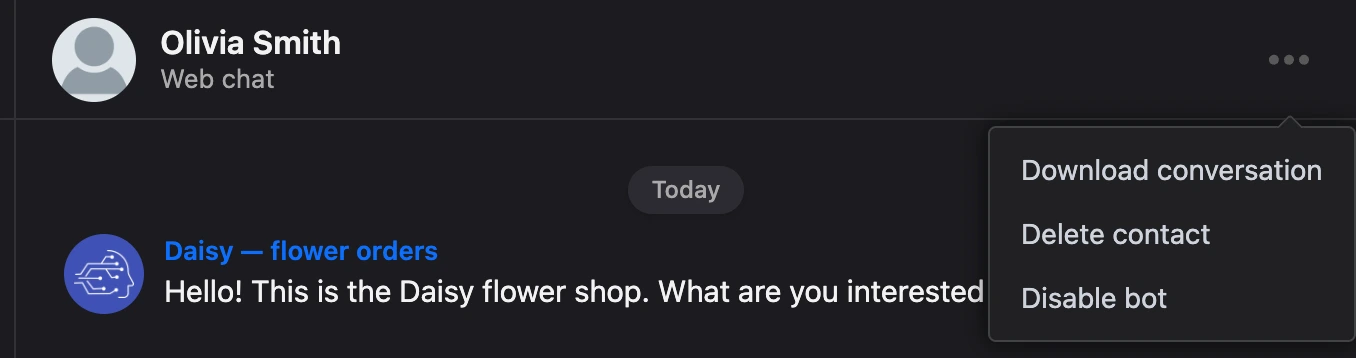
For a team member, the menu items are available according to the permissions of their role — they are listed on the Operator's work page.
Conversation view
The conversation can be shown in one of two views. The view is switched by "Show as bubbles" in the section settings — the "⋮" button next to the search.
-
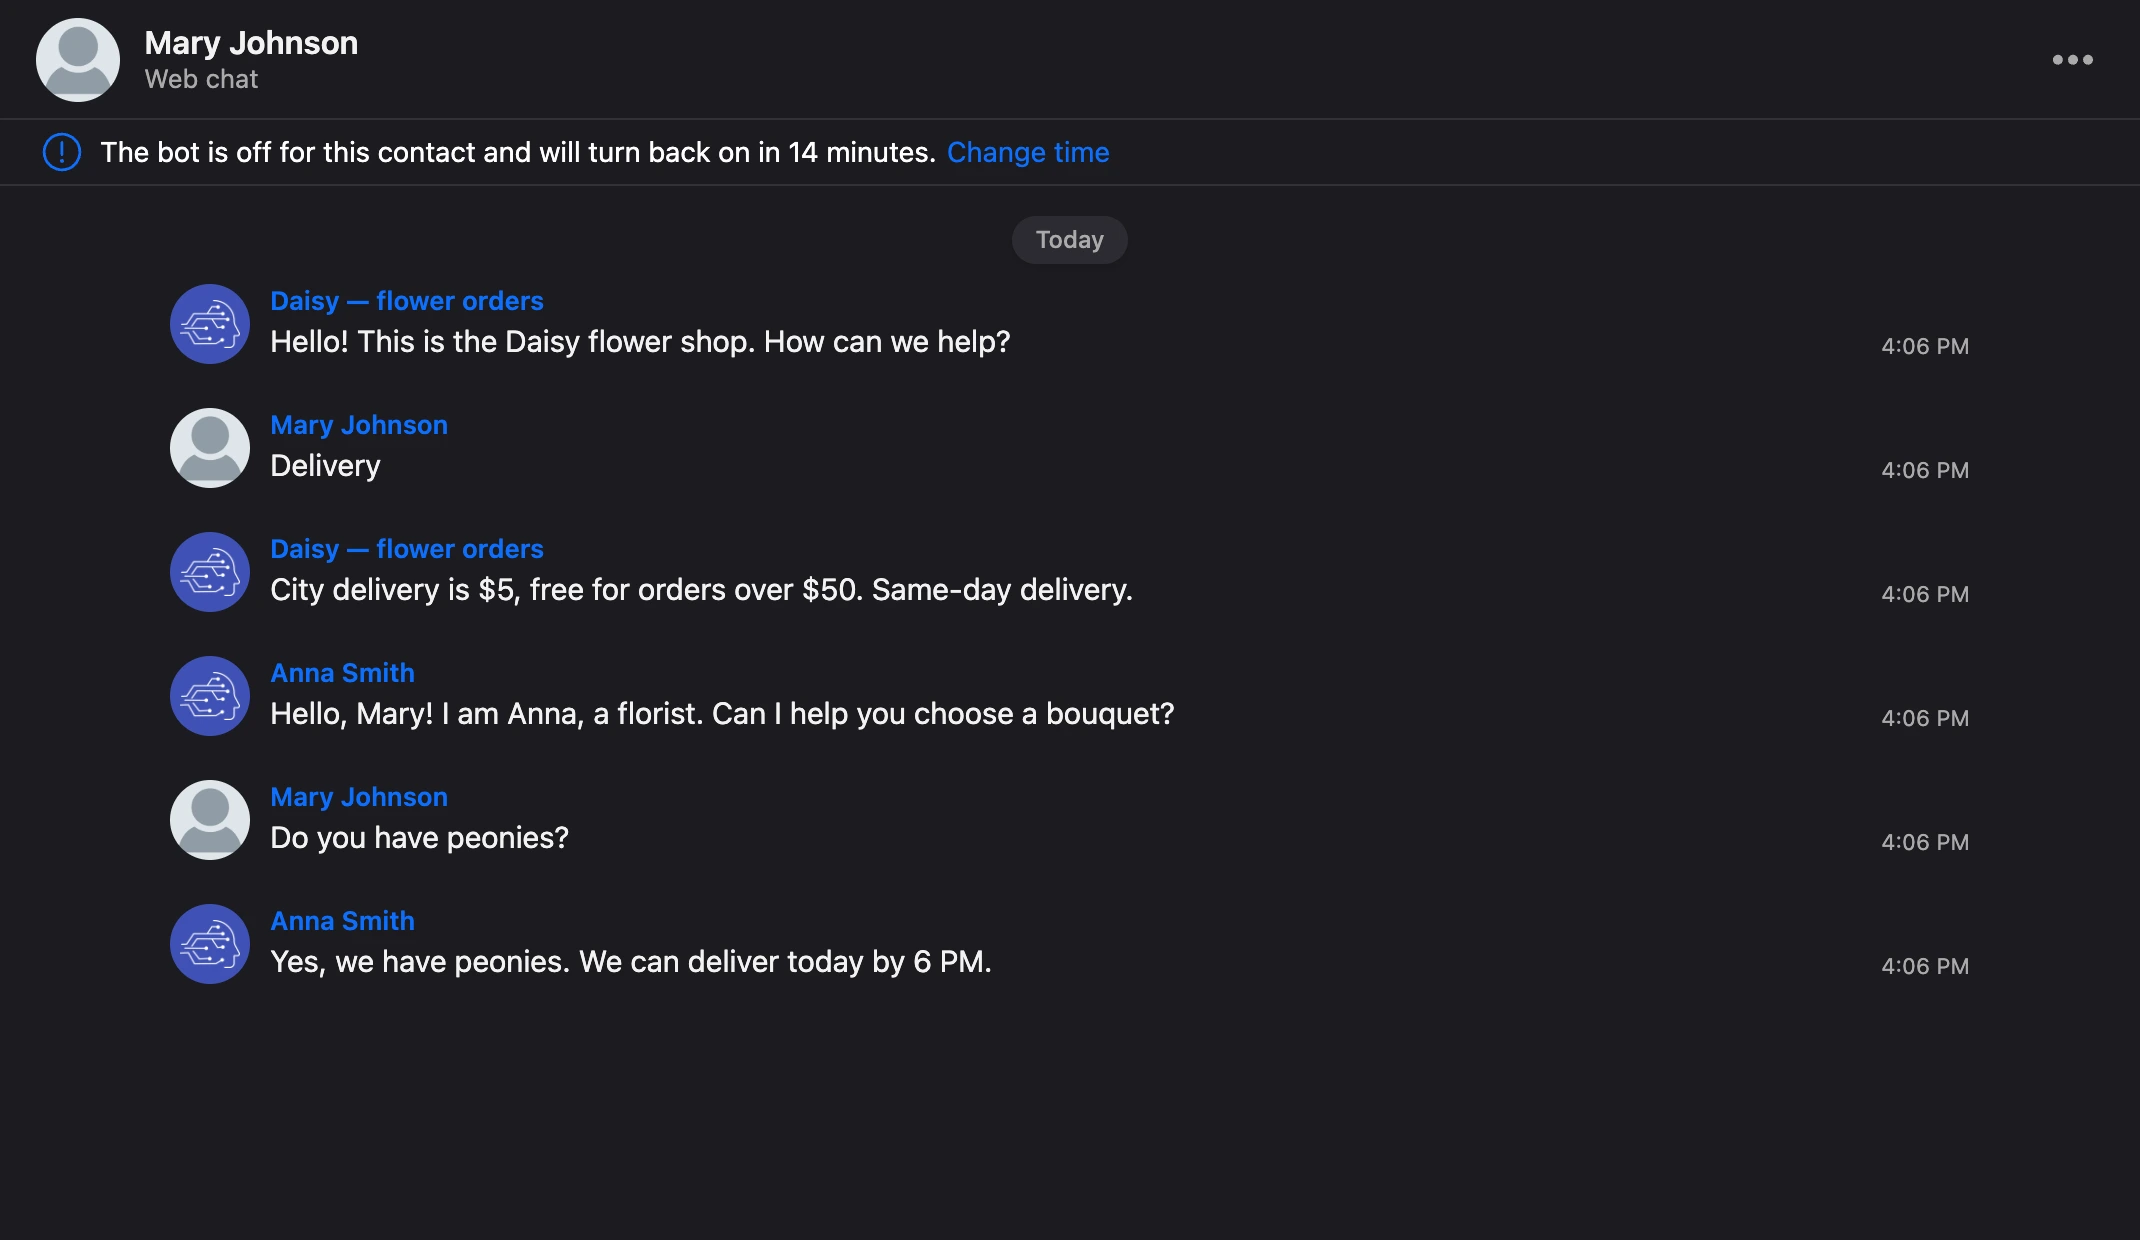
As a list — the default view. Messages go one under another, each with the author's avatar and name. Handy when several team members talk to the person: you see right away who replied.
-
As bubbles — like in a messenger. The person's messages are on the left, replies from the bot and team members are on the right, each in its own bubble.


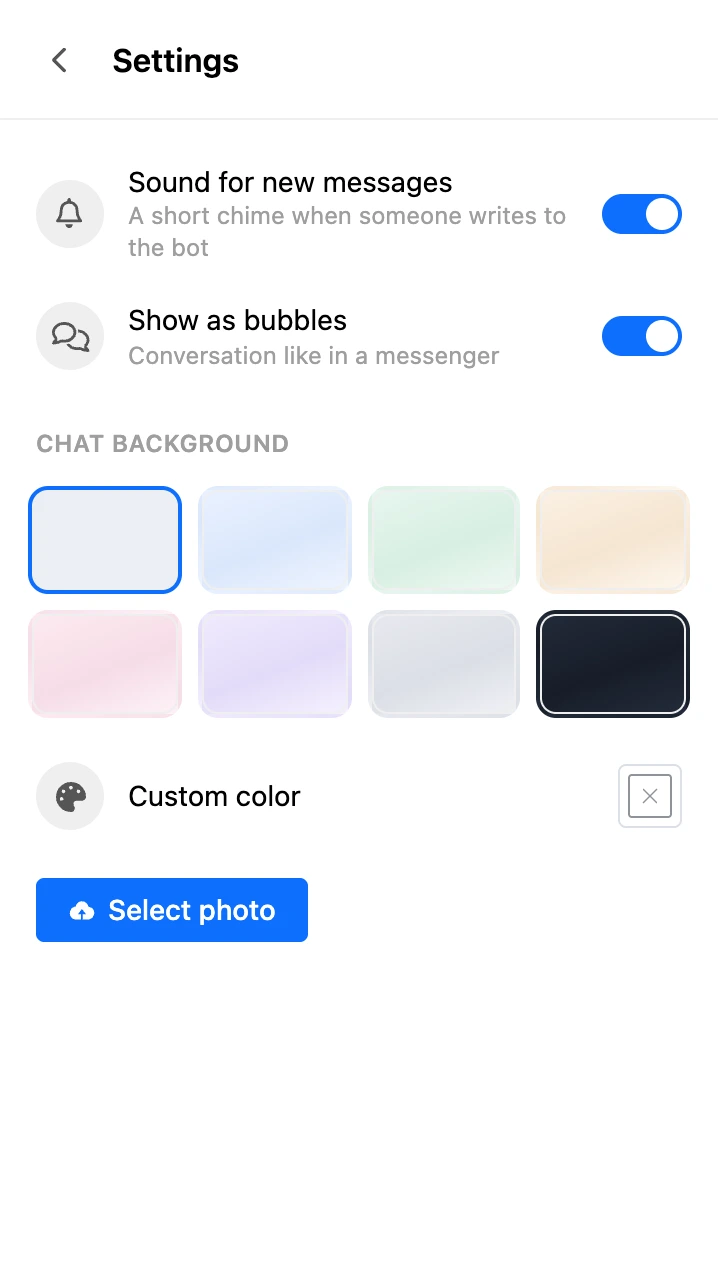
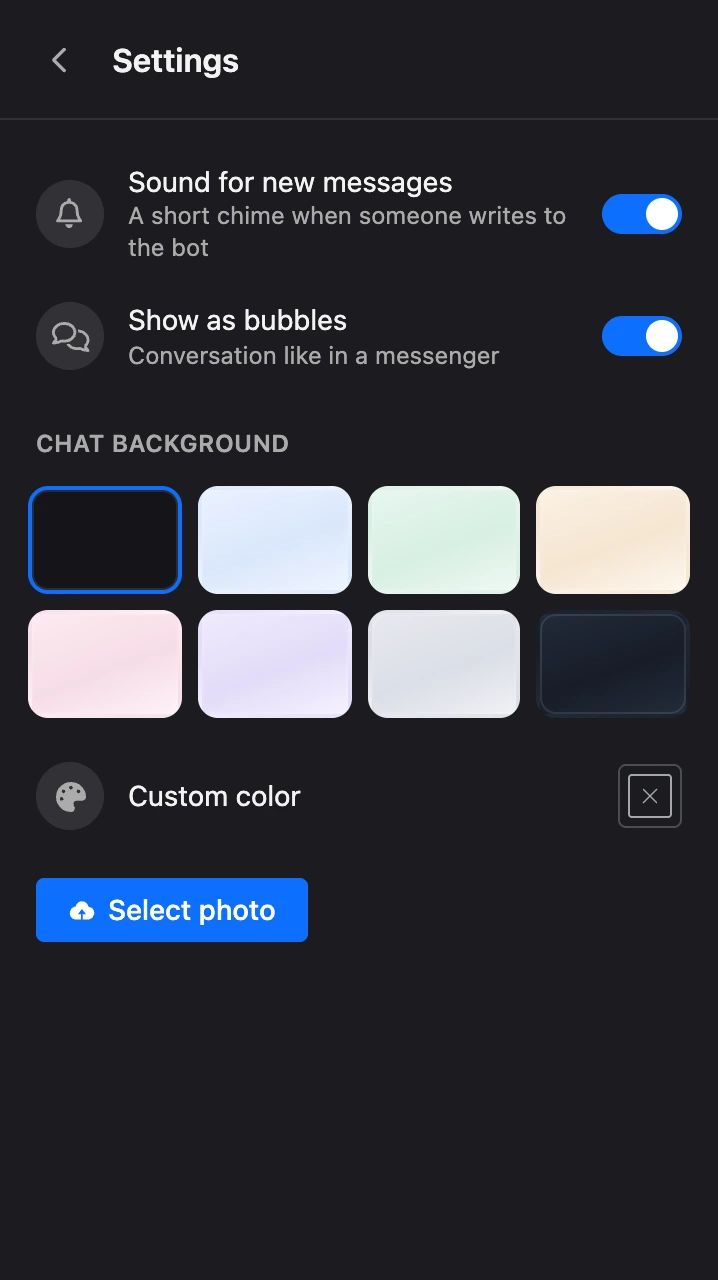
In the bubbles view you can put a background under the conversation — "Chat background" in the same settings. There are ready-made backgrounds, "Custom color" and your own image; an image can be toned down with the "Blur background" switch.
Section settings
The "⋮" button next to the search opens the settings:
- "Sound for new messages" — a short chime when a person writes to the bot. Replies from the bot and team members give no chime. The sound is on by default.
- "Show as bubbles" — the conversation view. Off — messages go as a list, each with the author's avatar and name. On — the conversation looks like in a messenger: the person's messages on the left, replies from the bot and team members on the right.
- "Chat background" — available when bubbles are on. You can choose a ready-made background, "Custom color" or upload an image; for an image there is the "Blur background" switch.
The sound, the conversation view and the list's width are stored in the browser: on another device you need to set them up again. The chat background is saved in your account and is visible on all devices.
Note
The chime plays only while the "Messages" section of this bot is open in the browser. The tab may be in the background, but if the section is closed, there is no sound.