

Certificates
A student receives a certificate automatically when they complete the whole course — 100%. Each certificate has a number and a QR code with a link to the verification page. The verification page is on the platform's domain and keeps working even if the school or the course is deleted.
The "Certificates" section in the school menu has two subsections on the right: "Issued certificates" and "Certificate design".
How to turn on issuing
- Open "Certificates" → "Certificate design".
- Turn on "Issue certificates".
- Set up the design. On the right is the "Preview": it updates as you edit.
- Click "Save".
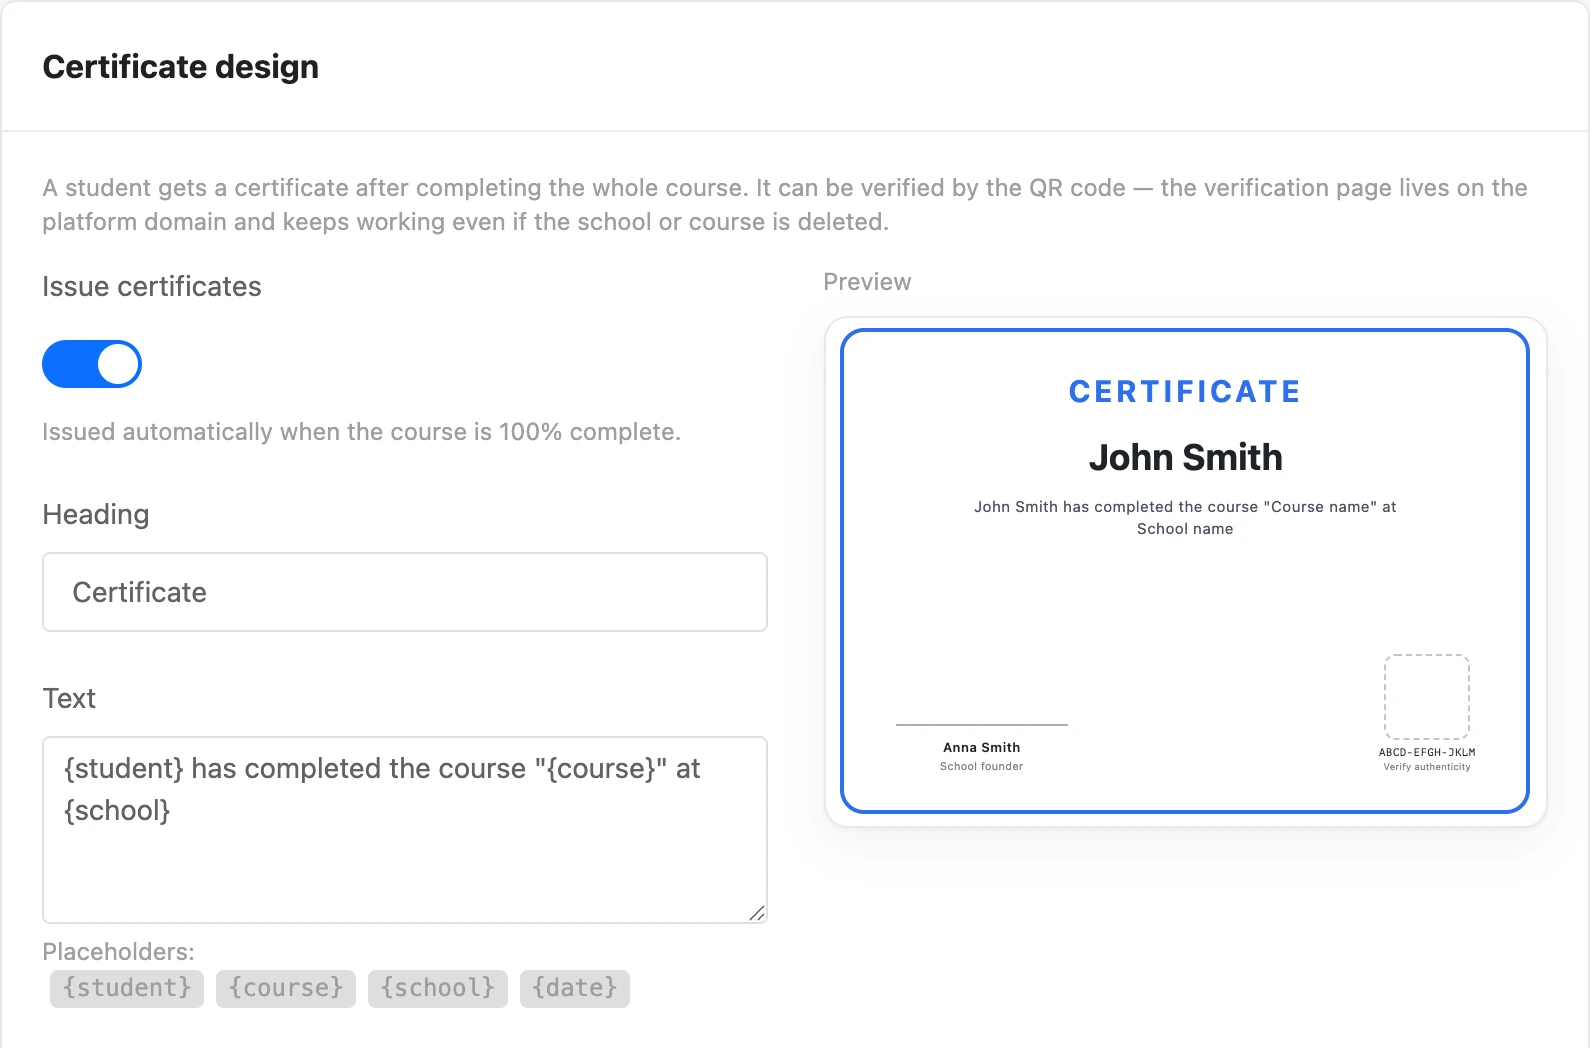
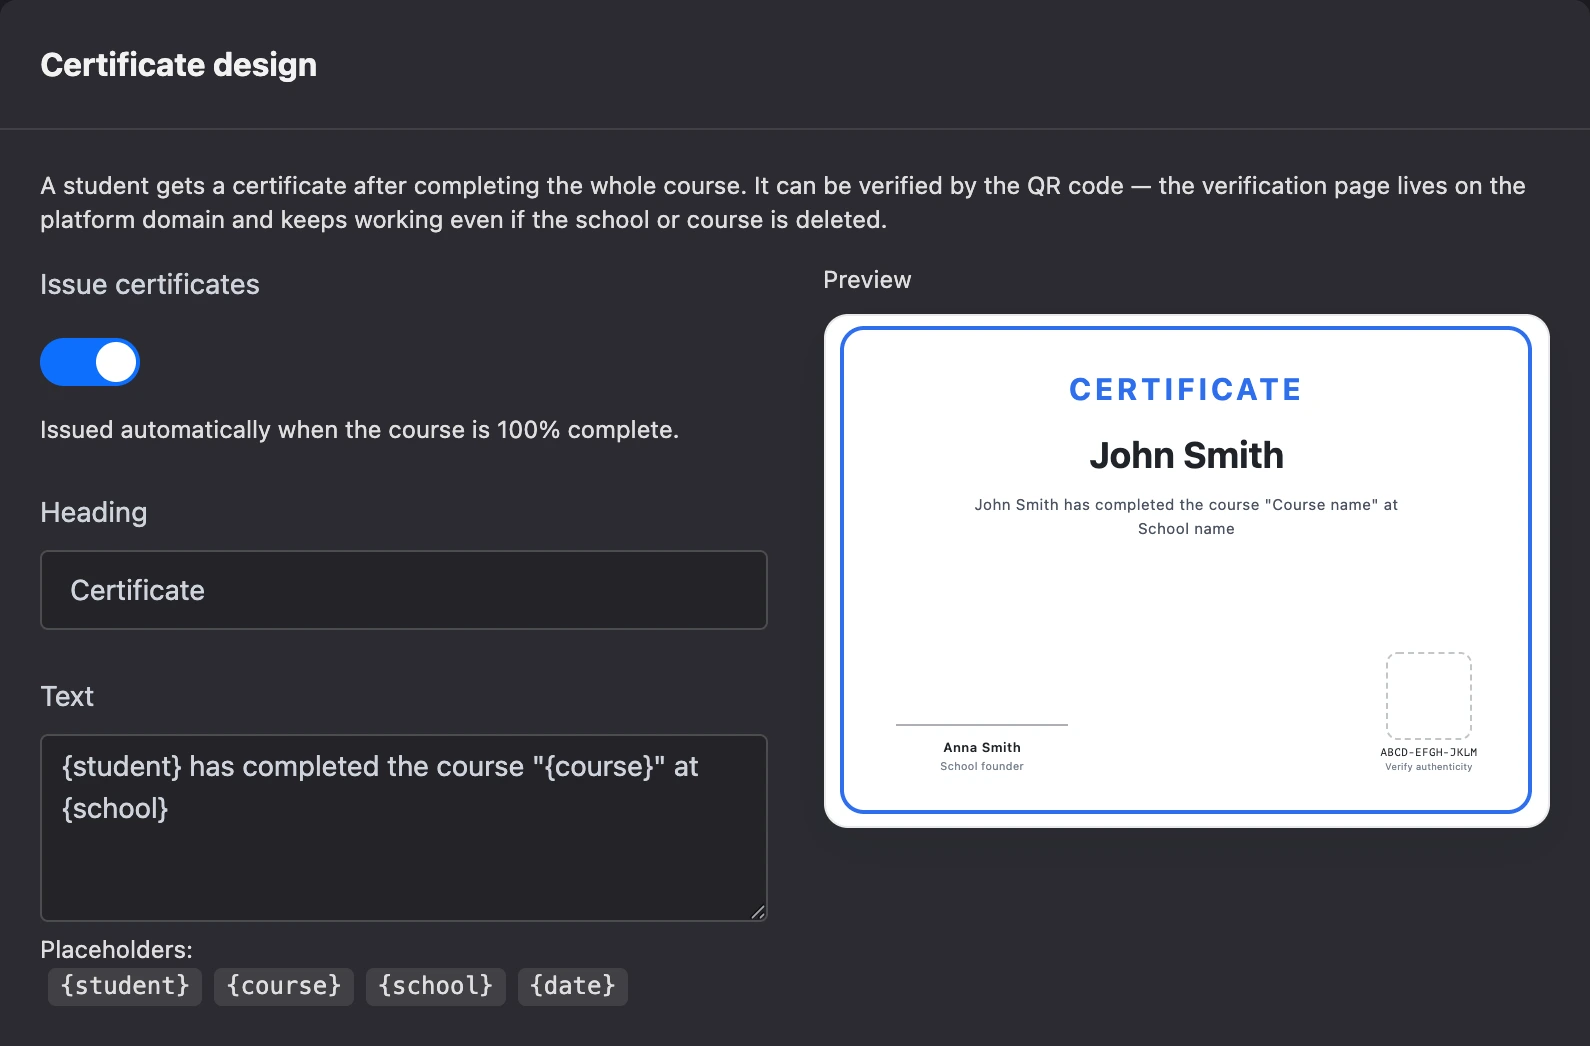
The design is the same for the whole school and applies to all courses.
Note
If the course is sold in packages, only students whose package has "Certificate" turned on receive a certificate. See the Selling courses page for details.
Design
| Field | What it sets |
|---|---|
| "Heading" | The large text at the top. Empty means "Certificate" |
| "Text" | The main text. Substitutions: {student} — the student's name, {course} — the course, {school} — the school, {date} — the completion date. Click a substitution under the field to insert it into the text |
| "Logo" | The school logo on the certificate |
| "Background" | An image covering the whole certificate. Recommended size 2100×1485 |
| "Signed by", "Position" | The name and position of the person who signs the certificate |
| "Signature" | An image of the signature on a transparent background |
| "Stamp" | An image of the stamp on a transparent background. It goes between the signature and the QR code |
| "Font" | The certificate font. Empty means "Same as the site" |
| "Accent color" | The color of the certificate design. The border is drawn in it too |
| "Border" | A thin border in the accent color along the edge of the certificate |
The {school} substitution takes the "Student portal title" from the school settings, or the school name if it is empty.
If the "Text" field is empty, the default text is used:
completed the course “{course}”
at {school}
{date}
When a certificate is issued
- The certificate is issued at the moment the student completes the last lesson of the course. If a chatbot is connected, the student receives the "Certificate issued" notification.
- The link to the certificate appears on the course page in the student's cabinet.
- If issuing was turned off at that moment, the certificate is not issued. Students who have already completed the course will not receive it retroactively.
- If lessons are later added to the course, the student's progress drops, but the issued certificate remains: the student genuinely completed the course as it was then.
Certificate data is fixed at issue. If you change the design, certificates already issued do not change until you reissue them.
Issued certificates
The "Issued certificates" subsection lists all of the school's certificates. Search by student, course or number; the filter shows "Valid", "Revoked" or "All".
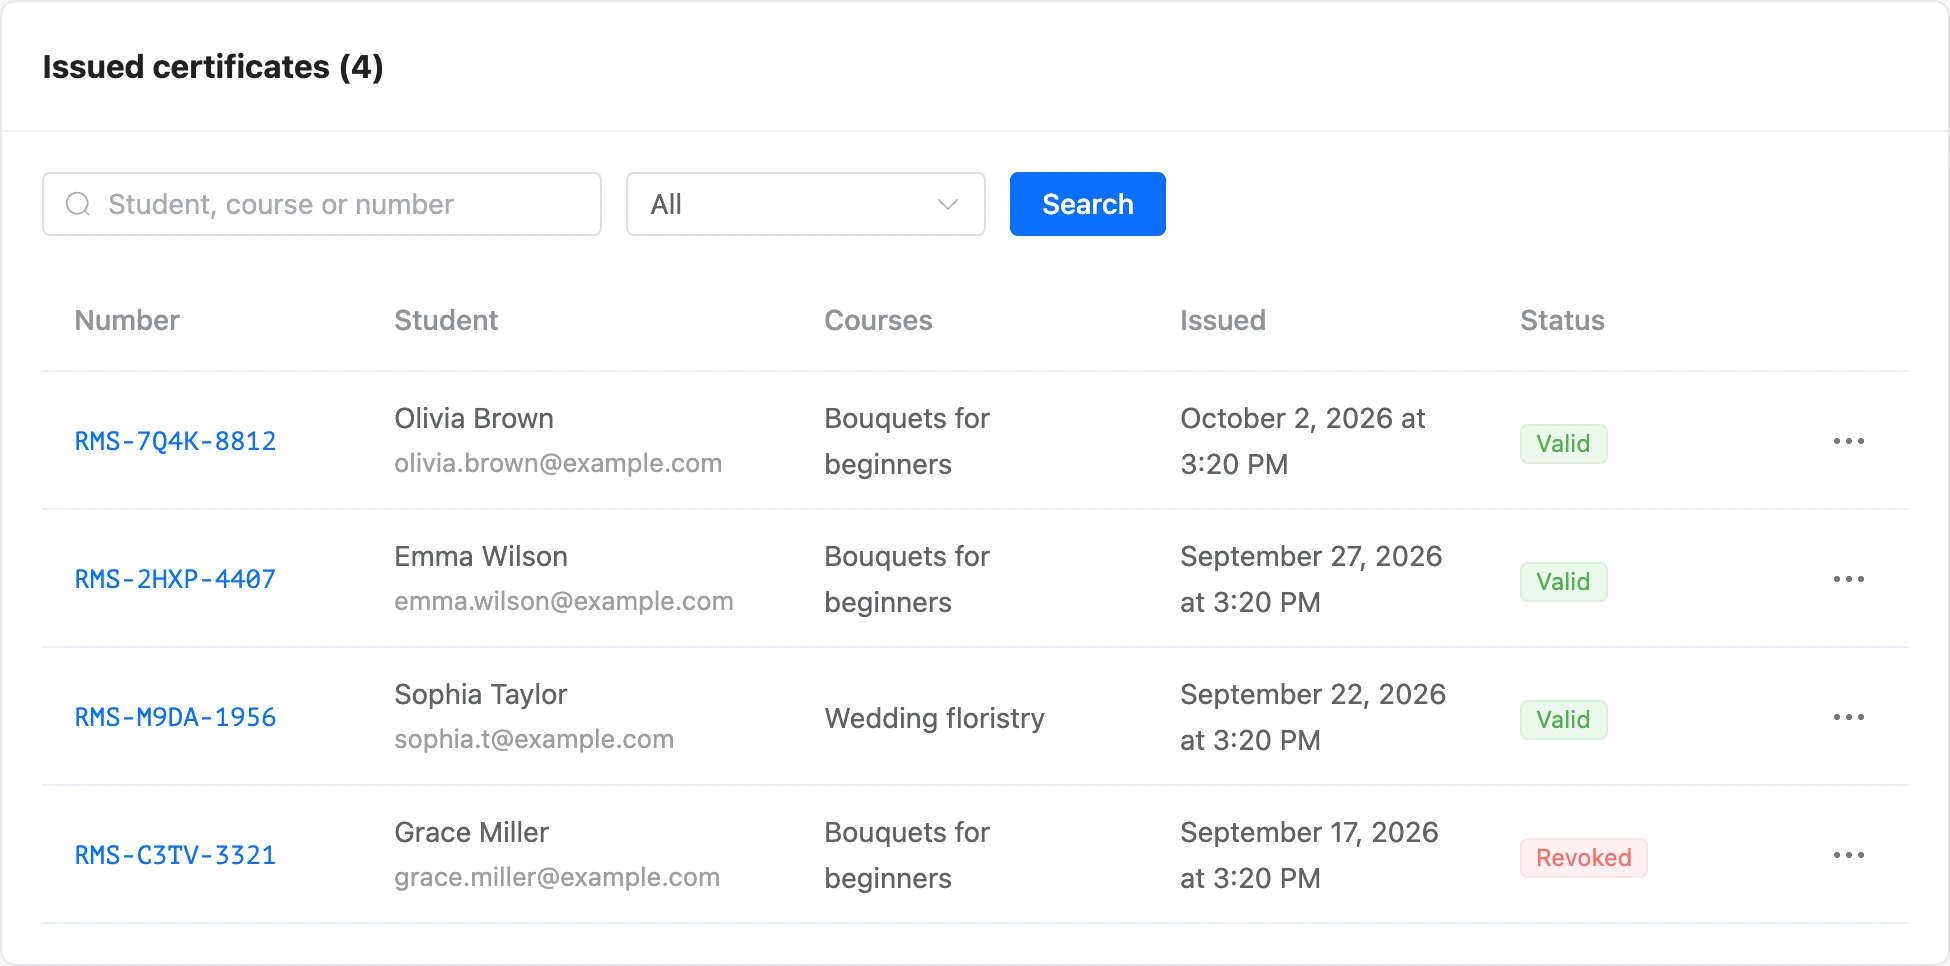
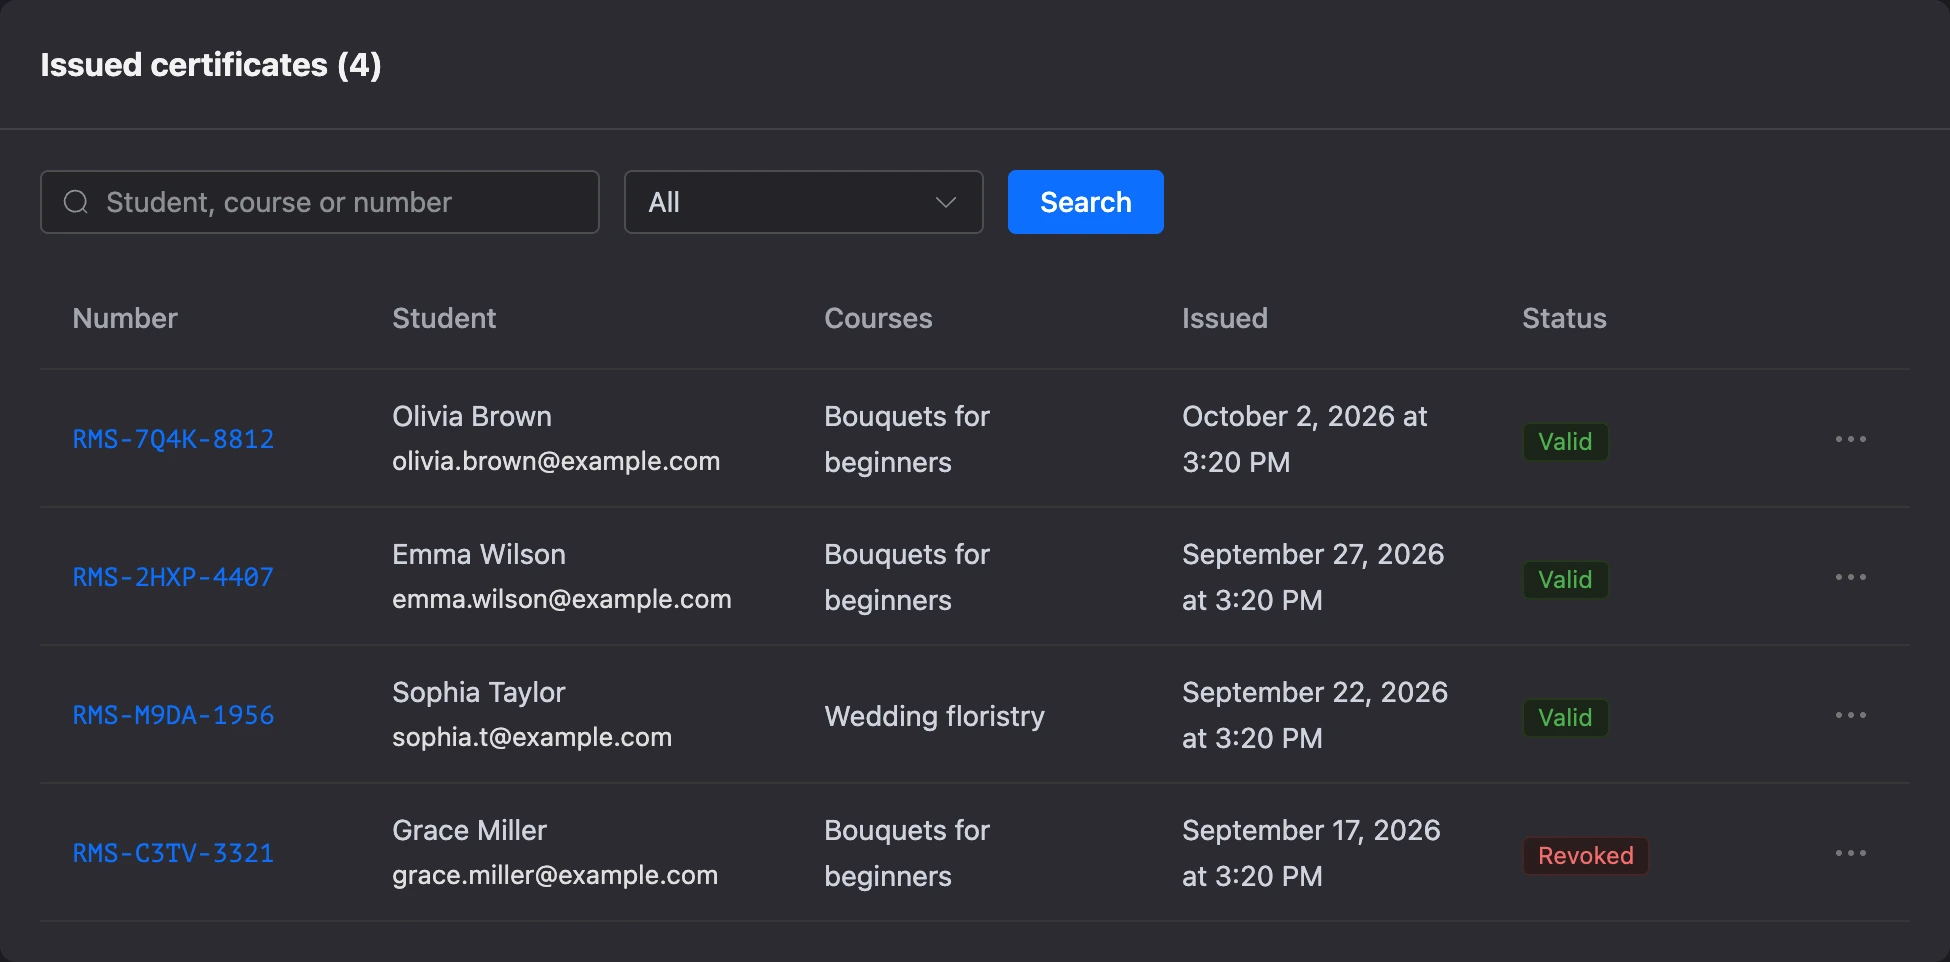
The table shows the number (clicking it opens the verification page), the student, the course, the issue date and the status. In the row's "⋯" menu:
- "Reissue" — update the certificate with the current design and the student's current name. The number and the link do not change, and a revocation is lifted. You cannot reissue if the course or the student has been deleted.
- "Revoke" — make the certificate invalid. The verification page will show that it has been revoked.
The school owner and a team member with the "Edit online school" permission can revoke and reissue. Team members with the "View students" permission can also see the list.
Verifying authenticity
Anyone with the link or the QR code from the certificate can open the verification page — no sign-in is needed. It shows whether the certificate is valid.
Issued certificates keep opening even if the school has been deleted or has no plan.