

The list of bots and creating a bot
All bots of a project are gathered in the "Chatbots" section. From here a bot is opened, created, renamed, copied and deleted.
The list of bots
The list's header has the number of bots in the project, the view switch and the "Create" button.
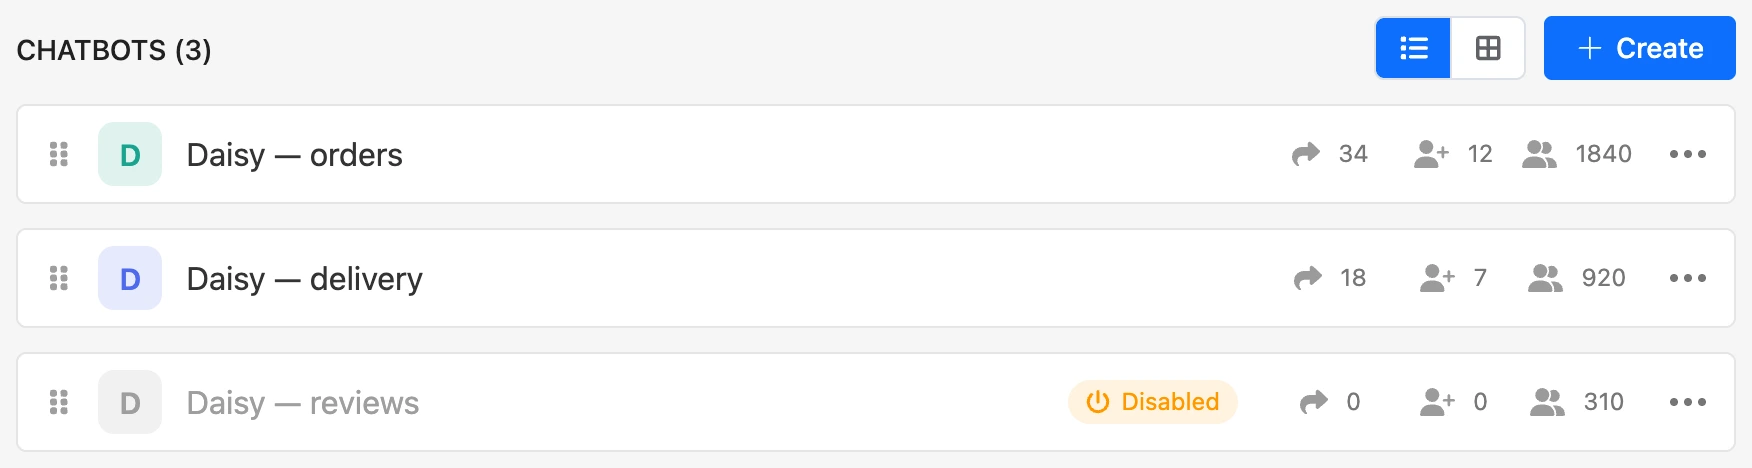
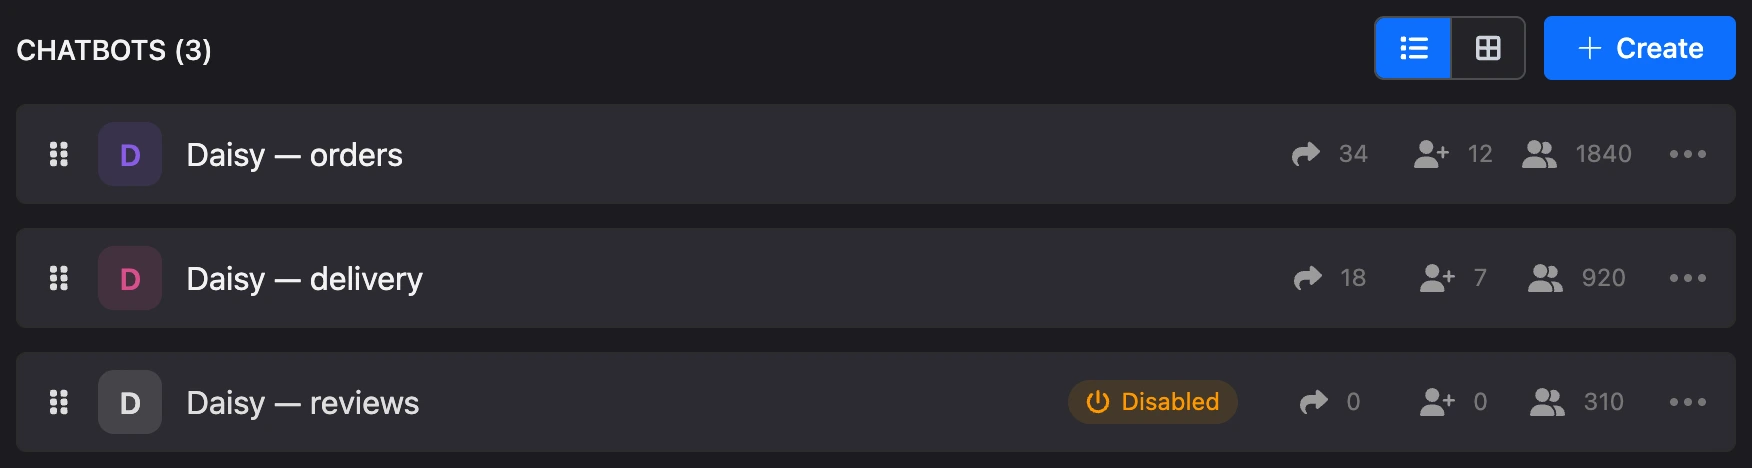
- View. The "List" and "Cards" buttons switch the view. A card shows a reduced scheme of the bot above the name. The choice is remembered in the browser.
- Order. Pull a bot by the icon with dots on the left — the hint is "Drag to reorder". The order is shared by everyone who works in the project. A new bot goes to the top of the list.
- Opening a bot. A click on a row or a card opens the bot's scheme.
Every bot shows three numbers:
| Hint | What it shows |
|---|---|
| "Number of clicks" | Clicks for today |
| "Number of new visitors" | New visitors for today |
| "Audience" | How many contacts the bot has in total |
A click on any of the numbers opens the bot's statistics. What counts as a click and a visitor is in the Statistics section.
If the bot is turned off, the "Disabled" mark is next to its name. A bot is turned on and off in its settings.
The bot's menu
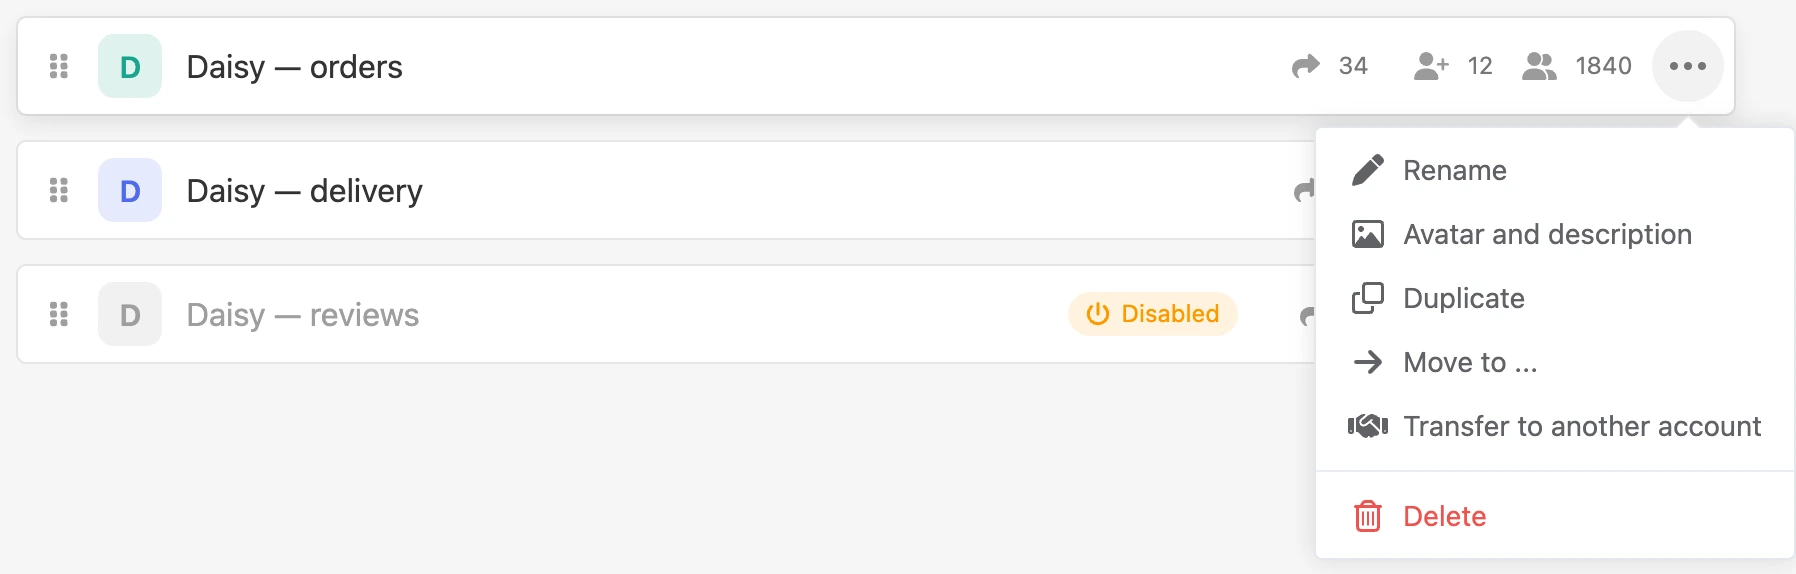
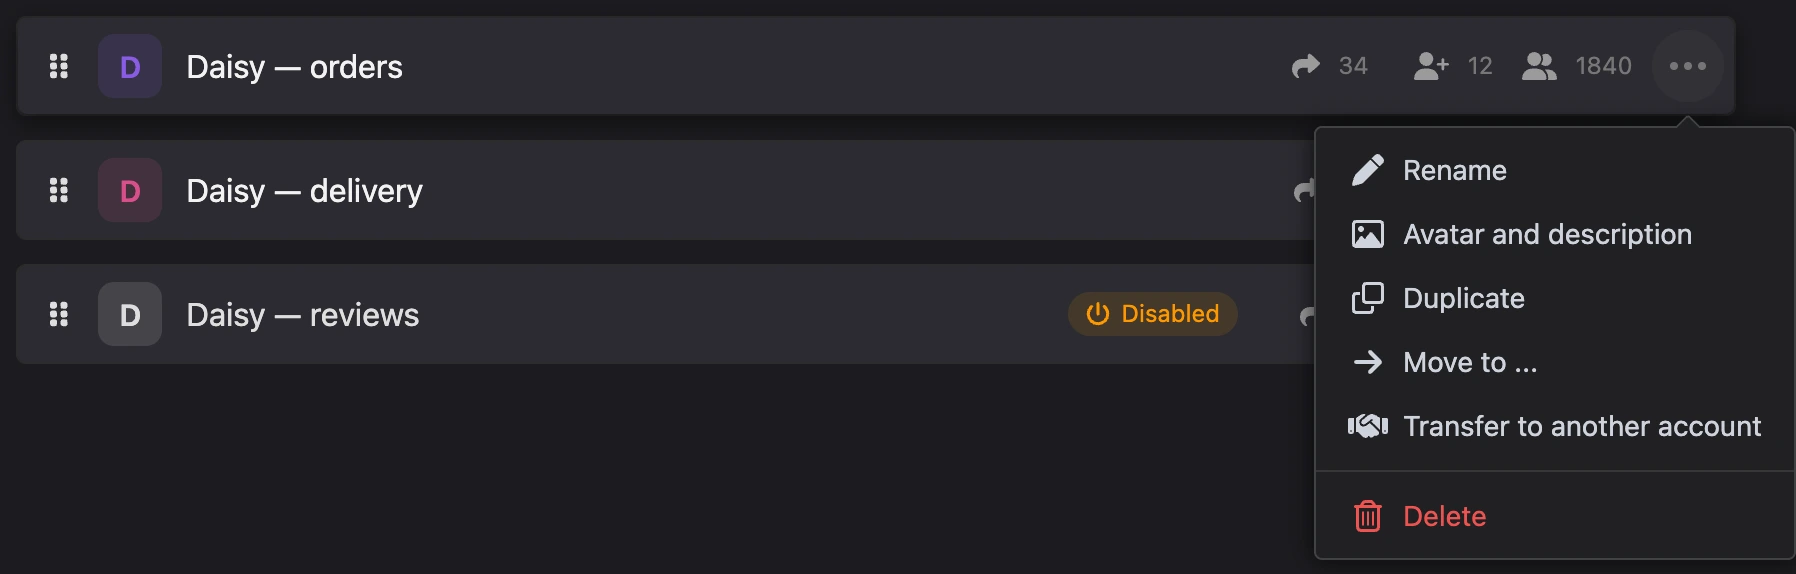
On the right of a bot's row is the "⋯" menu. The set of items depends on your permissions in the project.
| Item | What it does |
|---|---|
| "Rename" | Changes the bot's name in your account |
| "Avatar and description" | Opens the window with the bot's image. The image is shown in the list and in the side menu. JPG, PNG, GIF, WebP and AVIF up to 5 MB are suitable. If a messenger that allows it is connected, in the "Also set it in messengers" block you can tick where else to set the image |
| "Duplicate" | Creates a copy of the bot in the same project |
| "Move to ..." | Moves the bot to another project of yours. For the owner only |
| "Transfer to another account" | Starts the transfer of the bot to another owner. For the owner only |
| "Delete" | Deletes the bot |
The bot switcher
When a bot is open, its avatar is in the side menu. If the project has more than one bot, a click on the avatar opens the switcher:
- the "Find a bot" field searches by name;
- "Recent" — up to five bots you opened last in this browser;
- "All bots" — the other bots of the project. Each shows the number of contacts or the "Disabled" mark.
When you go to another bot, you stay in the same section: from the mailings of one bot you get to the mailings of the other.
At the bottom of the switcher are "Avatar and description", "All bots in project" (back to the list) and "Create bot".
Creating a bot
- In the "Chatbots" section, click "Create". If the project has no bots yet, the button is called "Create a chatbot".
- Fill in "Bot name". It is visible only in your account.
- Choose the "Bot language" — the bot will talk to people in it.
- In the "Template" field, leave "Blank bot" or choose a ready-made template.
- Click "Create". The new bot's scheme opens.
Instead of filling in the form, you can describe the bot in words: in the "Build a bot with AI" block above the form, click "Build", describe the task or pick an example and click "Build with AI". The AI chat opens, and the description is sent to it as the first message — see the Building a bot in the AI chat page for details.
The bot's time zone is taken from your browser. You can change it in the bot settings.
What to do next with a blank bot is described step by step in the Quick start.
A bot from a template
The "Template" field shows a selection of ready-made scenarios in the language chosen in the "Bot language" field. If you change the language, the selection is updated. When there are no suitable templates, the form has no such field — the bot is created blank.
- The "Preview" link on a tile opens the template in a new tab: there you can study its scheme.
- The "Show more" button loads the next templates.
- You can leave the name empty — the bot gets the template's name.
- If the template has its own values, the "Template values" block appears under the tiles. Enter your data — for example, the company name or phone — and it is inserted into all scenarios of the bot.
The form shows only a selection. All templates are in the catalogue.
How many bots you can create
- One project can have no more than 100 bots. When the limit is reached, the "Create" button and the "Duplicate" item become unavailable, and the hint says: "A project can have no more than 100 bots".
- No more than 50 new bots per day. This includes copies, bots installed from templates and bots built by AI. A day means the last 24 hours, not a calendar day. Deleted bots count too.
Deleted bots do not count toward the project limit. The daily limit applies to the project owner: a bot created by a team member counts toward the owner's limit.
If something does not work
- There is no "Create" button or no items in the bot's menu. Your role in the project lacks permissions. Contact the project owner.
- "You cannot create more than 100 bots in one project." Delete bots you do not need, move some to another project or create the bot in another project.
- "You cannot create more than 50 bots per day. Please try again later." The account's daily limit is used up. Wait: the limit frees up as 24 hours pass since the bots were created.
- The bot you need is not in the switcher. The switcher shows only the bots of the current project. Return to the list of projects and open another one.