

Selling courses
A course is sold in access packages. A package is a price, an access period and what the training includes: homework review, questions to the curator, a certificate. A course can have several packages — for example, "Self-paced" and "With a curator".
Payment goes through your project's payment systems: the money goes straight to your account in the payment system, and the platform records the order and opens access for the student.
Paid and free courses
There is no separate switch for a paid course. There is one rule:
- there is at least one package with "On sale" turned on — the course is paid. In the list of courses it shows the price "from …";
- there are no packages or all of them are hidden — the course is free: any registered student clicks "Start learning" and gets unlimited access.
In a paid course, you can open individual lessons to everyone: turn on "Free lesson" for the lesson. Such lessons work as a showcase for the course.
Access packages
Open the course and go to the "Access packages" subsection.
- Click "Add a package".
- Fill in the "Access package" window and click "Save".


| Field | What it sets |
|---|---|
| "Name" | What the package is called on the course page. For example: "with homework review" |
| "Description" | A short explanation under the name |
| "Price" and "Currency" | The cost of the package. Currencies: RUB, USD, EUR, BYN, KZT, UAH, UZS, AMD |
| "Access period, days" | For how many days the course opens after payment. Empty means unlimited |
| "What is included" | "Homework review", "Questions to the curator", "Certificate". Whatever is turned off in the package is unavailable to the student, even if it is turned on in the course settings |
| "Extras" | Free-form lines for the storefront: "direct line to the author", "live review". Type a line and press Enter. Up to 10 lines |
| "On sale" | Show the package to students. A package that is turned off is marked "Hidden" in the list |
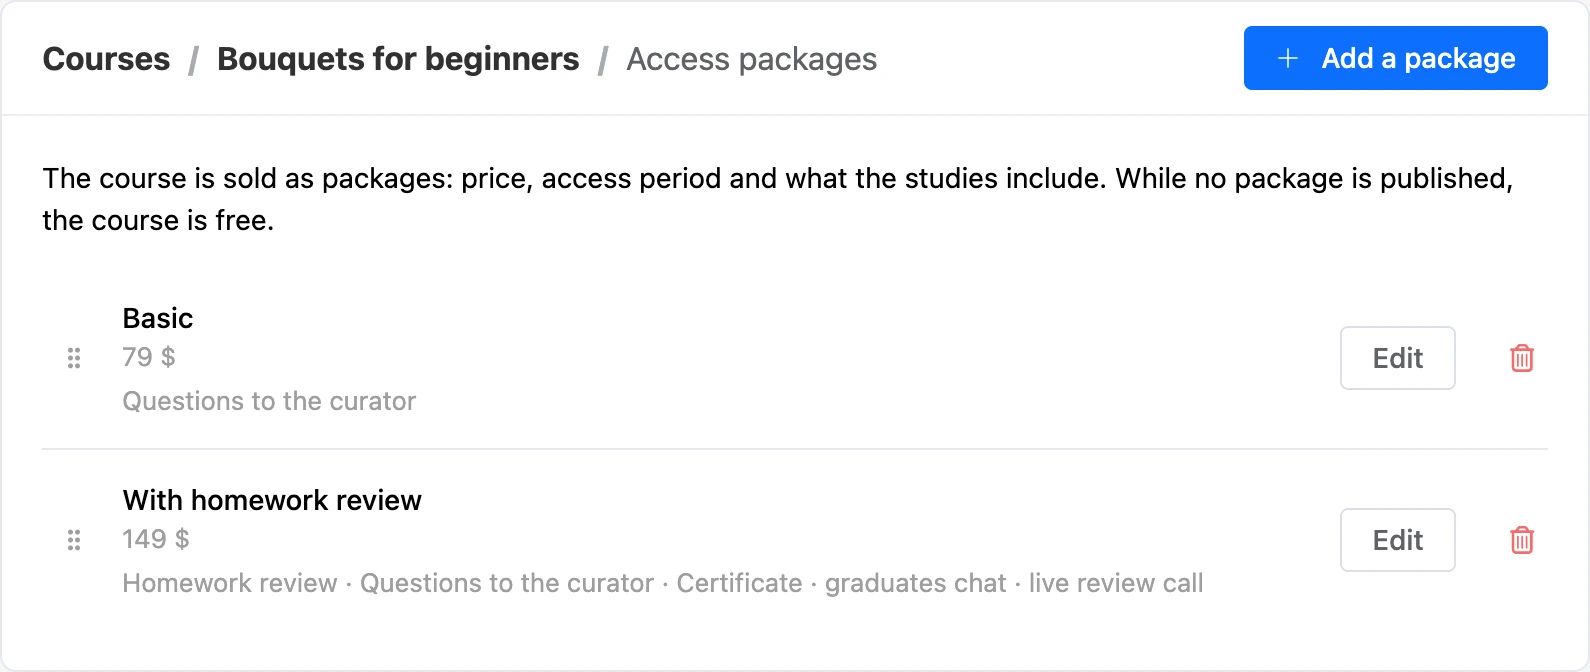
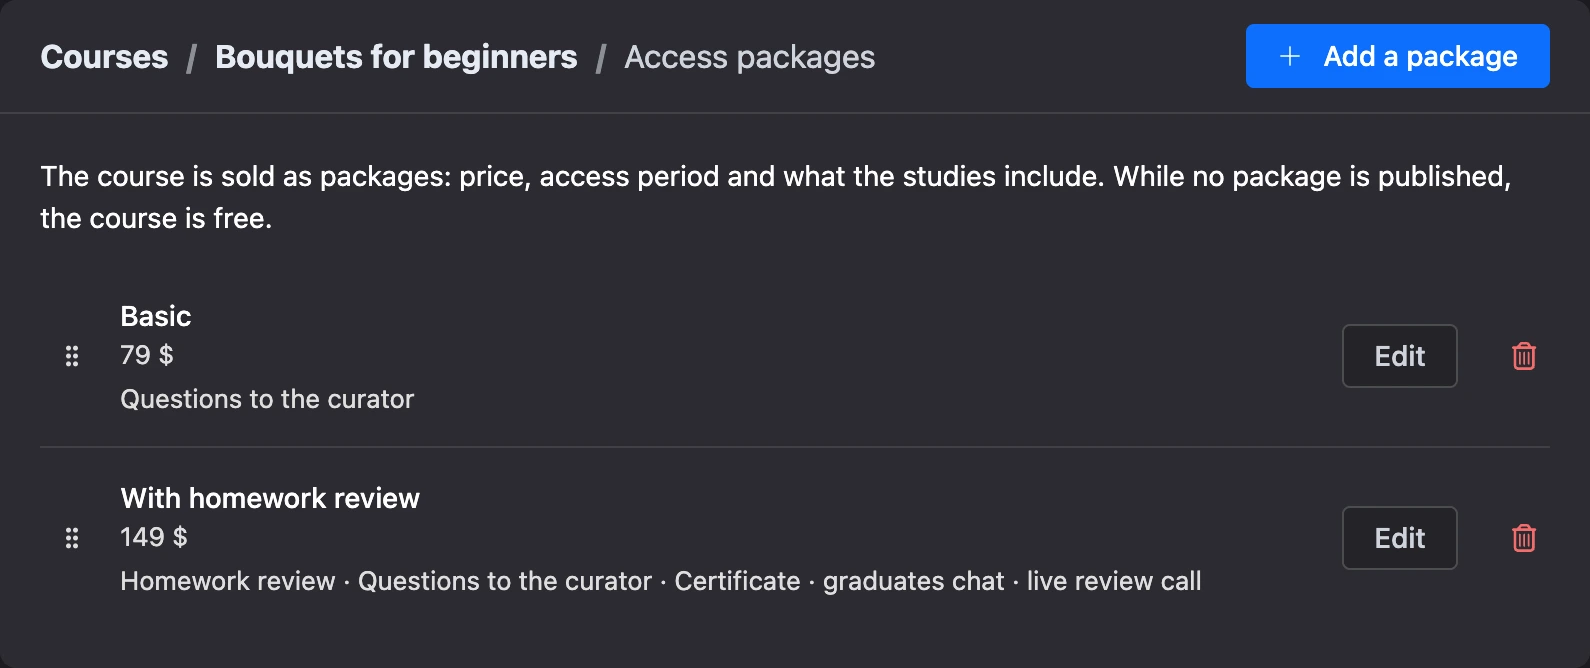
Change the order of packages on the course page by dragging. A course can have no more than 10 packages.
What to keep in mind:
- The terms stay with the student. At purchase, the platform records the package terms. If you later change or delete the package, the students who bought it keep learning on their terms.
- Upgrading to a more expensive package. A student with active access can switch to a more expensive package in the same currency: they pay only the difference. A package of the same price or cheaper cannot be bought a second time.
- The access period is counted from the moment of payment.
Accepting payments
A school does not connect payment systems itself — it chooses from those connected in the project. How to connect a payment system to the project is described in the Accepting payments section.
- Open the school "Settings", the "Accepting payments" subsection.
- In the "Payment systems" field, choose one or more project systems. Each one shows the currencies it accepts.
- Click "Save".
If there are no connected systems in the project, the field shows "The project has no connected payment systems." The "Set up payment systems" link leads to the project settings — it is visible to those who can manage them.
If several selected systems accept the package currency, payment goes through the first one in the list. Below, in the "Package currencies" block, you can see which system the student will use to pay for packages in each currency. The "no way to accept payment" label means there is no suitable enabled system for that currency: the student will not be able to buy such packages.
The school owner and a team member with the "Configure payment systems" permission can set up payments.
Receipt
In the "Receipt" block of the same subsection is the "VAT rate in the receipt" field. If you leave it empty, the rate is taken from the payment system settings.
Access to the course opens right after payment, so the receipt shows full settlement, and no second receipt is needed.
If the Payme payment system is selected, the "IKPU code" and "Package code" fields appear — the service codes from the tasnif.soliq.uz directory for fiscal receipts in Uzbekistan. Without them, Payme will process the payment without receipt details.
Whether a receipt is generated and which cash register is needed for it depends on the payment system — see the Accepting payments section.
How a purchase works
- The student opens the course in the student portal, chooses a package and clicks "Buy".
- The platform creates an order and sends the student to the payment system's payment page.
- After payment, the order gets the "Paid" status, and access to the course opens for the student. If a chatbot is connected, the student receives a notification.
If the student clicks "Buy" again within 30 minutes and has not paid yet, they get the same payment link — there will be no second order.
Orders
The "Orders" section in the school menu is a list of all course payments. A row shows the student and their email, the course, the amount, the status and the date. The filter at the top selects orders by status.
| Status | What it means |
|---|---|
| "Awaiting payment" | The student went to payment but has not paid yet |
| "Paid" | The payment went through, access to the course is open |
| "Canceled" | The payment was canceled or declined. The next attempt will create a new order |
| "Failed" | The payment system could not create the payment. Under the status is the label "Payment system error"; hover over it to see the reason |
| "Refunded" | You refunded the money through the payment system |
Important
A refund does not close access to the course. If the student should no longer study, revoke access manually in the "Students" section.
The section is visible to the school owner and team members with the "View orders" permission.
Free access to a paid course
You can open a paid course without payment — for example, to a contest participant — manually:
- Go to the "Students" section. The student must already be registered in the student portal.
- In the student's "⋯" menu, choose "Course access".
- Choose the course, set the access end date if needed and click "Grant".
Such access is not tied to a package, so homework review and questions to the curator are available to the student as they are set in the course. More about access is on the Students page.
The school has no promo codes or discounts: you can give some students a different price with a separate package or by granting access manually.
If something does not work
| What you see | Cause | What to do |
|---|---|---|
| The student sees "Payment is temporarily unavailable. Please contact the school." | No suitable payment system is selected for the package currency, it is turned off, or the school has no active plan | Check the "Package currencies" block in the "Accepting payments" subsection and the school plan |
| The student sees "The payment could not be created. Please try again later." | The payment system declined the request | Open "Orders", find the order with the "Failed" status and look at the reason |
| The student sees "This access package is no longer on sale." | The package was hidden or deleted while the student was on the page | The student needs to refresh the page and choose another package |
| The student sees "You already have access to this course." | They are trying to buy a package that costs no more than the one they have already paid for | An upgrade is possible only to a more expensive package |
| "The payment account was not found in the project. Refresh the page." | The selected payment system was deleted from the project | Refresh the page and choose the system again |
| "A course can have at most 10 access packages." | The package limit has been reached | Delete a package you do not need |