

Notifications
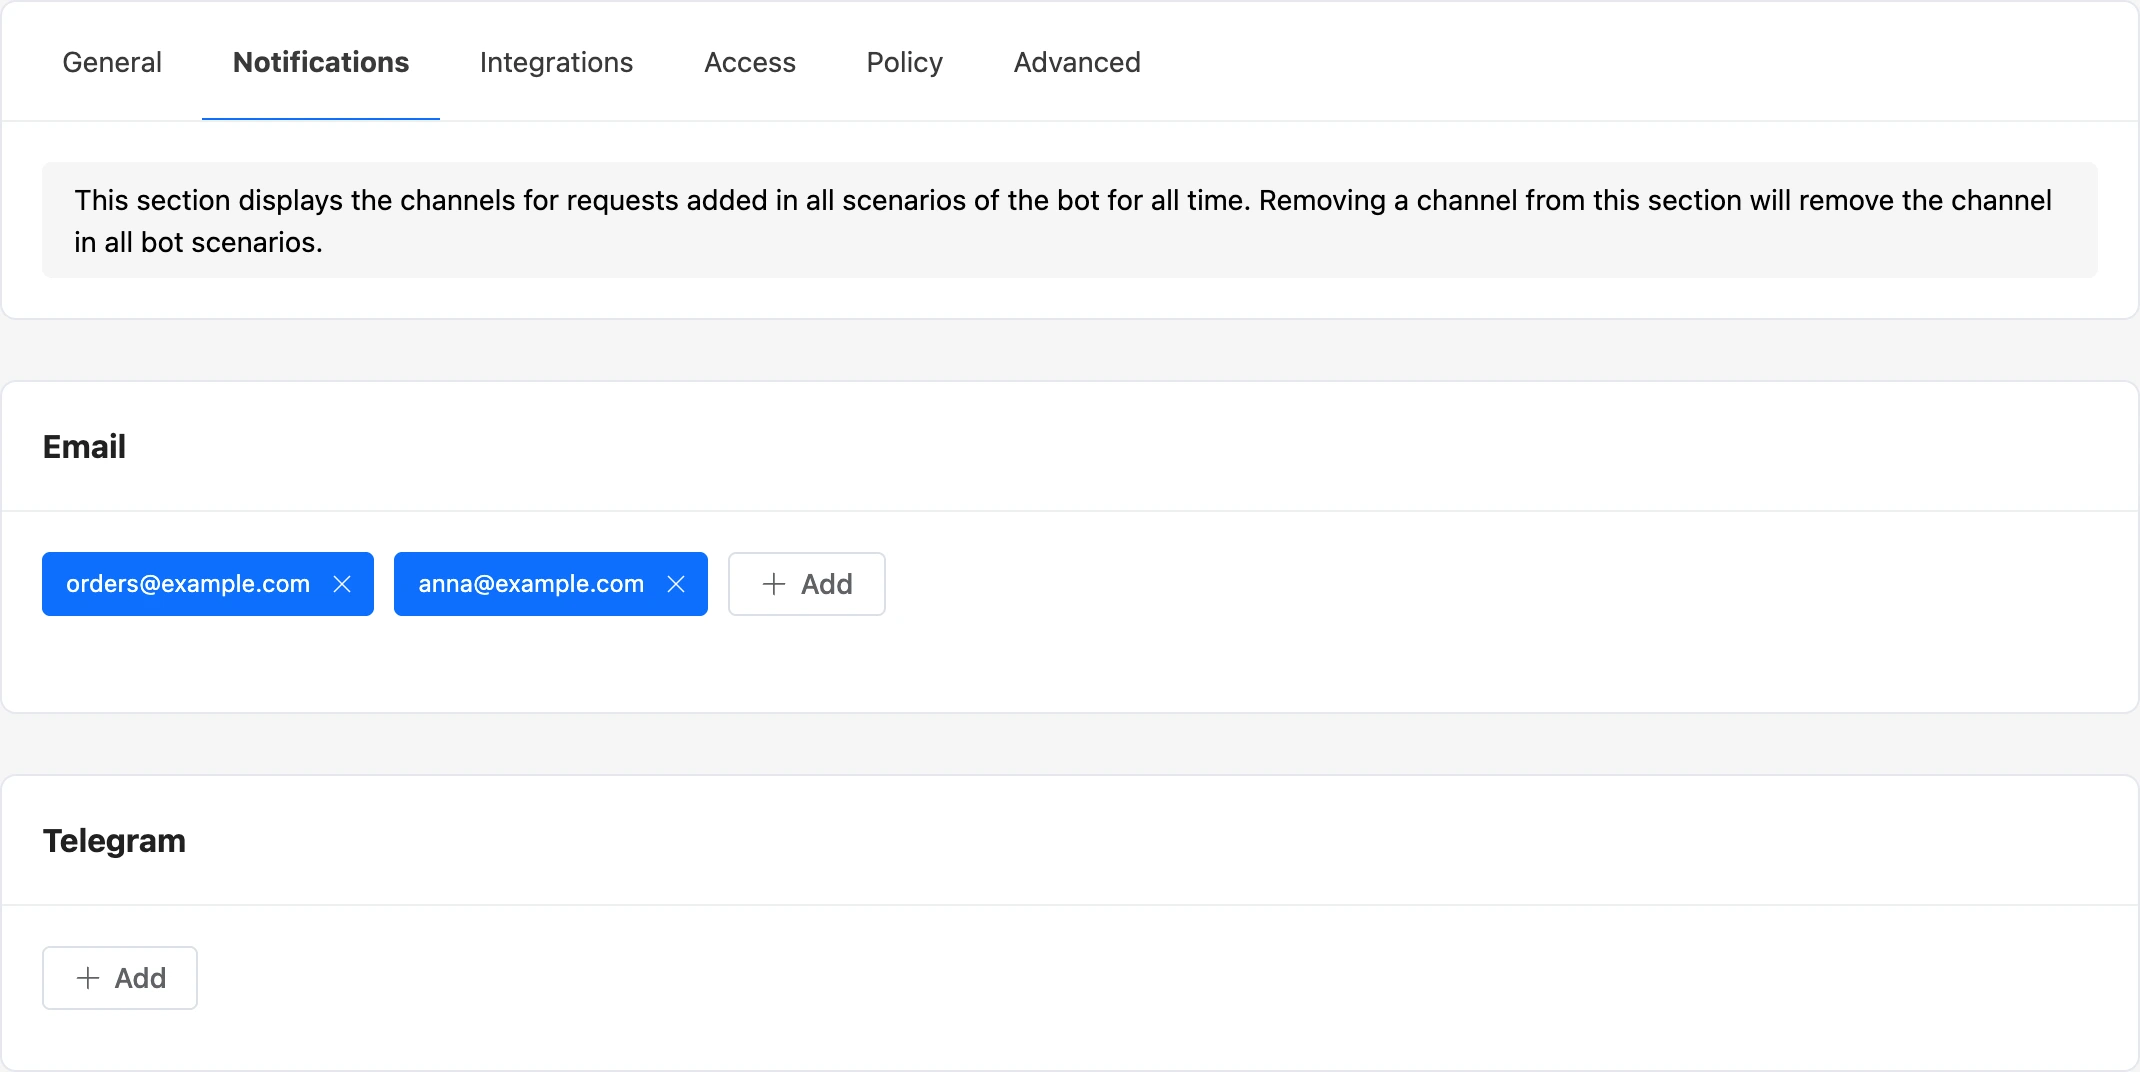
The "Notifications" tab stores the bot's list of recipients: email addresses and messenger chats where the bot sends messages for you and your team members. People who talk to the bot do not see these messages.
Note
The tab works with a Pro subscription. See the What is available without Pro page for details.
What the bot reports
| Event | Who gets it |
|---|---|
| A request — a contact reached the "Request" block | Only the recipients chosen in that block |
| The bot issued an invoice to a person in a payment block | All recipients from the "Notifications" tab |
| A person paid the invoice | All recipients from the "Notifications" tab |
The list of recipients does not send out requests by itself: the address or chat also has to be chosen in the "Request" block. Different blocks can have different recipients — for example, delivery requests go to one team member and payment questions to another. How to add blocks to a scenario is in the blocks overview.
Messages about invoices and payments go to all recipients of the list; there is nowhere to choose them.
Adding an email
- In the "Email" card, click "Add".
- Enter the address and press Enter.
The address appears in the list. It does not need to be confirmed. Up to 100 addresses can be added to one bot; the same address cannot be added twice — the error "This e-mail has already been added." appears.
Adding a chat in Telegram
Notifications in Telegram are sent by the platform's separate notification bot — not your bot. The recipient is the Telegram account in which the link from your account is opened.
- In the "Telegram" card, click "Add". The notification bot opens in Telegram.
- Press "Start" in it. The bot replies that the channel for requests is connected.
- Return to your account and refresh the page — the account appears in the card.
To connect a team member, give them the address the "Add" button opens: they must open it in their own Telegram. The link is one-time and valid for 12 hours. After one chat has connected through it, refresh the page and take a new link for the next recipient.
If the notification bot replied "The activation link is incorrect or out of date", open the "Notifications" tab again and click "Add" once more.
Up to 100 chats can be connected to one bot.
Removing a recipient
Click the cross next to the address or chat. The removal happens right away, without confirmation.
Warning
The recipient is removed from the whole bot: they also disappear from all "Request" blocks where they were chosen. If a block has no recipients left, requests from it stop coming to email or the messenger.
What a notification contains
What a request consists of is described on the "Request" block page: the title, your text, the person's name and contact details, their variables.
A payment notification begins with the title "Invoice issued in …" or "Invoice paid in …" with the bot's name. The labels in notifications are in the bot's language.
The request title and the address the emails come from are changed on the "Advanced" tab.
Who can change recipients
Recipients can be added and removed by the bot's owner and a team member with the "Bot settings" permission.
If notifications do not arrive
- A request did not arrive. Check in the "Request" block that the right channel is turned on and a recipient is chosen in it: a channel without recipients sends nothing.
- The notification bot says the channel is already connected. This chat is already in the bot's list of recipients — there is no need to add it a second time.