
Project payment systems
On the "Accepting payments" tab you connect the payment systems that the project's sections — shops and online schools — use to accept payments. One system can be chosen in several sections at once. The money goes straight to your account in the payment system.


Chatbots do not need these connections: a bot's payment blocks work through the bot's own integrations.
Where to find it
Open the project, click "Settings" in the side menu and go to the "Accepting payments" tab.
Note
Only the project owner sees the tab: money goes through it, and the keys give access to your shop in the payment system. Team members cannot open it with any role. The tab is also missing where the platform has neither shops nor online schools.
Connecting a payment system
- Click "Connect a payment system".
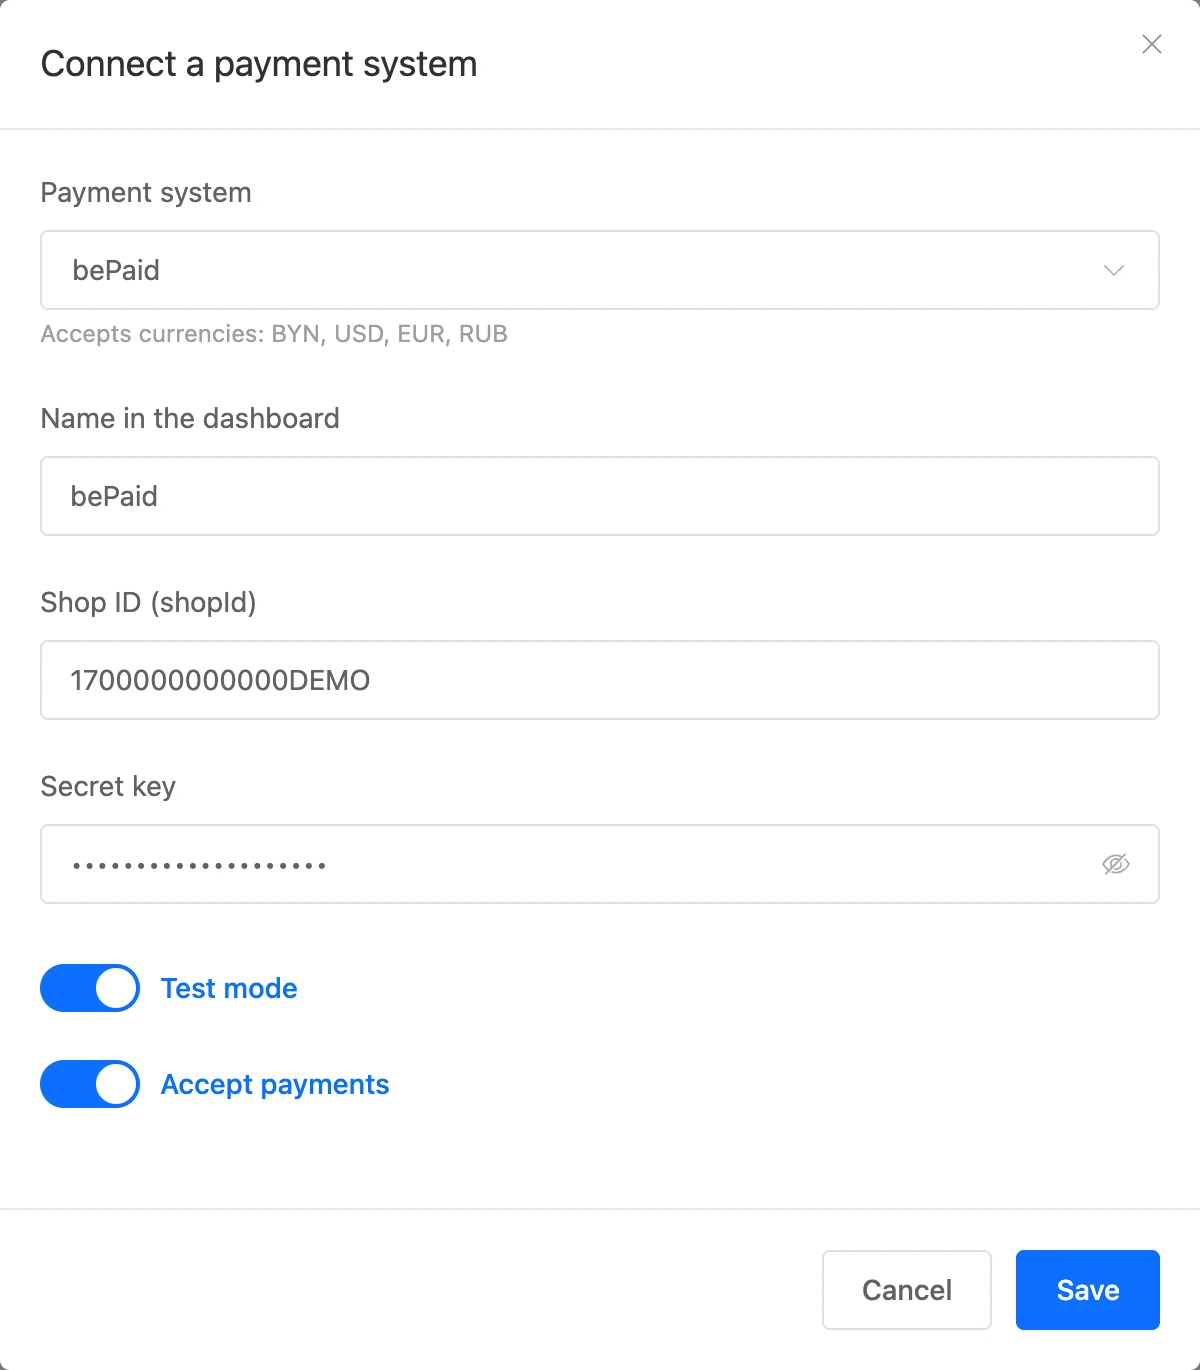
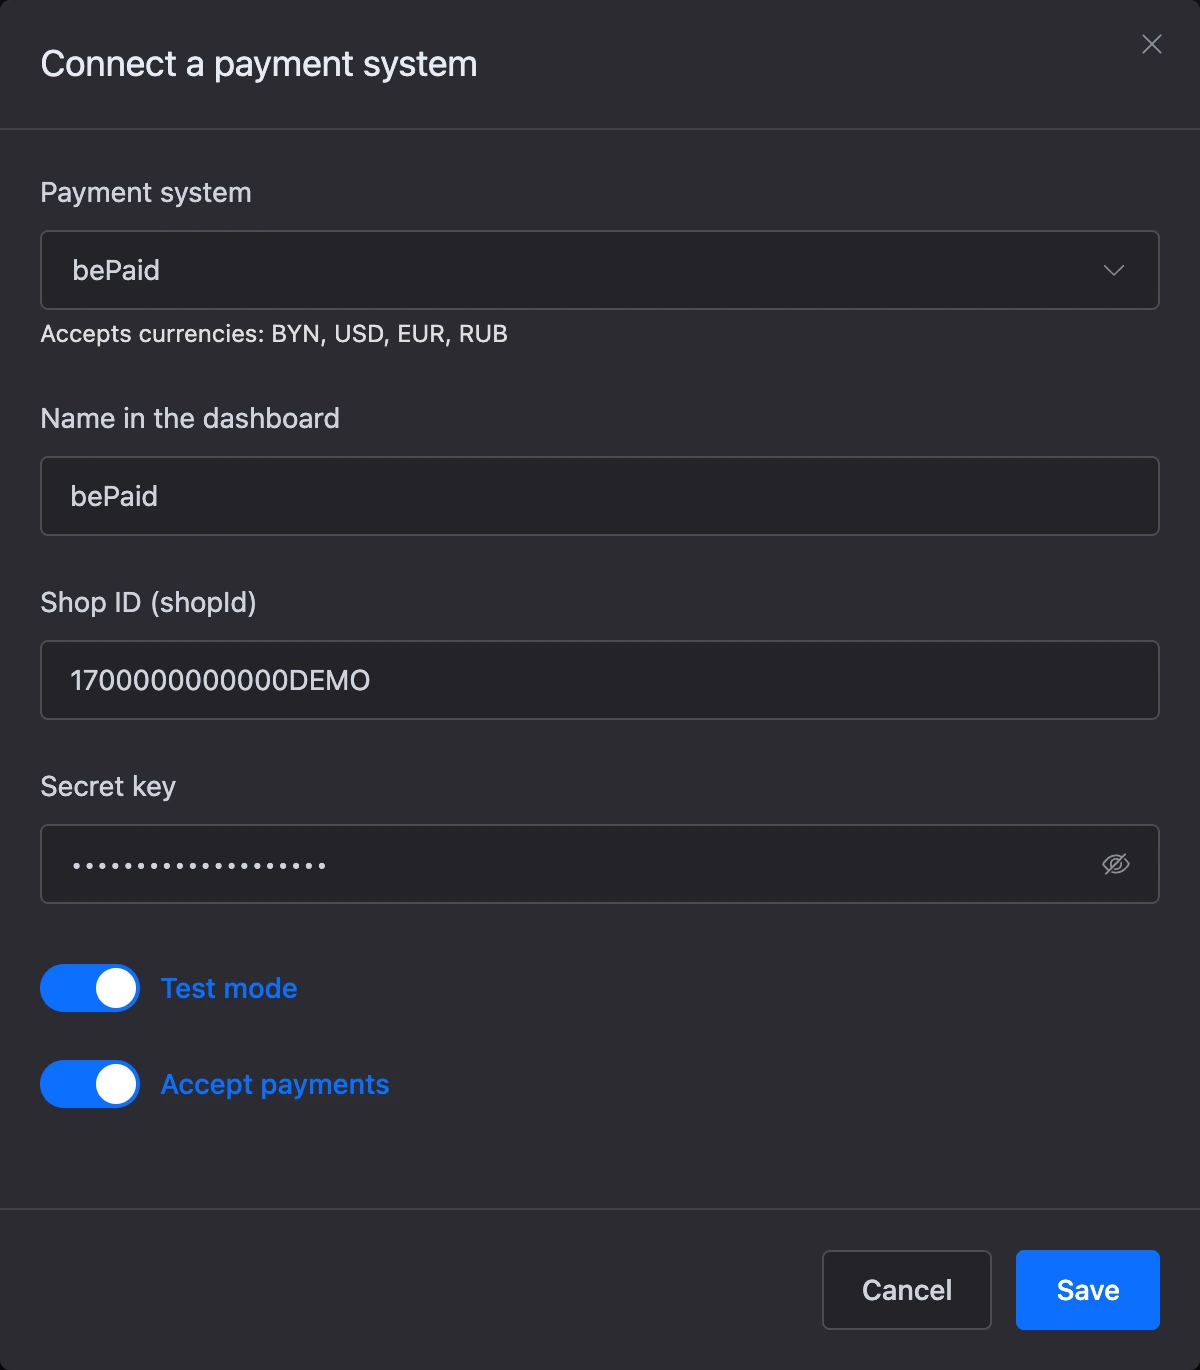
- Choose the system in the "Payment system" field. A hint "Accepts currencies: …" appears below the field.
- Fill in "Name in the dashboard" — the connection will be shown under this name in the shop and school settings. The system's name is filled in by default.
- Enter the keys from the payment system's dashboard. Each system has its own set of fields — they are described below.
- If the system sends receipts, set up the "Fiscal receipts (54-FZ)" block. Details are on the Receipts page.
- Click "Save".
After saving, the window stays open and the "Notification URL" block appears in it. The text under the URL says what to do with it: copy it into the payment system's dashboard, or nothing — if the system receives the URL with every payment.
Important
If the notification URL has to be set in the payment system's dashboard, do it right away. Without it the customer pays, but the order stays unpaid: the platform does not learn about the payment.
A project can have up to 10 connections. The same system can be connected several times — for example, with different shops.
Switches
- "Test mode" — for trial payments. What it changes for each system is described in the "Test mode" section below.
- "Accept payments" — turn it off to stop accepting payments through this connection for a while without deleting it.
What to enter for each system
YooKassa
- Fields: "Shop ID (shopId)" — digits only, and "Secret key".
- Currencies: RUB, USD, EUR, BYN, KZT, UZS.
- Notification URL: set it in the YooKassa dashboard under "Integration" → "HTTP notifications" and turn on the events
payment.succeeded,payment.canceledandrefund.succeeded. - Receipts: sends them, supports the second receipt.
T-Bank
- Fields: "Terminal (TerminalKey)" and "Terminal password".
- Currency: RUB.
- Notification URL: no need to set it in the dashboard — T-Bank receives it with every payment.
- Receipts: sends them, supports the second receipt.
Robokassa
- Fields: "Shop ID", "Password #1", "Password #2" and "Country" — "Russia" or "Kazakhstan".
- Currency: depends on the shop's country — roubles for Russia, tenge for Kazakhstan.
- Notification URL: set it as the Result URL in the Robokassa shop settings. Method — POST, hash algorithm — MD5.
- Receipts: sends them. The second receipt — only for a shop in Russia.
Prodamus
- Fields: "Payment page URL" and "Secret key". The URL must start with
https://and lead to a public website. - Currencies: RUB, USD, EUR, KZT.
- Notification URL: no need to set it in the dashboard — Prodamus receives it with every payment link.
- Receipts: there are no receipt settings on the platform — Prodamus creates the receipt according to its own dashboard settings.
CloudPayments
- Fields: "Public ID", "API password" and "Cash register INN". The INN is optional: it is needed only for the second receipt and consists of 10 or 12 digits.
- Currencies: RUB, USD, EUR, GBP, KZT, BYN, UZS.
- Notification URL: set it in the CloudPayments site settings for the Pay, Fail and Refund notifications. Method — POST, encoding — UTF-8. The Check notification is not needed.
- Receipts: sends them, supports the second receipt — if "Cash register INN" is filled in.
bePaid
- Fields: "Shop ID (shopId)" — digits only, and "Secret key".
- Currencies: BYN, USD, EUR, RUB.
- Notification URL: no need to set it in the dashboard — bePaid receives it with every payment.
- Receipts: does not send them.
LiqPay
- Fields: "Public key (public_key)" and "Private key (private_key)".
- Currencies: UAH, USD, EUR.
- Notification URL: no need to set it in the dashboard — LiqPay receives it with every payment.
- Receipts: does not send them.
Test mode
The "Test mode" switch lets you check payments without real money. A connection with it on is marked "test mode" in the list.
- Robokassa. The payment link is created with the test payment flag. A test payment counts only for a connection in test mode.
- Prodamus. The payment link is created in demo mode.
- LiqPay. The payment is created in the sandbox. A sandbox payment counts only for a connection in test mode.
- bePaid. The payment is created as a test one. A payment with a test card counts only for a connection in test mode.
- CloudPayments. A payment that CloudPayments has marked as a test one counts only for a connection in test mode.
- YooKassa. The switch only adds a mark in the list. The payment is created in the shop whose keys you entered.
- T-Bank. The switch only adds a mark in the list. The payment is created on the terminal whose details you entered.
Warning
Before you start selling, turn off "Test mode" and replace the test keys with live ones. While the mode is on, a test payment marks the order as paid — without real money.
The list of connections
Under each connection you see the system's name and, if it sends receipts, "receipts sent" or "no receipts". Next to the name there may be the marks "test mode" and "off".


- The pencil icon opens the connection for editing. You cannot change the payment system of an existing connection — create a new one.
- Secret fields are empty when editing and say "Saved. Leave empty to keep it". The account never shows saved secrets to anyone. To replace a key, just enter the new one.
- You can copy the notification URL again at any time — it does not change.
Where a connection is used
A connection accepts nothing by itself — it has to be chosen in a section:
- Online school. In the school settings, in the "Accepting payments" section, the "Payment systems" field. A school can choose several connections: if several systems accept the package currency, the payment goes through the first one in the list. More in the Online schools section.
The same connection can be chosen by both a shop and a school — the payment notification finds the right order by itself.
How a payment goes
- The customer gets a link to the payment system's payment page. If they request payment for the same order again within 30 minutes, they get the same link — so they do not pay twice.
- A payment counts only if the amount and currency in the notification match the order.
- The payment system also reports cancellations and refunds to the notification URL. The money itself is refunded in the payment system's dashboard — the platform does not make refunds.
Disconnecting a payment system
To stop accepting payments for a while, open the connection and turn off "Accept payments".
To remove the connection completely, click the bin icon and confirm the question "Disconnect the payment system "…"?". You cannot delete it in two cases:
- The connection is chosen in a shop or an online school. First choose another one there or remove it.
- Payments are still going through the connection. The payment system may send a notification within seven days after a payment was started, and without the connection there will be nothing to receive it. The message shows the date after which you can delete it.