

Quick start
In ten minutes you will build a chatbot that greets people, shows a button and replies to it, test it right in your account and connect it to Telegram.
Note
You can build and test a bot without a subscription. You will need a Pro subscription at the last step — to connect a messenger. See What is available without Pro for details.
1. Create a chatbot
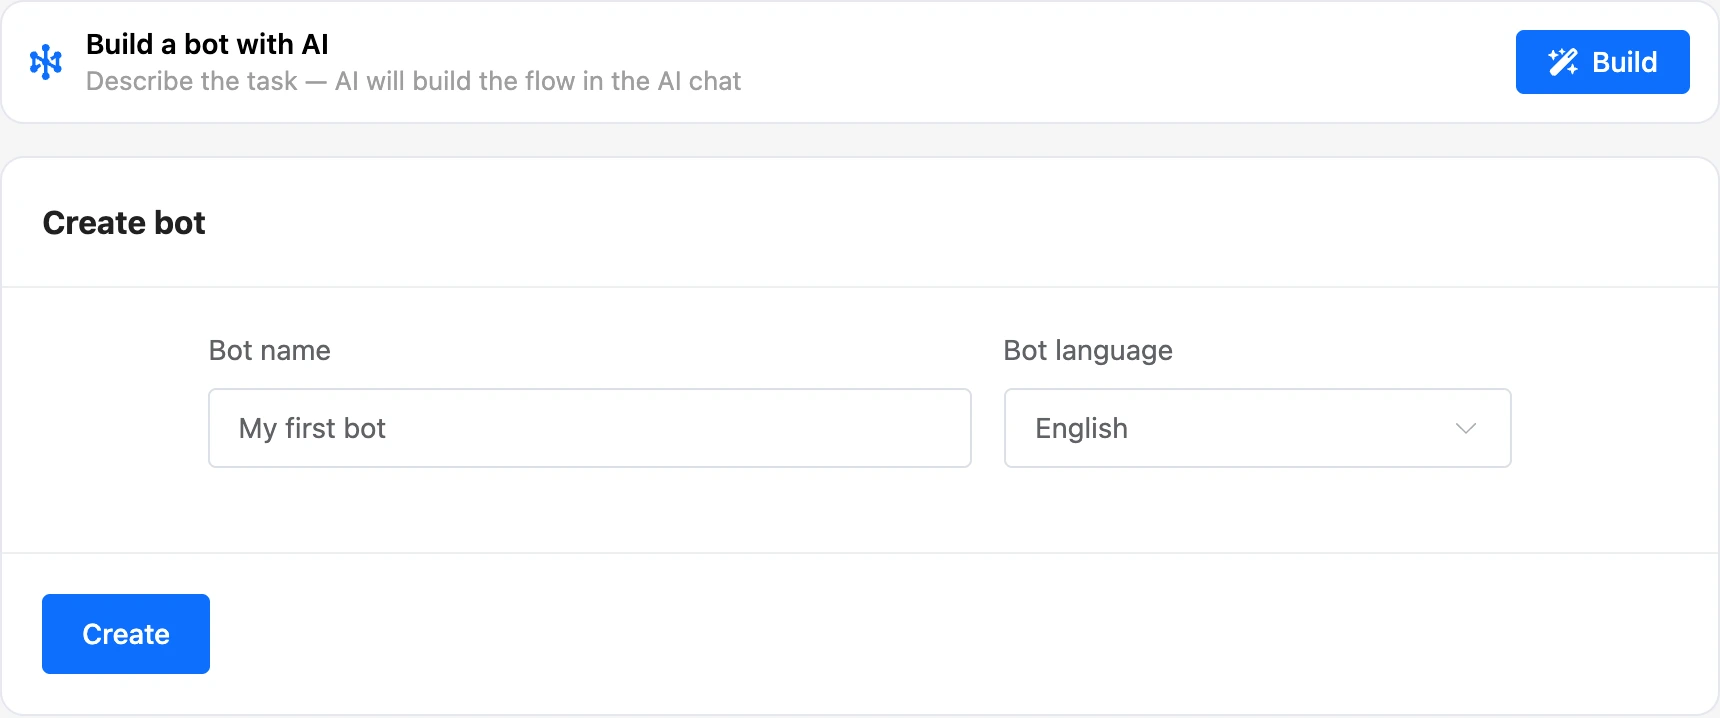
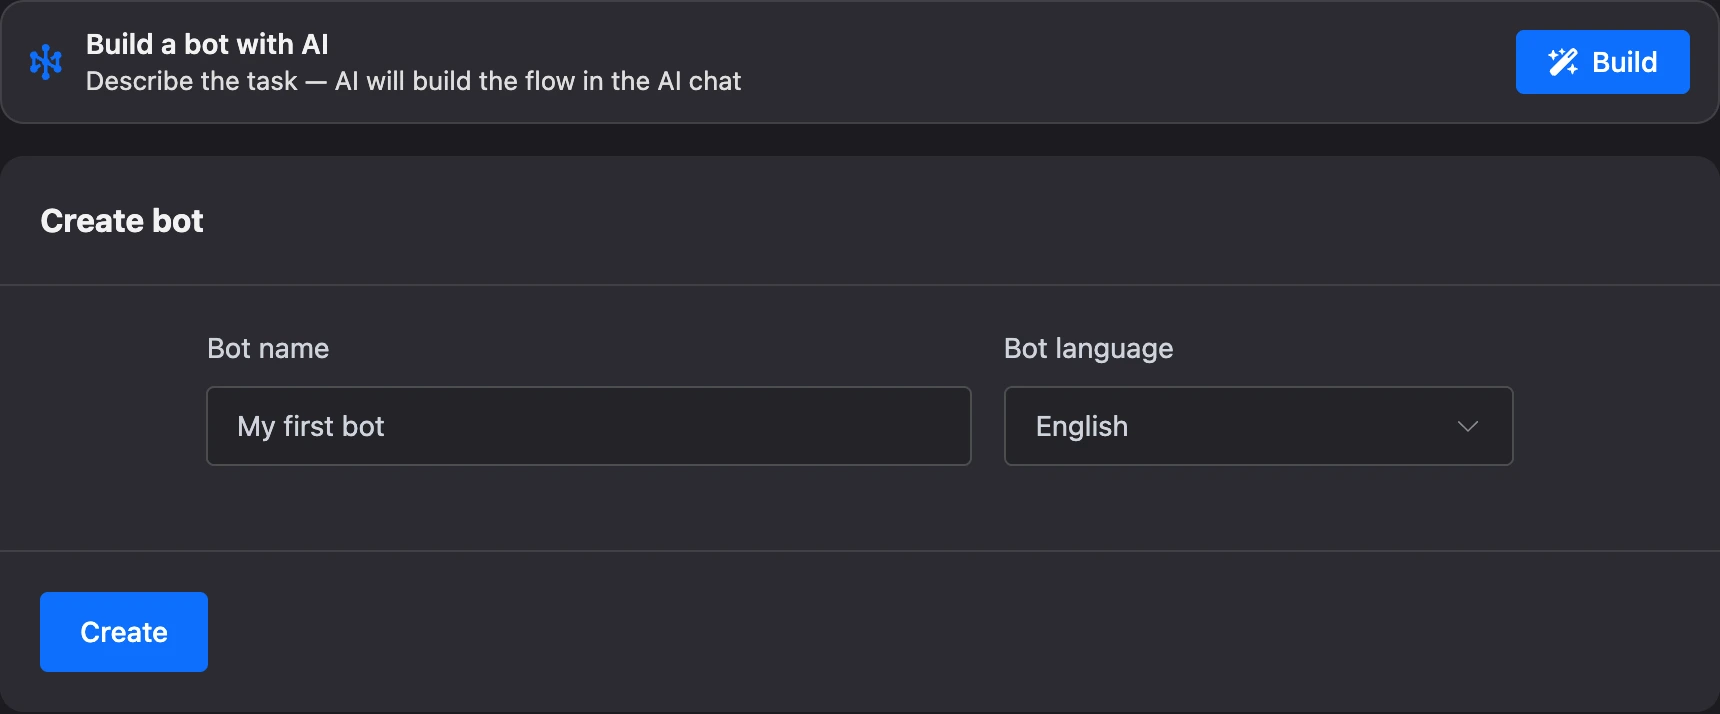
- In your project, open the "Chatbots" section and click "Create".
- Enter a name. It helps you tell the bot apart in your account.
- Choose the language the bot will speak.
- If the form has a "Template" field, leave "Blank bot" selected.
- Click "Create".
Above the form is the "Build a bot with AI" block. In this guide the bot is built by hand; to build one from a description in the AI chat, see the Building a bot in the AI chat page.
2. Get to know the scheme
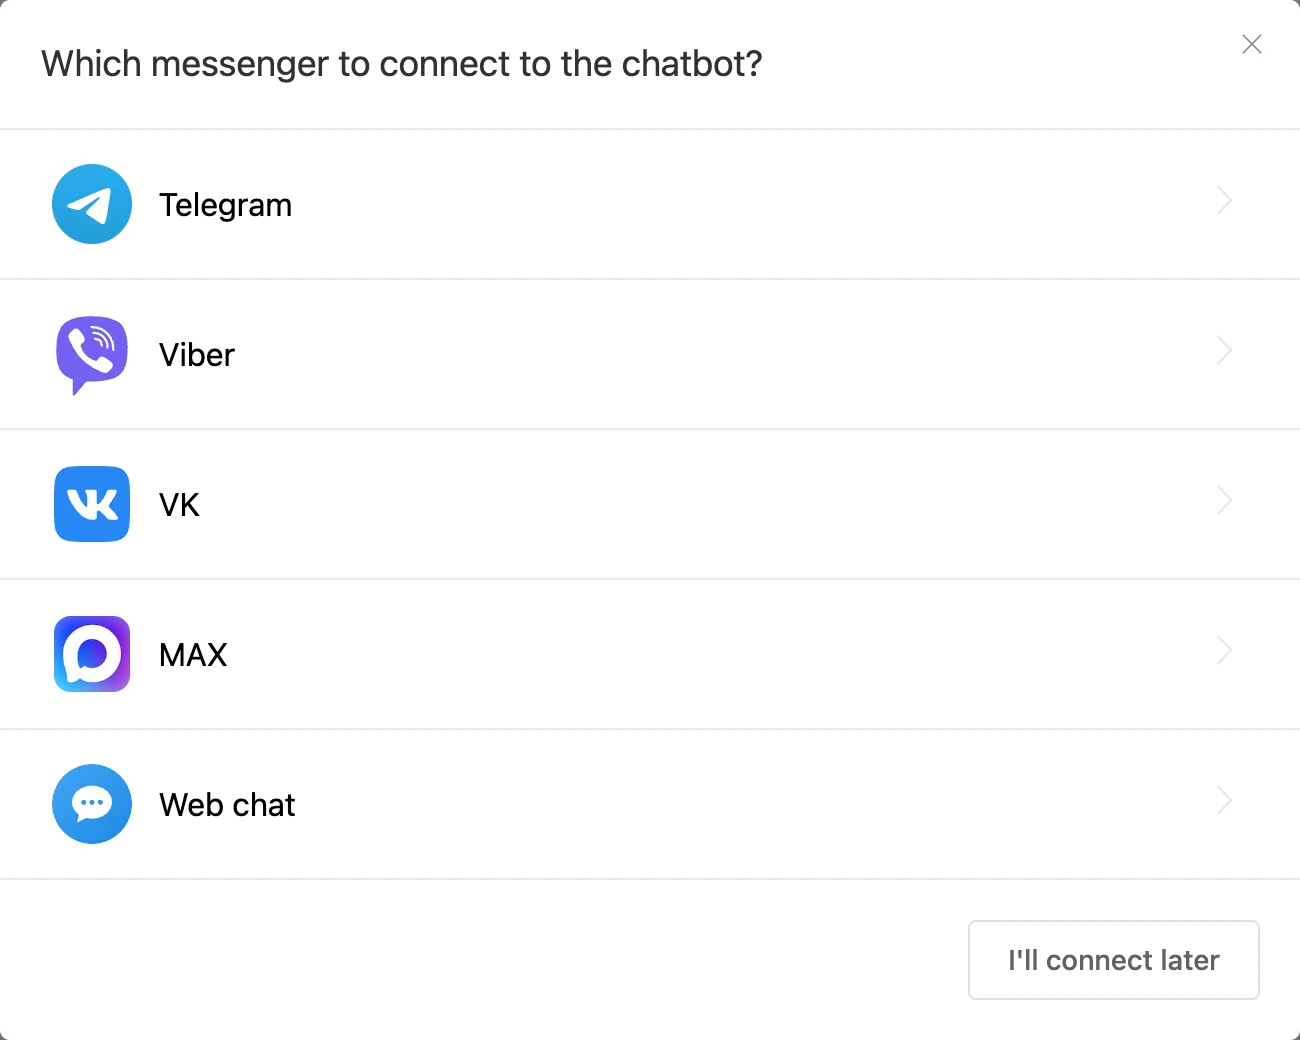
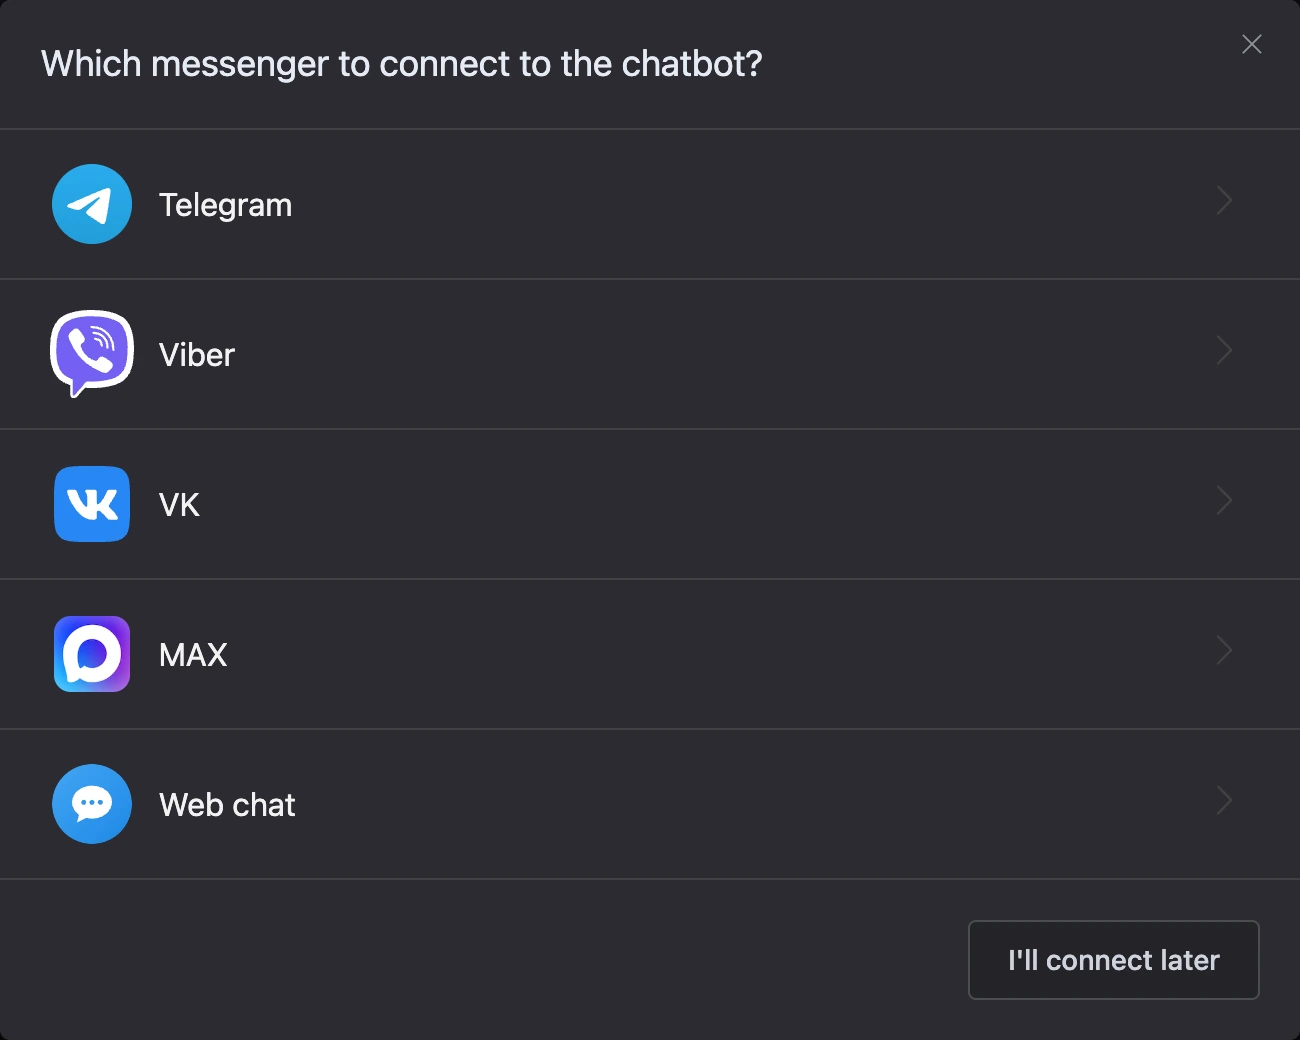
After the bot is created, its scheme opens with the "Which messenger to connect to the chatbot?" window on top. Click "I'll connect later": we will get back to the messenger at the last step.
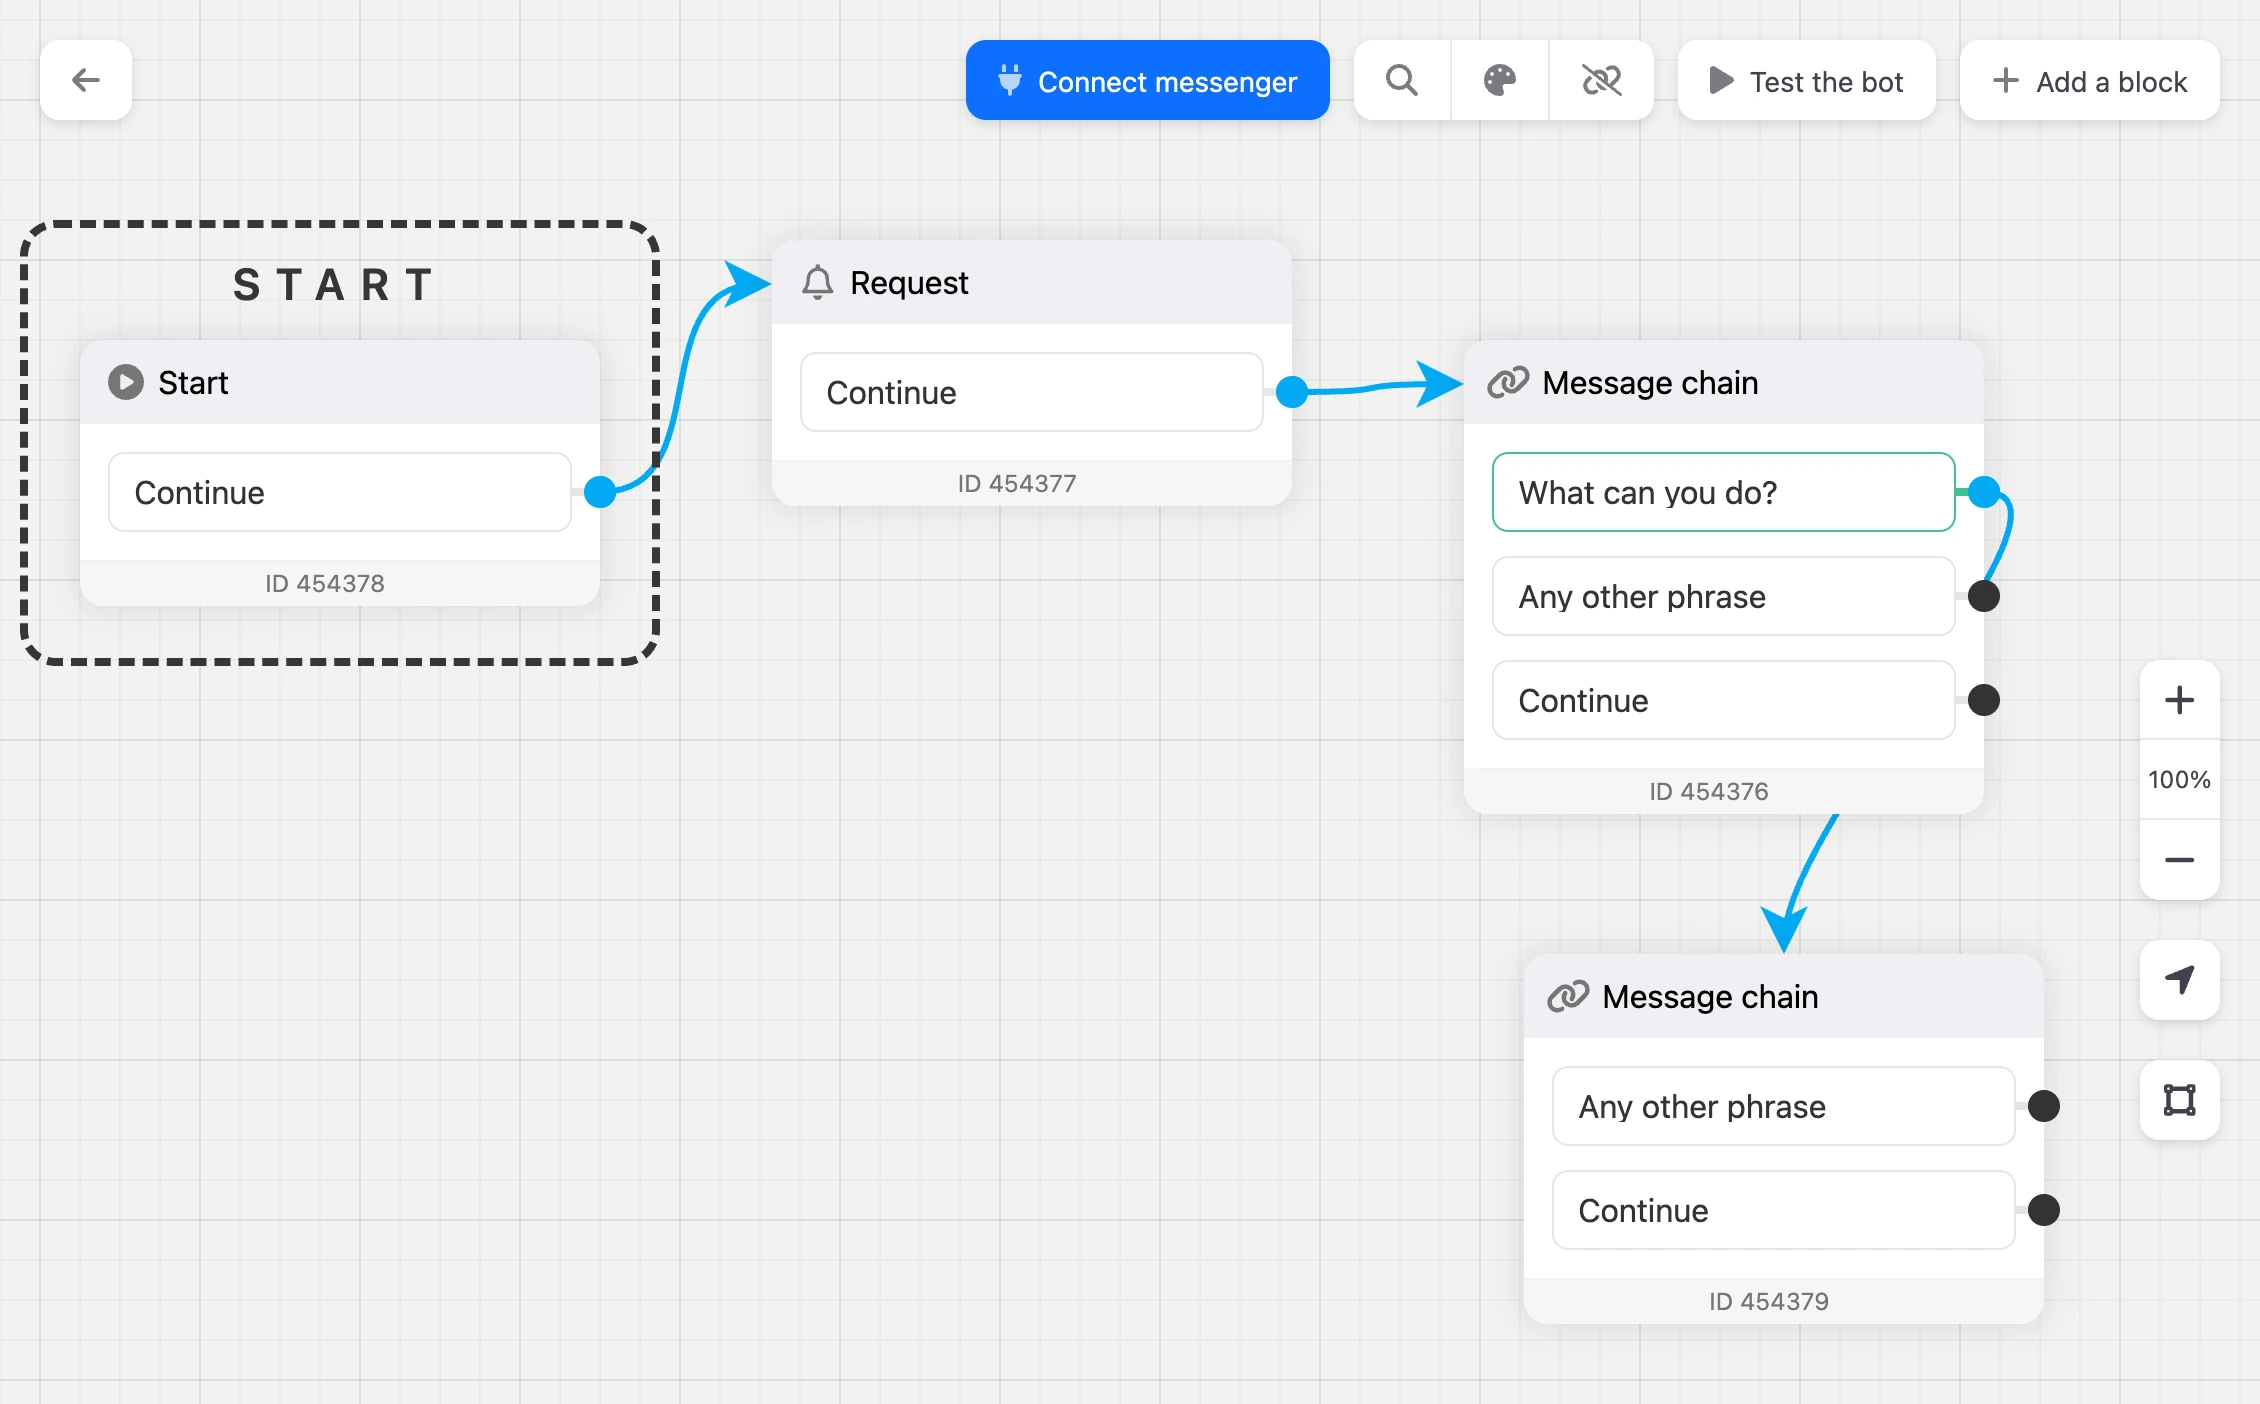
A bot scenario is a set of blocks connected by arrows. A new bot has three of them:
- "Start" — the conversation begins here when a person starts the bot.
- "Request" — passes you a request from a new contact: a record in the built-in CRM and, if you turn it on, an email or a Telegram message. You can leave it as is for now.
- "Message chain" — sends messages and shows buttons.
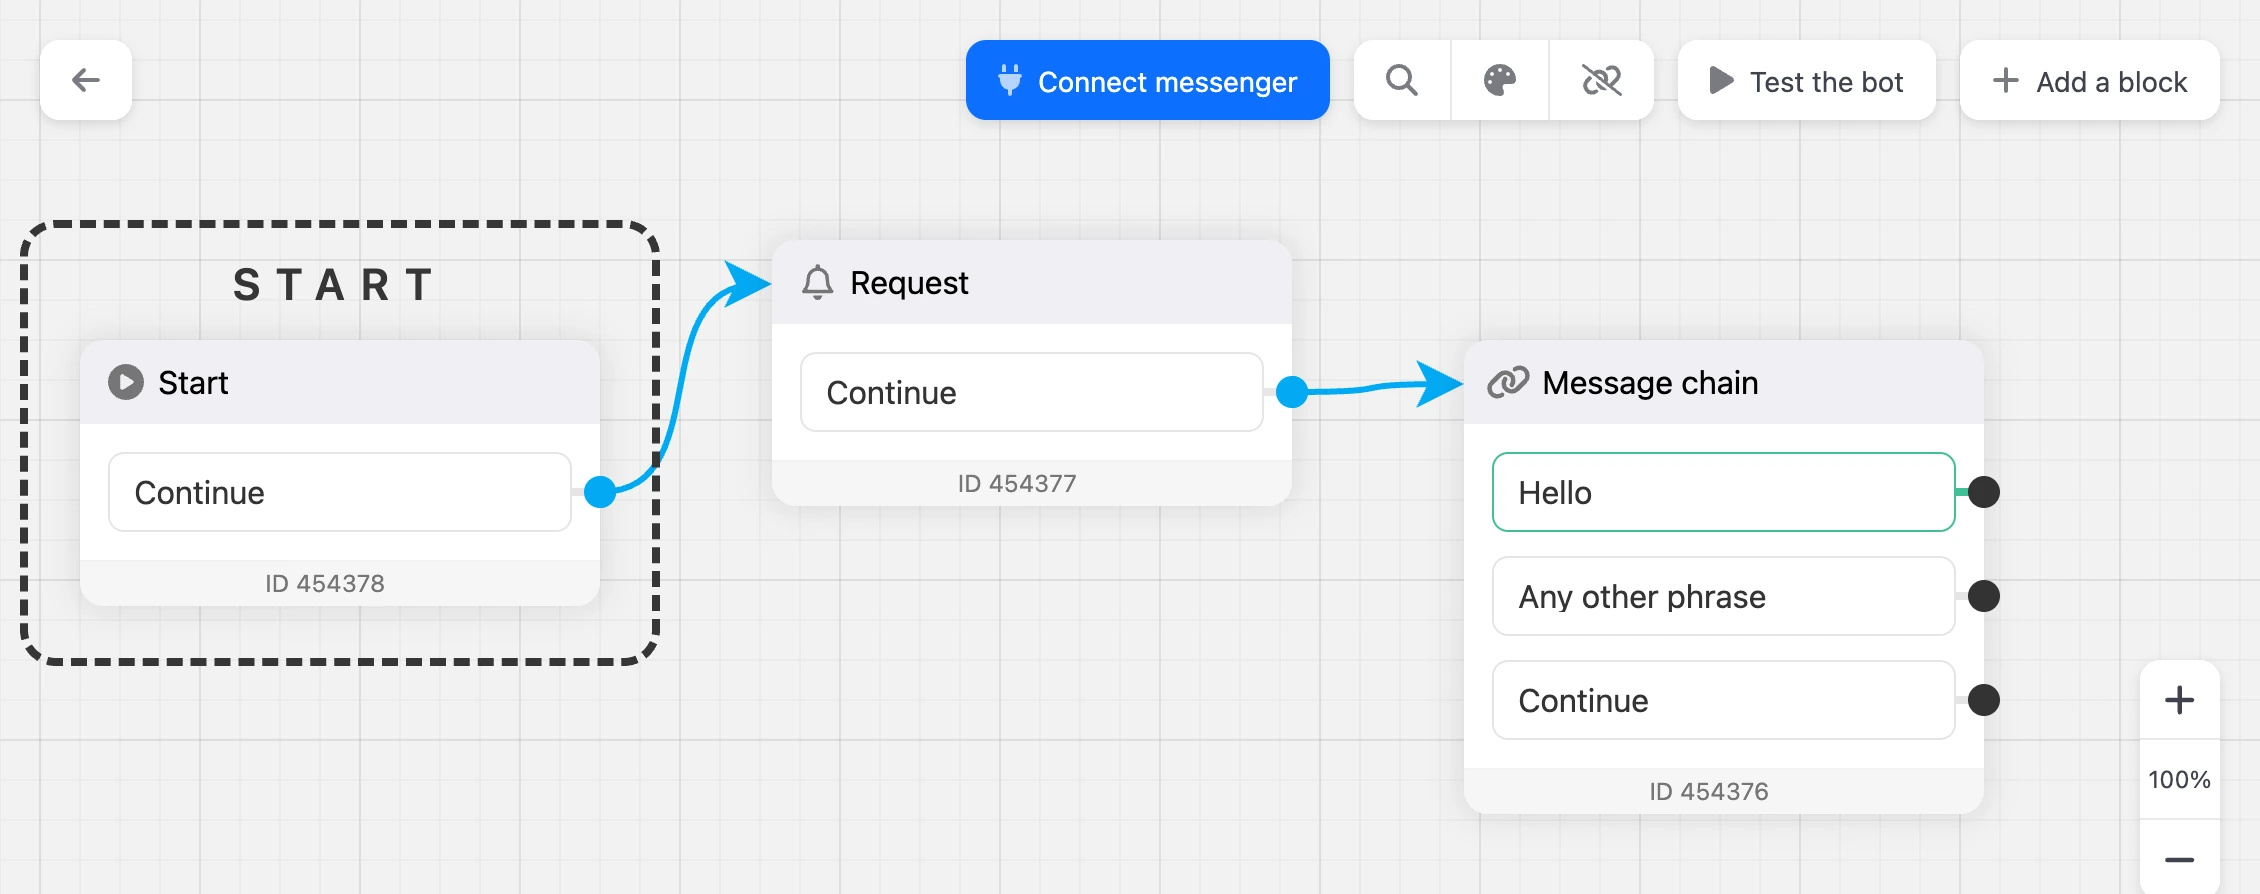
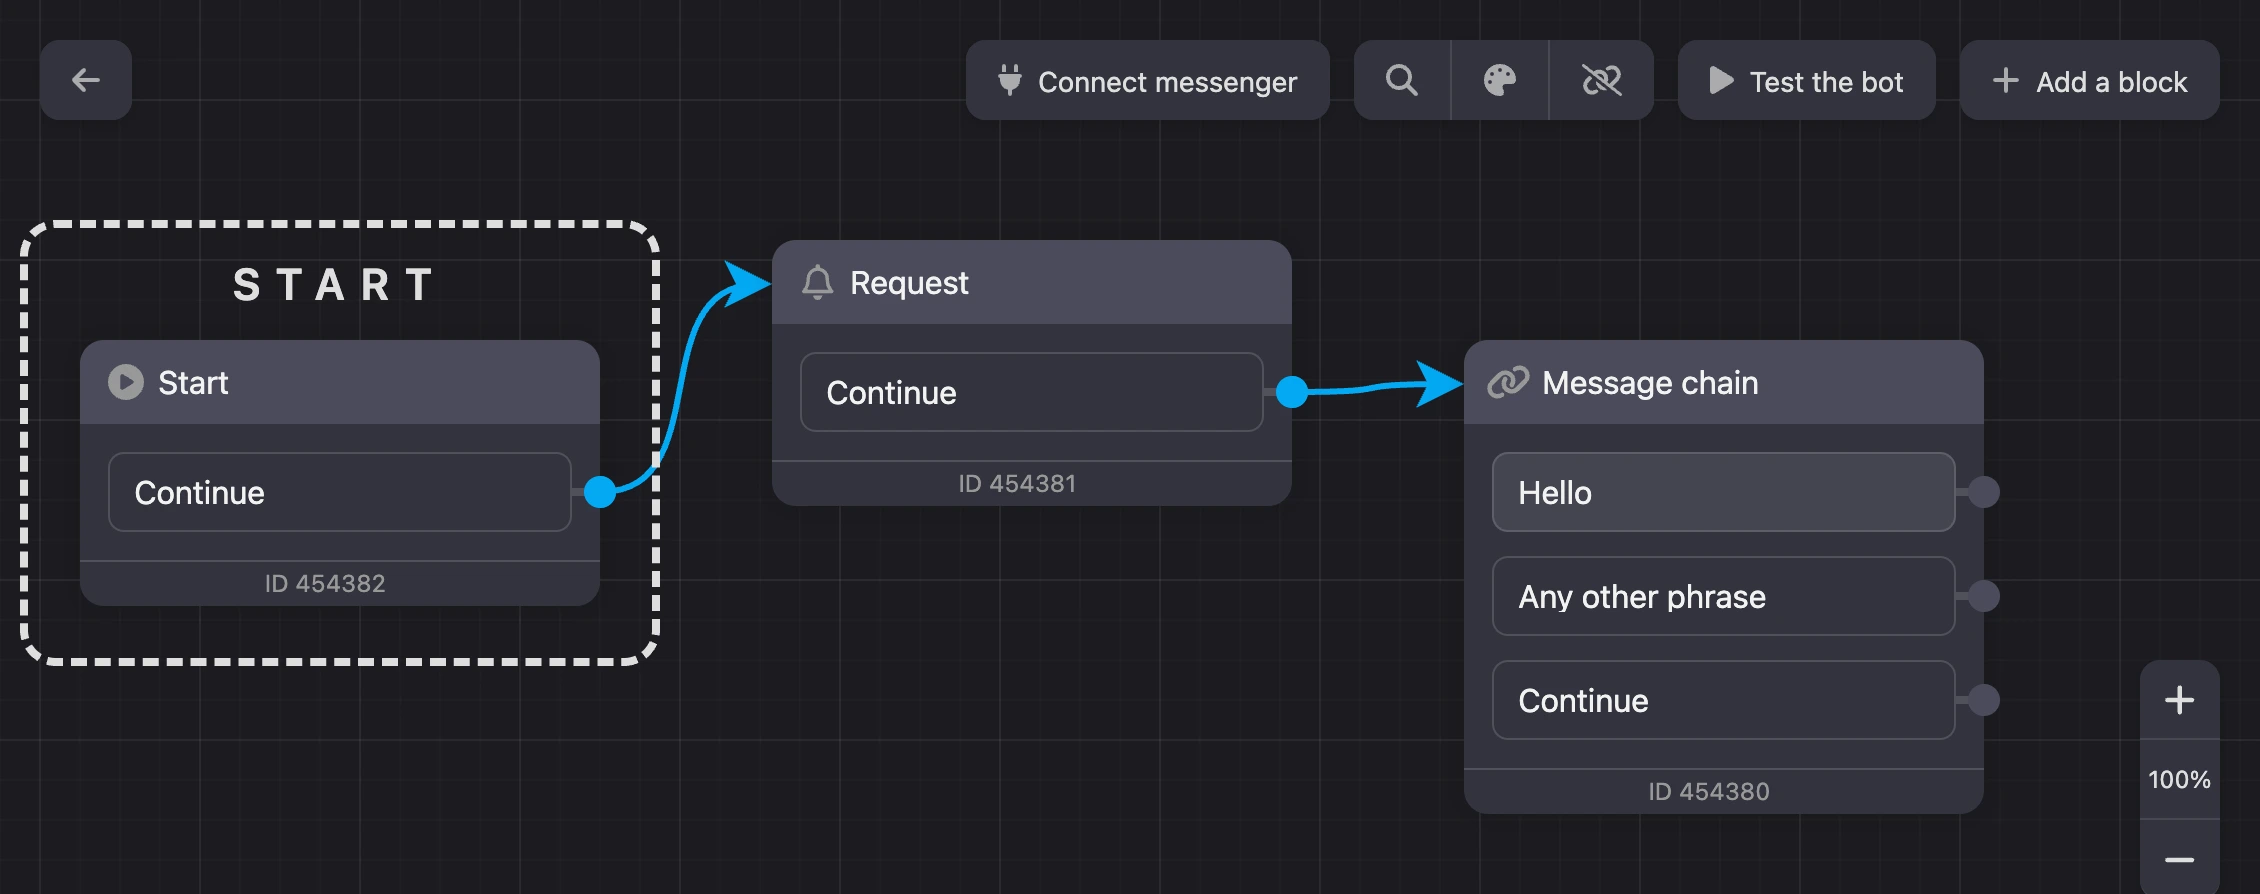
The rows inside a block are its outputs. You can draw an arrow from each of them to the next block:
- a row with a button name fires when the person presses that button;
- "Any other phrase" fires when the person types something of their own;
- "Continue" makes the bot move on right away, without waiting for a reply.
3. Write a greeting
- Click the "Message chain" block. The "Block settings" panel opens on the right.
- Type a greeting in the message field.

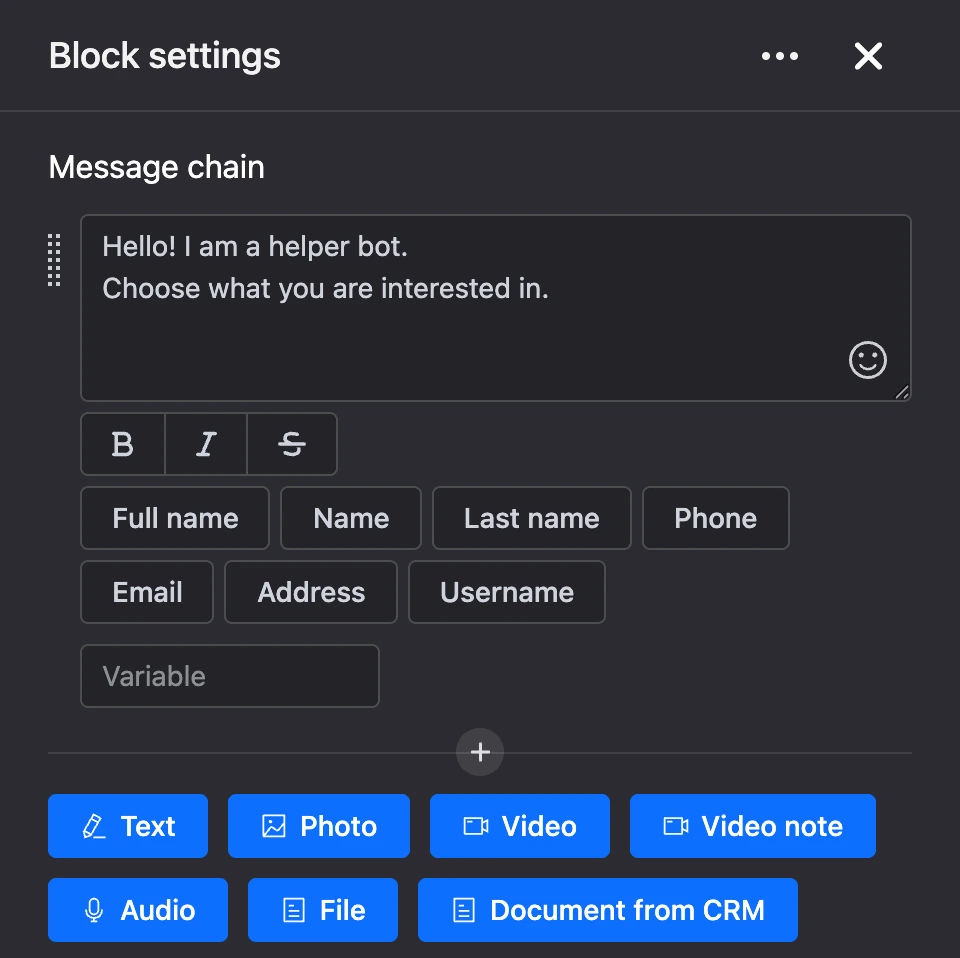
- Below, in the "Menu" section, replace "Hello" with "What can you do?". This is the button the bot will show under the message.
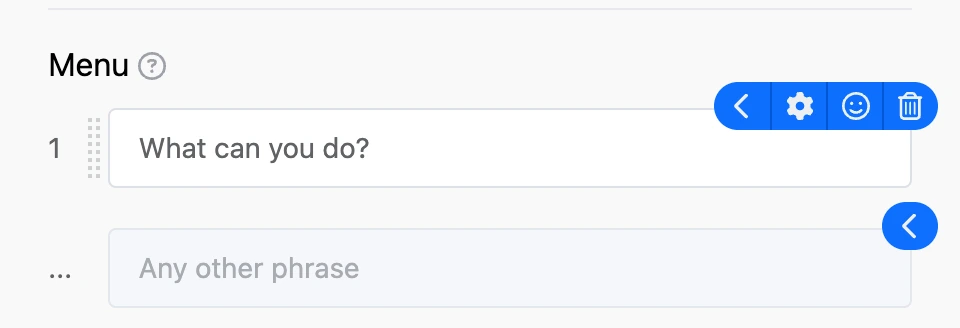
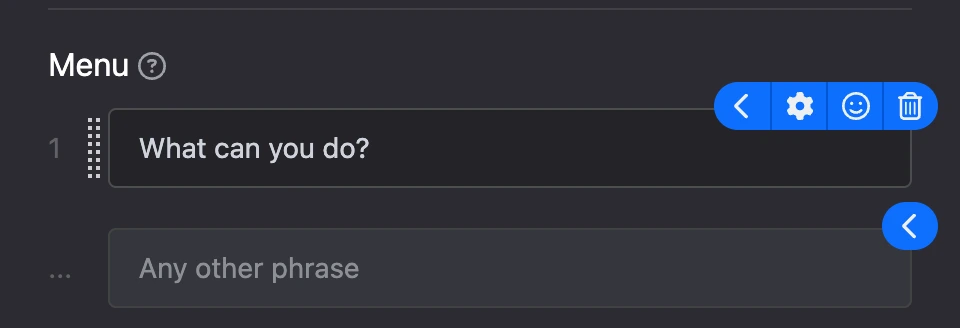
There is no save button: changes are saved as soon as you leave the field, and "Saved" appears at the top of the panel.
Tip
The buttons under the message field ("Name", "Phone" and others) insert the contact's data into the text. See Templates for details.
4. Add a reply to the button
- Close the block settings.
- Hover over the circle to the right of the "What can you do?" row, hold the mouse button and drag an arrow to an empty spot on the scheme.
- Choose "Message chain" in the list that appears.
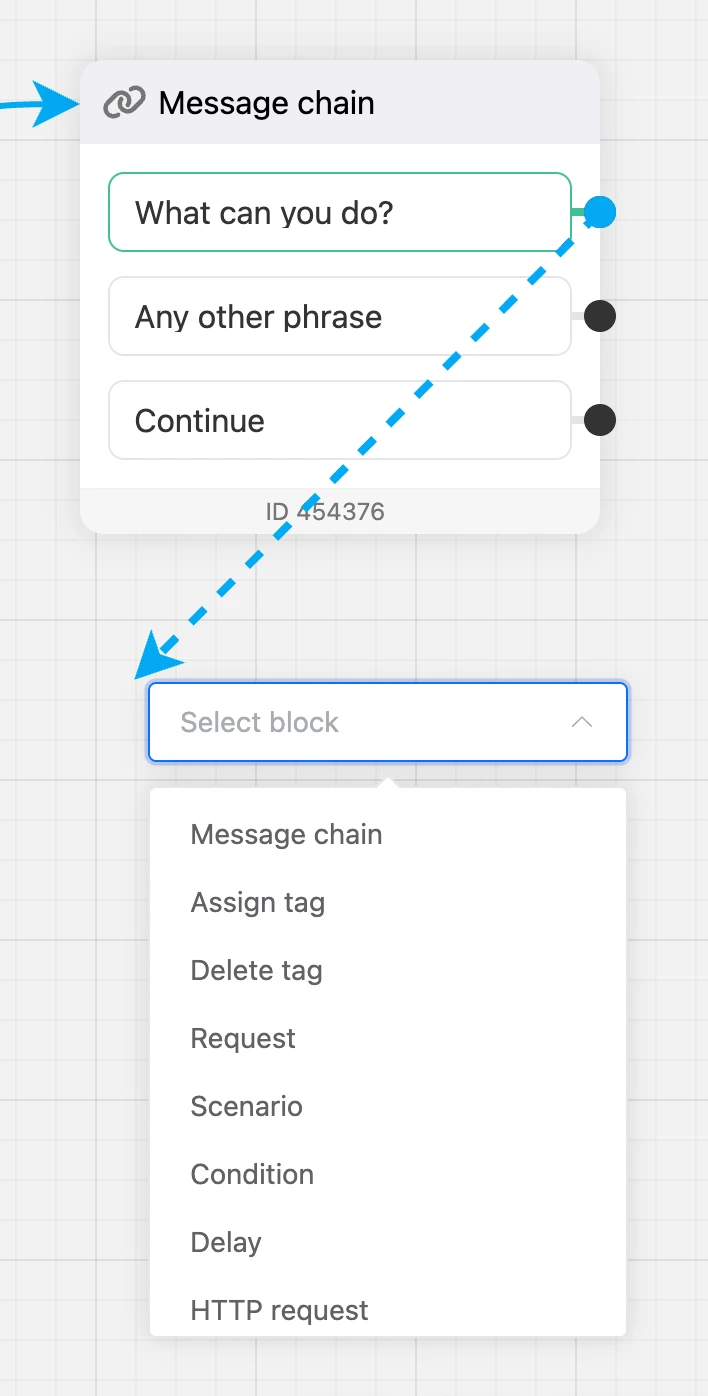

- Click the new block, click "Text" in its settings and type the bot's reply.
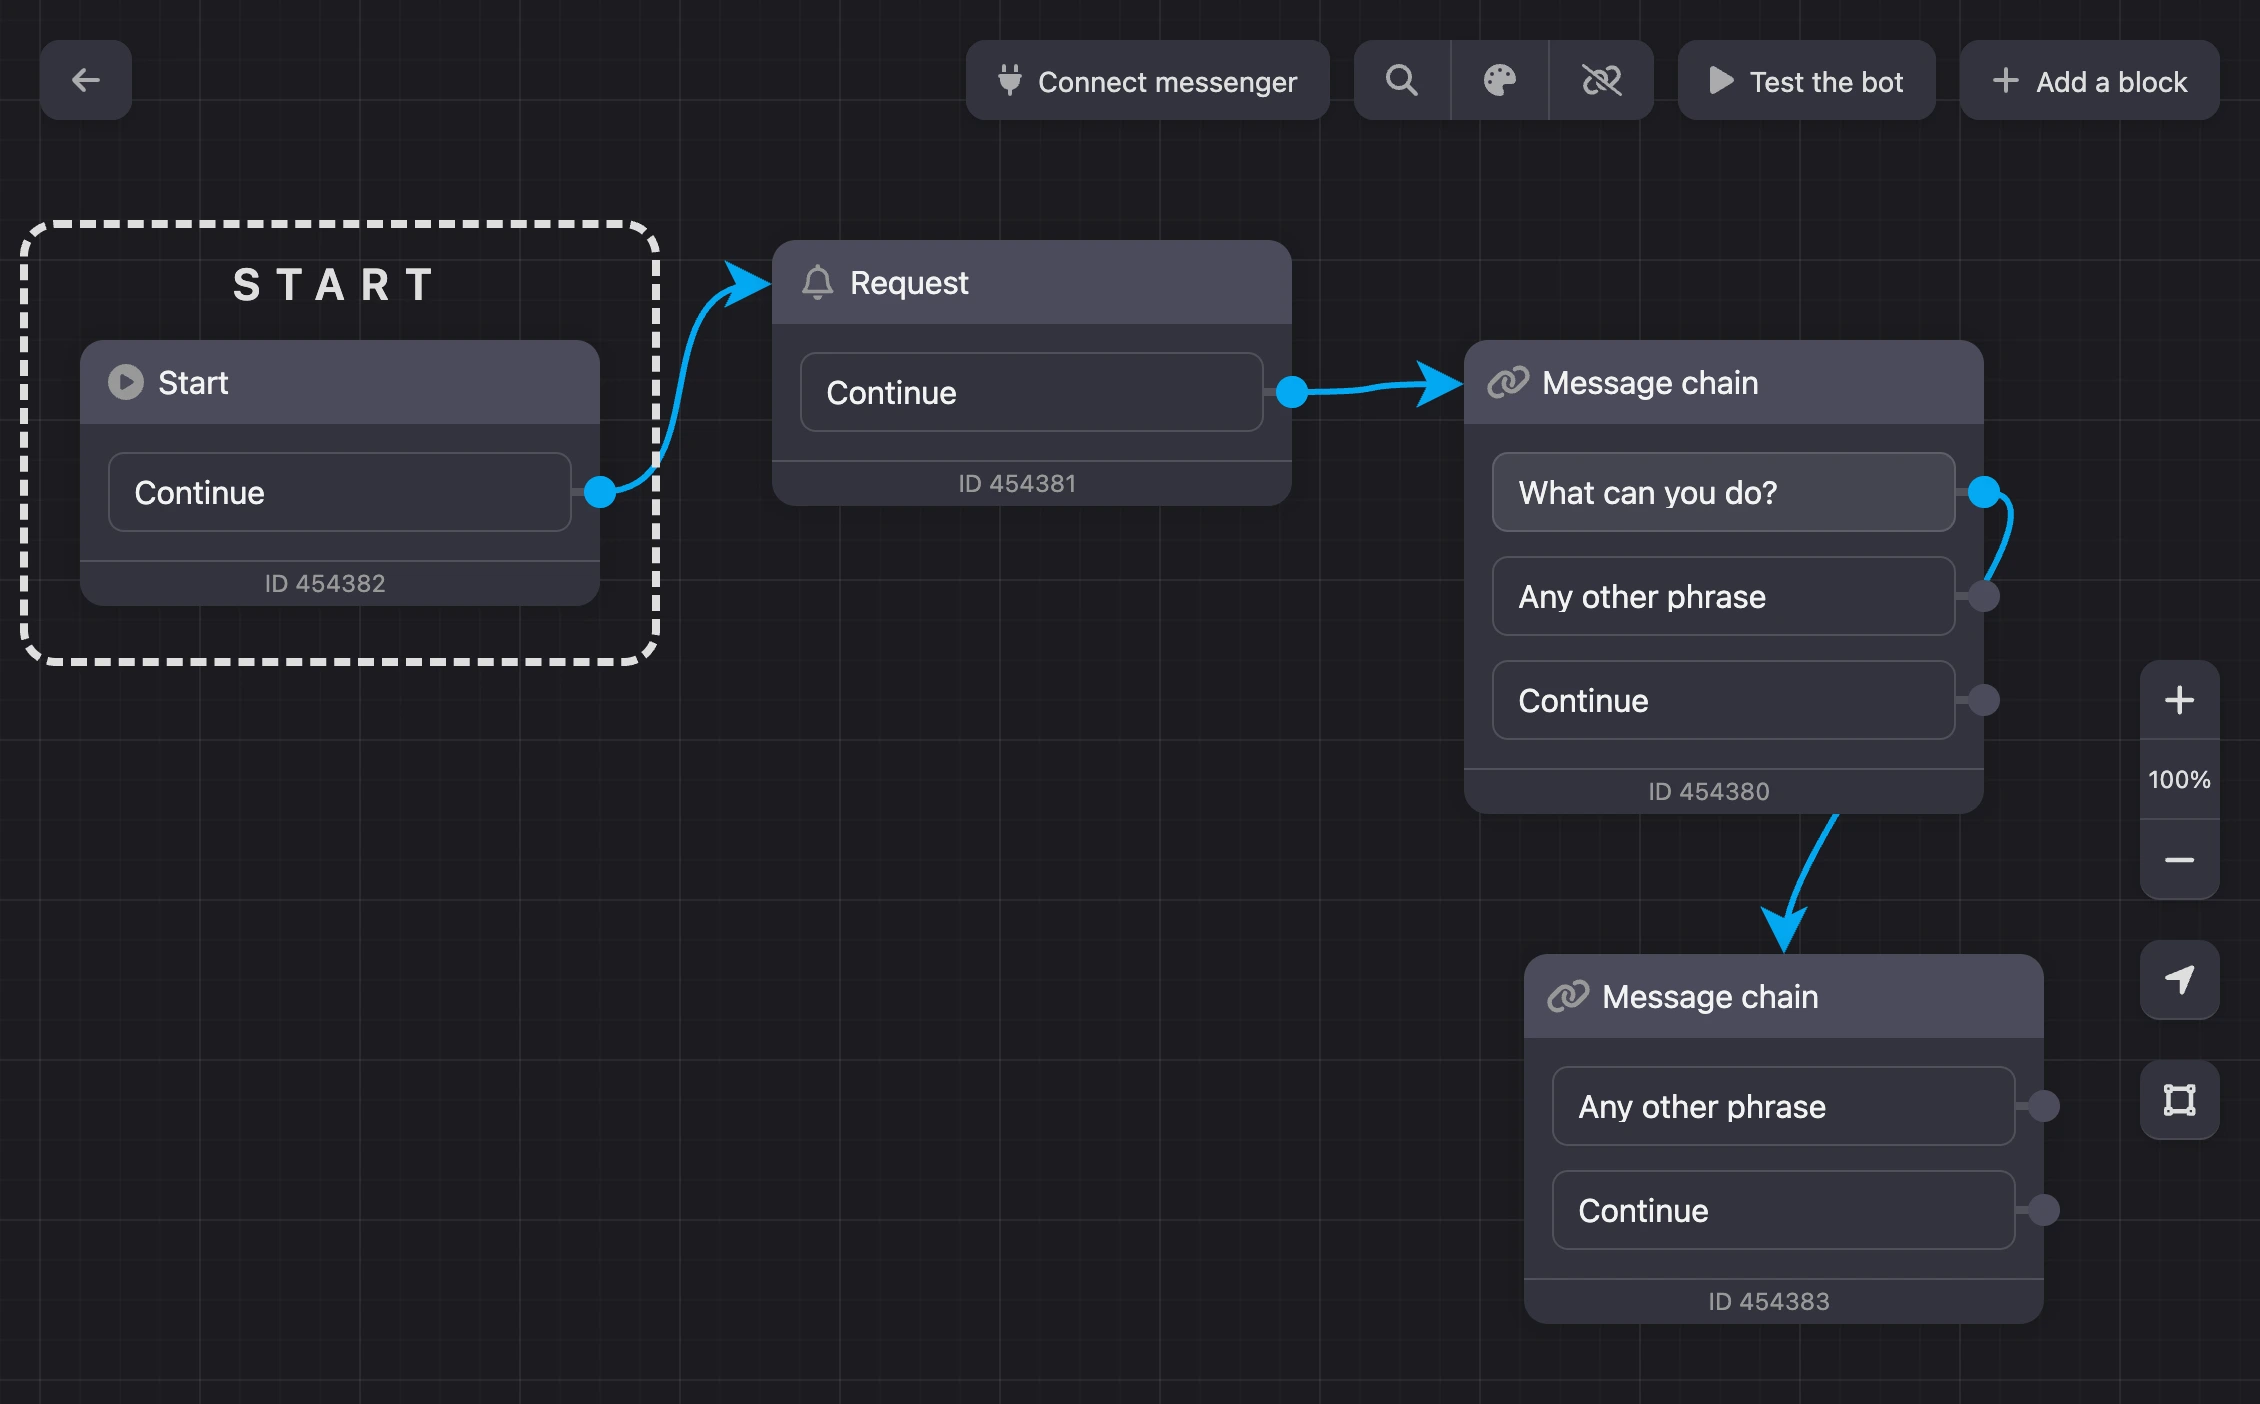
The scheme now has four blocks, and an arrow leads from the button to the reply:
5. Test the bot
Click "Test the bot" on the top toolbar. A chat opens on the right: the bot sends the greeting with the button. Press it — the bot replies with the text from the new block.

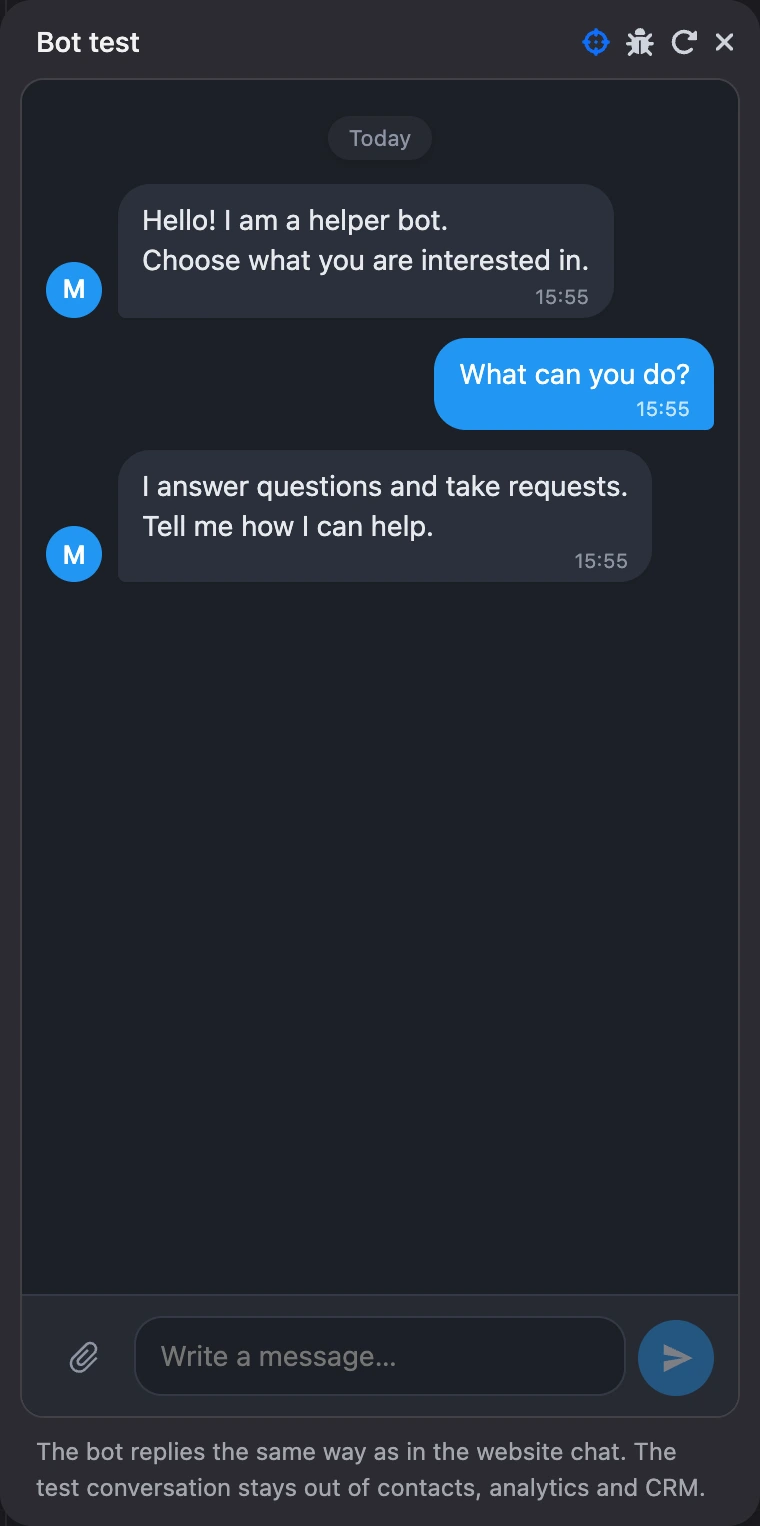
The conversation in the test window stays out of contacts, analytics and CRM, so you can test as much as you like. The circular arrow in the window header starts the conversation over.
6. Connect Telegram
- In Telegram, open @BotFather and send the
/newbotcommand. Pick a name and a username for the bot — the username must end inbot. BotFather will reply with a token. - On the top toolbar of the scheme, click "Connect messenger" and choose Telegram.
- Paste the token into the "API token" field and click "Save".


- Open your bot in Telegram and press "Start" — the bot will send the greeting.
Warning
The token is the key to your bot: anyone who has it can send messages on its behalf. Do not publish the token or share it with strangers.
What's next
- Connect other messengers and a website chat — see Connecting channels. More about Telegram is on its page.
- Add more blocks the same way as in step 4, or with the "Add a block" button on the top toolbar. What each block does is described in the Blocks section.
- Address people by name and insert their answers into messages — see Templates.
- Everything else about scenarios and blocks is in the Chatbots section.