

Scenarios
A scenario is a separate scheme with its own "Start" block and its own blocks. A bot always has the "Main scenario": a person who writes to the bot for the first time gets into it. Besides it, you can create as many others as you like — and move people between them.
Several scenarios are needed once the bot has grown. Instead of one huge scheme you get several small ones: "Catalog", "Checkout", "Questions and answers". They are easier to read, edit and test separately.
How a person gets into a scenario
| How | Where it leads |
|---|---|
| Wrote to the bot for the first time or restarted it | To the main scenario |
| Reached a "Scenario" block | To the scenario chosen in the block |
| Followed an additional link | To the scenario chosen for the link |
| Received a mailing | To the mailing's scenario |
In any of these cases the person starts the scenario from its start block.
The list of scenarios
The button with the name of the open scenario is on the right of the builder's bottom toolbar. In a new bot it says "Main scenario". Click it — the "Scenarios" window opens.
In the window's header:
- The "⋯" menu — "Find current scenario" scrolls the list to the open scenario; "Expand" and "Collapse" open and close all folders.
- The magnifier — search by the name of a scenario or folder.
- "+" — "New scenario" or "New folder".
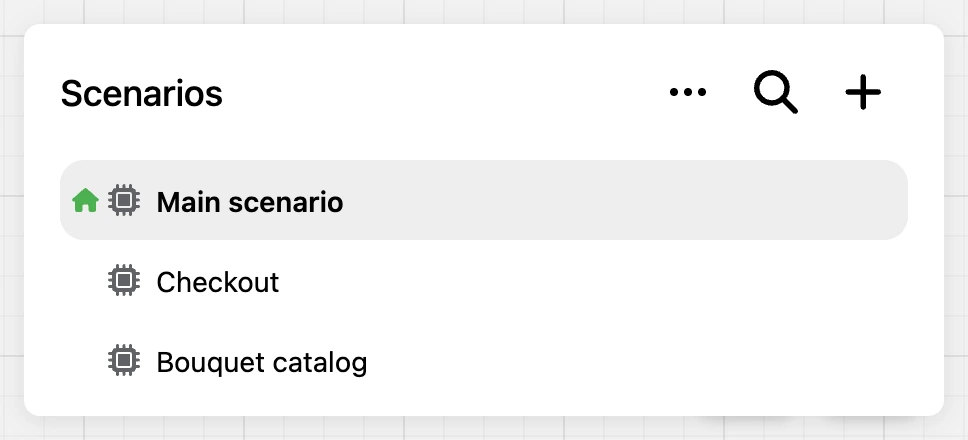
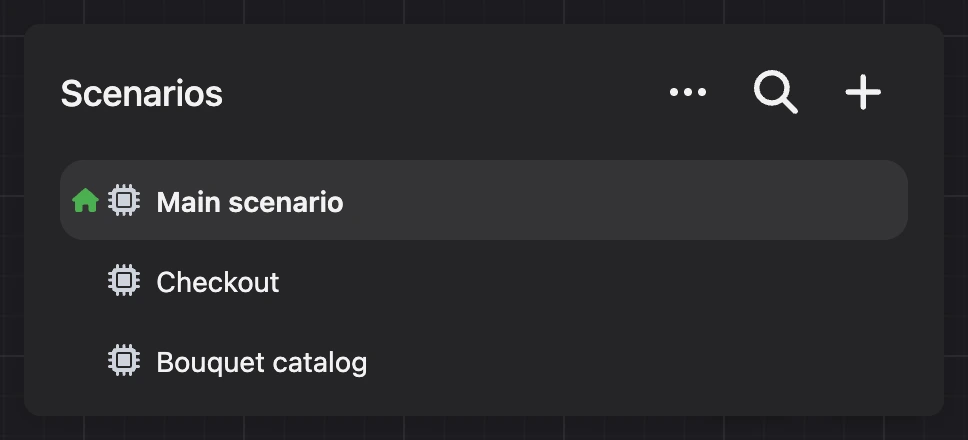
Click a scenario in the list to open its scheme. A house icon marks the main scenario.
Creating a scenario
- Open the list of scenarios and click "+" → "New scenario".
- Type a name and press Enter or click the check mark.
- Click the scenario in the list — its scheme opens.
A new scenario already has a "Start" block and a "Message chain" with placeholder text and one button. Replace them with your own.
For people to get into the new scenario, put a "Scenario" block at the right place in another scenario and choose the new one in it — or create an additional link to it.
Tip
A "Scenario" block on the scheme opens its scenario in one click: the block's menu → "Go to the block's scenario".
Scenario actions
Hover over a scenario in the list and open the "⋯" menu on the right.
- "Rename" — change the name.
- "Duplicate" — a copy of the scenario with all its blocks appears next to it.
- "Copy" — remember the scenario to paste it into a folder of this or another bot, see below.
- "Set as main" — make the scenario the main one.
- "Settings" — the "Scenario settings: …" window: the name and the "Main scenario" and "Alternative main scenario" checkboxes.
- "Delete" — delete the scenario.
The "Main scenario" has only "Duplicate", "Copy" and — if another scenario is set as the main one — "Set as main" in its menu. It cannot be renamed or deleted.
Folders
Folders help you sort scenarios by topic. Create a folder with the "+" button → "New folder", then drag scenarios into it with the mouse. Dragging also changes the order of scenarios in the list. Folders can be nested in one another.
Besides the common items, a folder's menu has "New scenario" and "New folder" — they are created right inside it — and "Paste".
Moving a scenario to another bot
- In the list of scenarios, open the menu of the scenario you need and choose "Copy". A folder with all the scenarios inside is copied the same way.
- Open another bot in the same browser and its list of scenarios.
- In the menu of the folder where the copy should go, choose "Paste". If there is no folder, create one first.
You can paste only into a folder. While one copying is in progress, you cannot start another — wait until it finishes.
Individual blocks are moved between scenarios and bots through the clipboard — see Canvas and toolbars.
The main scenario
The main scenario is the one the bot starts a conversation with: with a new person and with someone who has restarted the bot. In a new bot it is the scenario named "Main scenario".
Any other scenario can be made the main one: the scenario's menu → "Set as main", or the "Main scenario" checkbox in its settings. A bot has one main scenario: when you set a new one, the previous one stops being the main. To put everything back, choose "Set as main" in the menu of the "Main scenario".
This is handy for swapping a scenario for a while: you build a New Year version of the greeting in a separate scenario, set it as the main one, and after the holidays bring the previous one back in one action.
Alternative main scenario
The bot can open different main scenarios for different people — by the contact's tag.
- Open the scenario's menu → "Settings".
- Tick "Alternative main scenario". The checkbox appears when "Main scenario" is not ticked.
- Enter the tag and click "Save".
Now a person with this tag gets into this scenario when they start the bot, and everyone else gets into the main one. This is how a "personal account" for customers is made: you give the "customer" tag with the "Assign tag" block, and at the next start the bot greets the customer with a different menu.
In the list, such a scenario is marked with a house of a different color; the hint on hover shows the tag.
The start block
Every scenario has one start block — the scenario begins with it. In a new scenario it is the "Start" block. A "Simple message" or "Message chain" block can be made the start block: the block's menu → "Set as starting block".
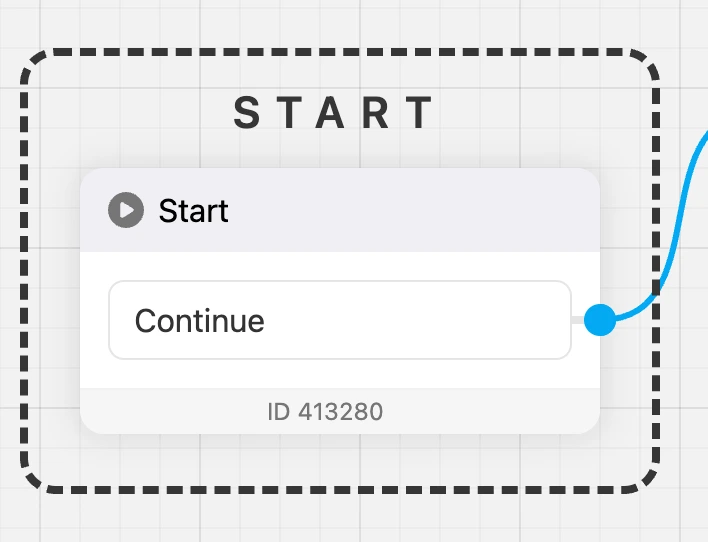
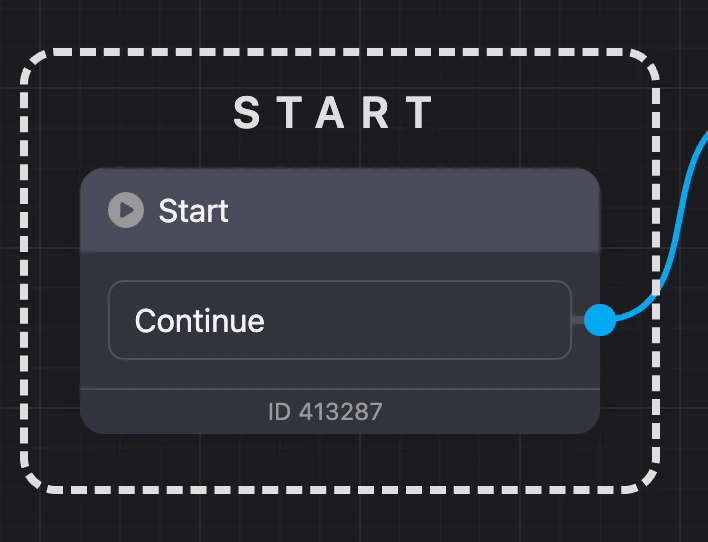
The start block cannot be deleted. The button with the pointer arrow on the zoom panel brings the scheme back to it.
Mailing scenarios
When you create a mailing, at the "Scenario" step the platform creates a separate scenario for it and puts it into the "Mailings" folder. It is visible in the common list of scenarios: you can open it in the builder, edit it and use it in a "Scenario" block, like any other.


Warning
Together with a scenario, all mailings that send it are deleted. Do not delete scenarios from the "Mailings" folder while the mailings are needed.
Deleting
The scenario's menu → "Delete". The builder asks for confirmation. Together with the scenario, the following are deleted:
- all its blocks and notes;
- mailings that send this scenario — those in progress are stopped;
- additional links that lead to this scenario;
- waits at the "Delay" and "Timer" blocks of this scenario.


A folder is deleted together with all the scenarios inside.
A deleted scenario cannot be brought back. If a "Scenario" block in another scheme referred to it, that block will send people to the main scenario.
Limits
- One bot — no more than 5000 scenarios and folders.
- One scenario — no more than 2500 blocks.
If something does not work
- "The maximum number of scenarios for one bot should not exceed 5000." — delete the scenarios or folders you do not need.
- "Only one copy can run at a time. Please wait until the previous copy is finished." — the previous copy is still being created. Wait and try again.
- "Paste" replies "Empty". The scenario was not copied, or you opened the bot in another browser: a copied scenario is remembered in the browser where you clicked "Copy".
- A person with the tag gets into the regular main scenario. Check that "Alternative main scenario" is ticked in the scenario's settings and the tag is written exactly as the contact has it.