

Creating a mailing
Open the "Mailings" section in the bot's menu and click "Create". The form has four steps: "Settings", "Subscribers", "Scenario", "Sending".
Step 1. Settings
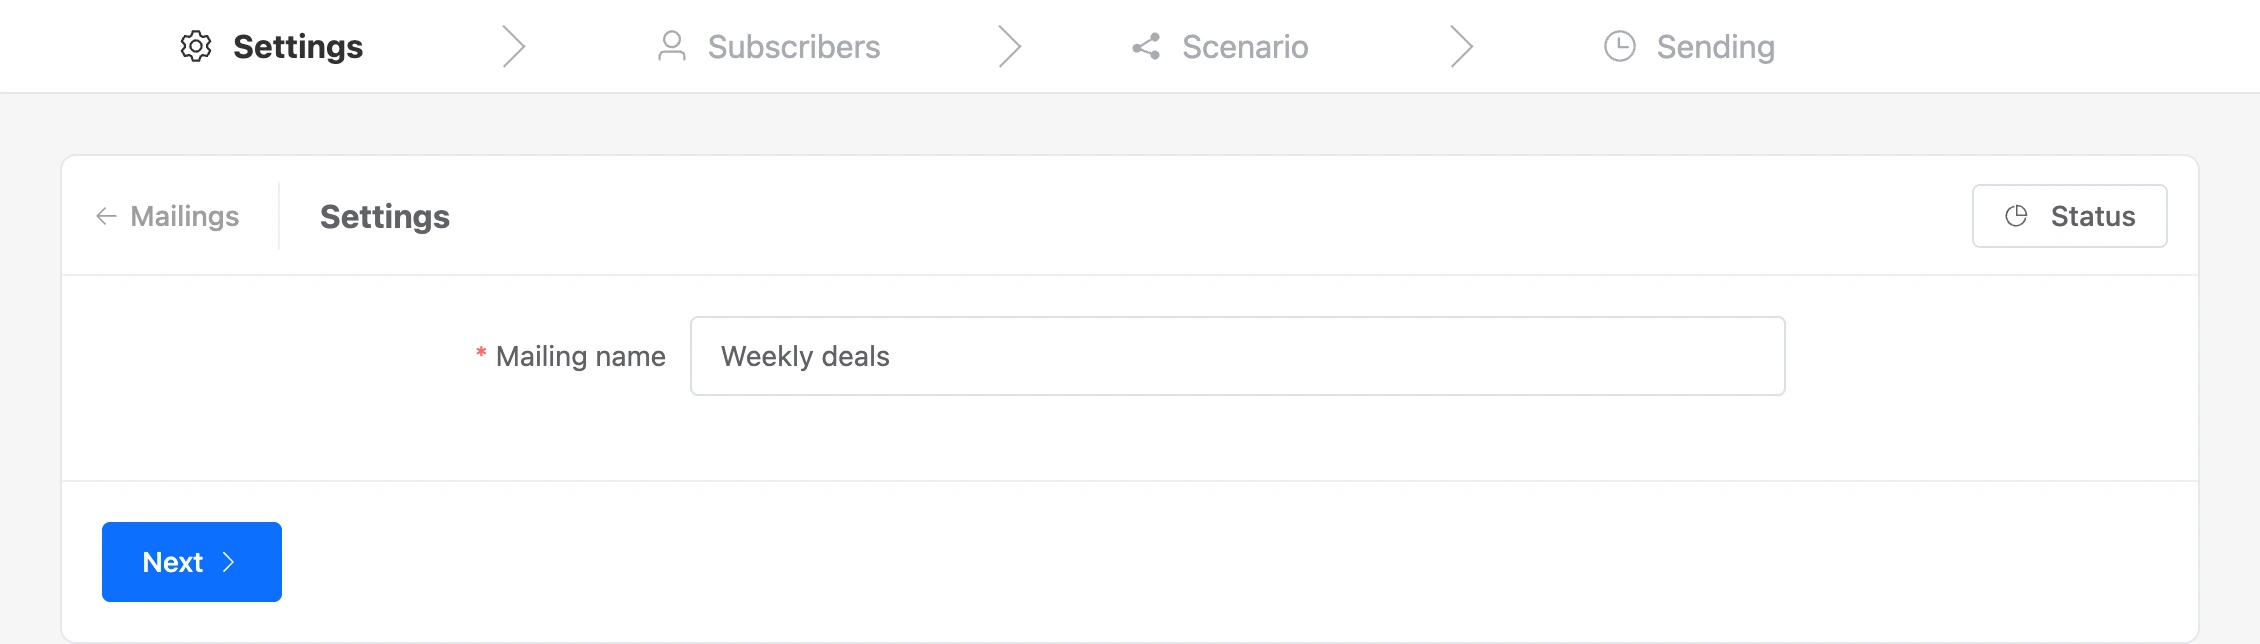
Enter the mailing name. Only you see it — in the list of mailings and in the "Subscribe to mailing list" and "Unsubscribe from mailing list" blocks.
Step 2. Subscribers
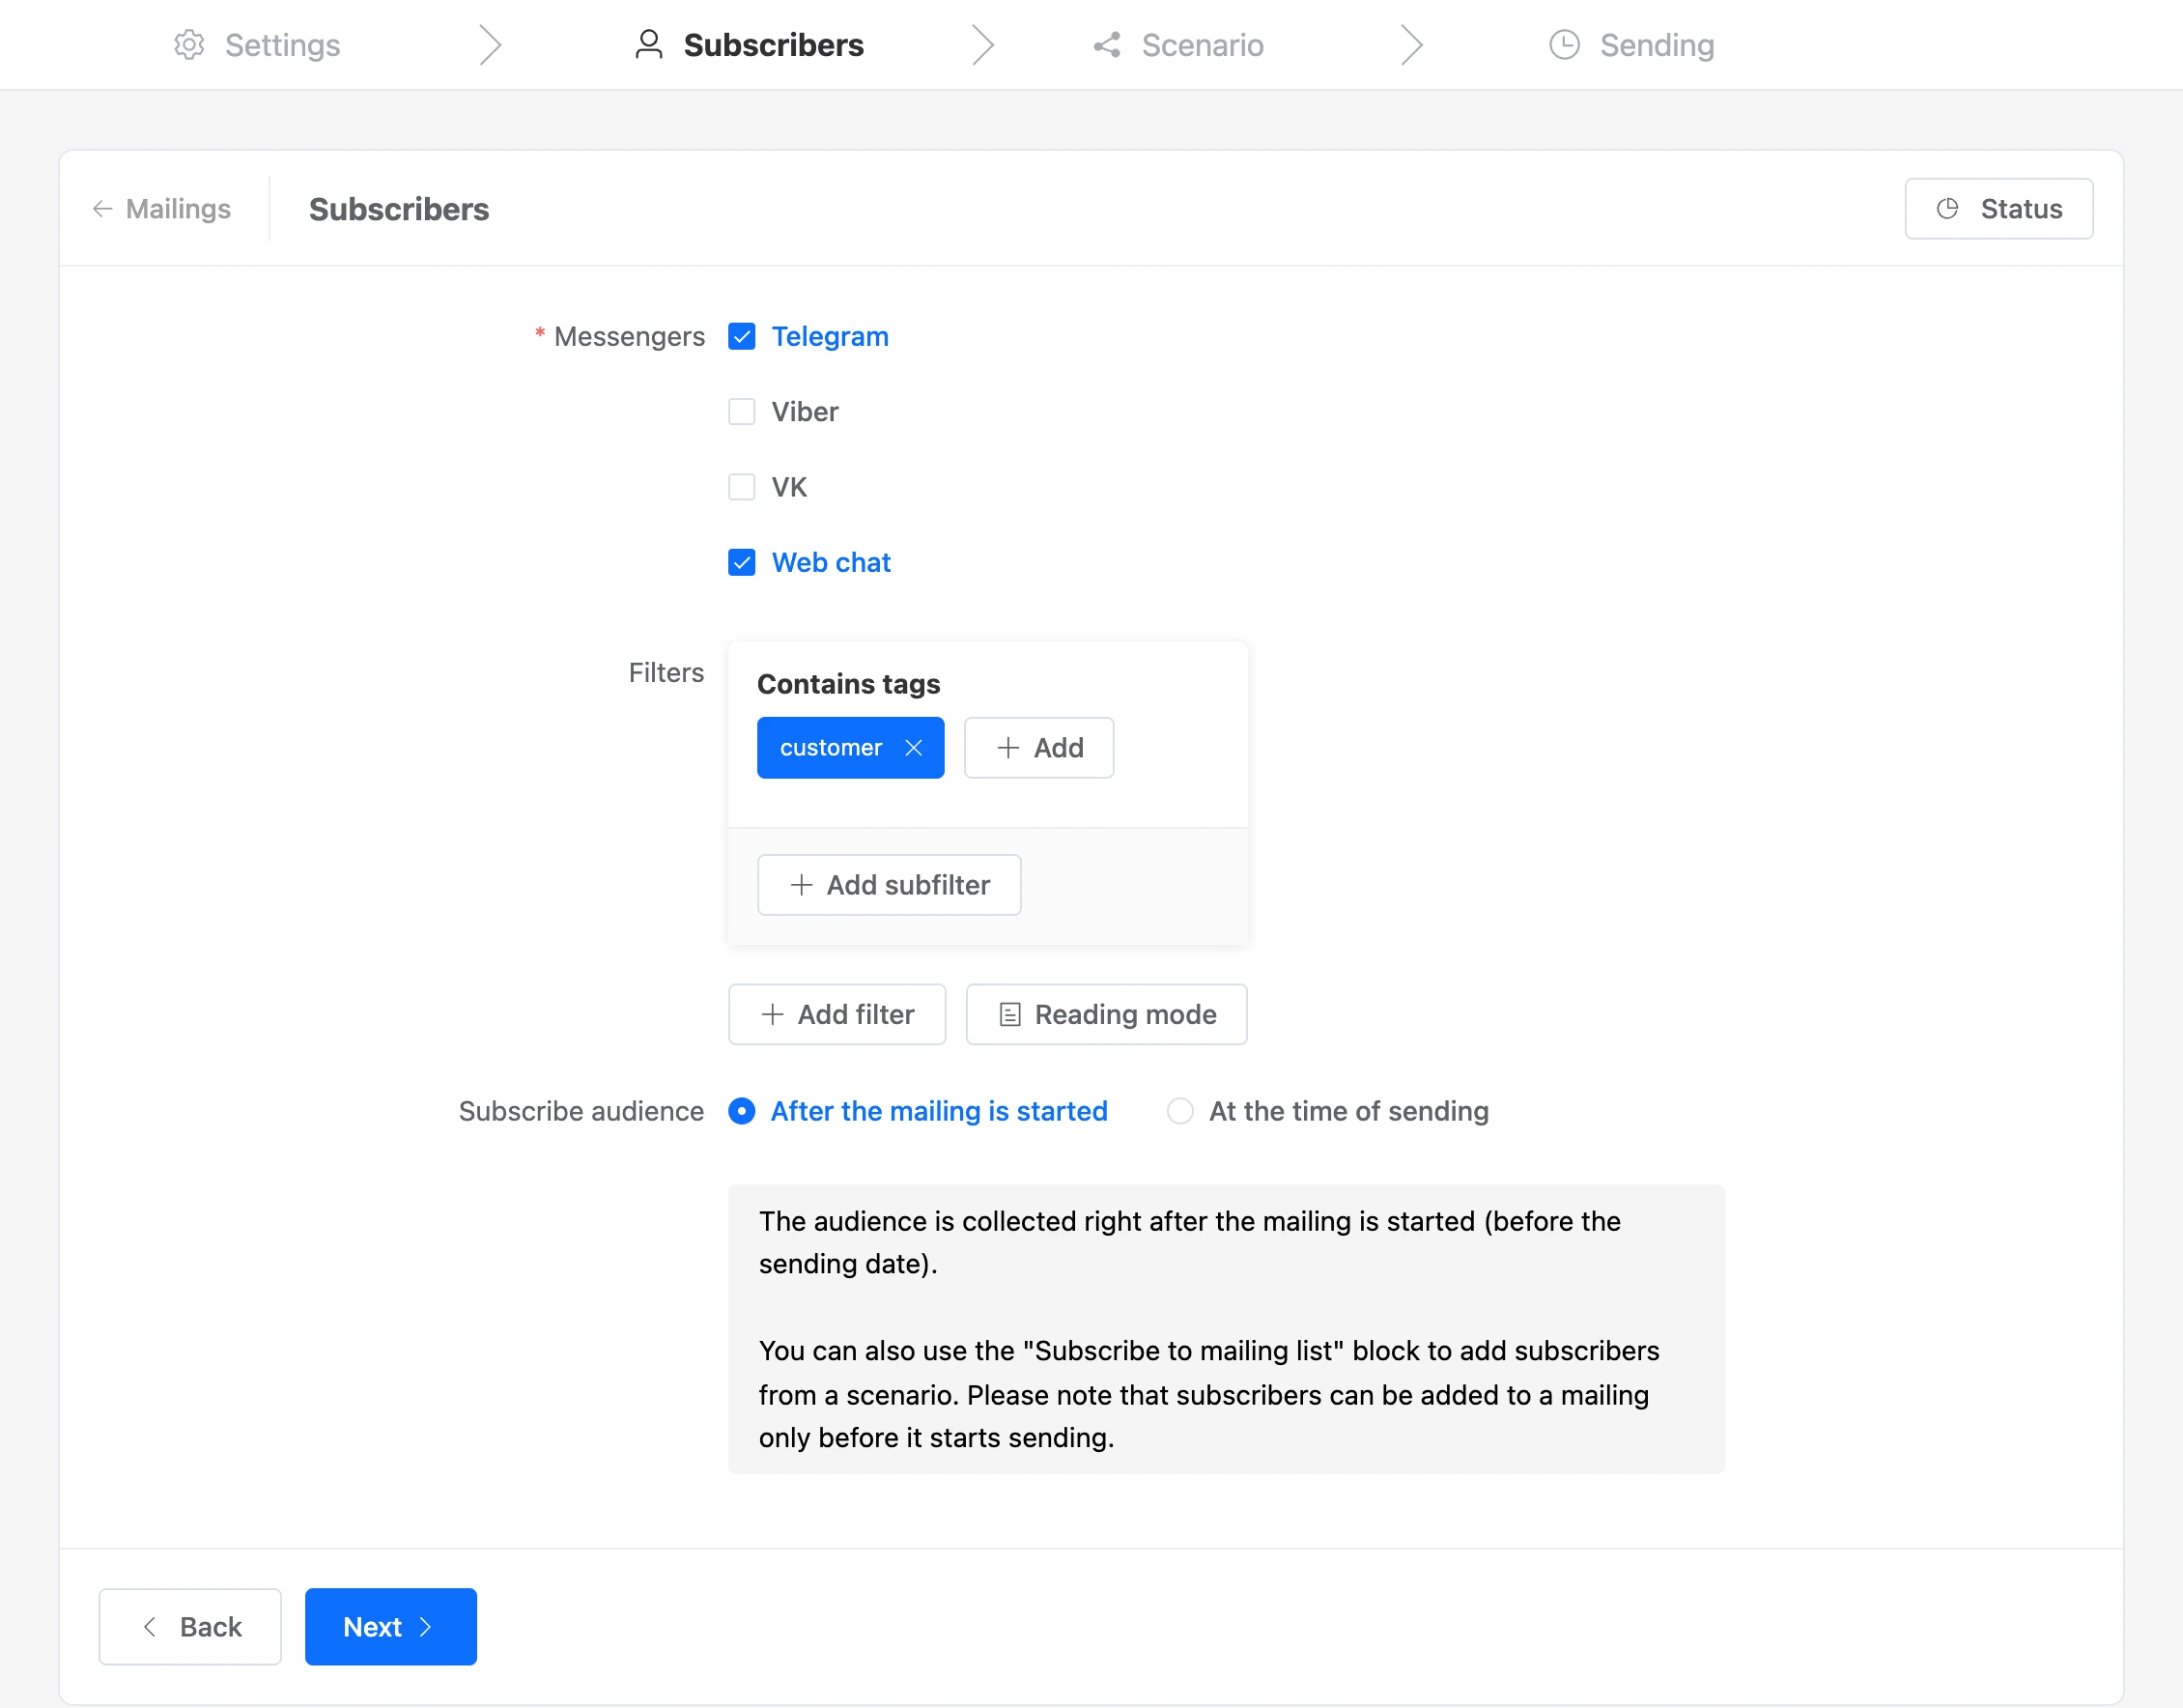
- "Messengers" — the channels whose contacts get the mailing. Tick at least one.
- "Message type" — appears if VK is ticked. That platform divides messages into advertising, informational, notifications and others; the rules of the chosen type are shown under the list. Choose the type that matches the content: VK may restrict the community for breaking the rules.
- "Filters" — the conditions for picking recipients. Without filters, the mailing goes to all bot subscribers in the chosen channels. How filters work is on the Recipients and filters page.
- "Subscribe audience" — when to collect the list of recipients:
- "After the mailing is started" — right away, as soon as you click "Start". Those who come to the bot later will not get the mailing.
- "At the time of sending" — a minute before sending. The list also includes those who came between the launch and the sending. With a very large audience, sending starts with a slight delay.
Step 3. Scenario
This step opens the builder. A separate scenario is created for the mailing — build in it what people will receive.


- The mailing sends the first block of the scenario. If other blocks follow it along the "Continue" connection, they go out next.
- The scenario works like a regular one: you can add buttons, conditions and delays to it, and lead a person to the bot's other scenarios. Which blocks exist is in the block reference.
- Templates work in messages: addressing by name, variable values.
- To send a ready-made scenario of the bot, choose it in the list of scenarios on the top toolbar.
When the scenario is ready, click "Next" on the top toolbar.
Note
The "Subscribe to mailing list" and "Unsubscribe from mailing list" blocks do not work in a scenario sent by a mailing.
Step 4. Sending


Choose when to send:
- "On the specified date" — set the date and time. If the given time has already passed, the mailing goes out right after the launch.
- "By days of the week" — tick the days and set the sending time. The first sending is on the nearest ticked day whose time has not come yet.
- "Repeat until" — the last day of the mailing, inclusive. Without a date the mailing repeats until it is stopped.
"Time zone" — the zone in which the sending date and time are calculated. By default it is the bot's time zone.
Click "Create". The mailing is saved as a draft and its page opens. A draft sends nothing: for the mailing to go out, click "Start" on its page.
How a mailing by days of the week repeats
Every sending is a separate mailing in the list. When a sending finishes, the platform creates the next one — for the nearest ticked day, with the same settings and scenario. The recipients for it are collected anew, so it also includes new contacts that match the filters.
To end the repeats, stop the mailing that is waiting to be sent.
Changing a mailing
You can edit a mailing in the "Created" and "Stopped" states: in the list of mailings open the "⋯" menu → "Edit", or click "Edit" on the mailing's page. In an existing mailing, you switch between the form steps by clicking their names at the top.
Stop a started mailing first, then change it and start it again.