

Branches
A branch is the place where you receive clients: a salon, a clinic, a studio. Each branch has its own services, specialists, schedule and appointment journal. If you have one location, one branch is enough.
Create a branch
- Open the project and go to the "Appointments" section.
- Click "Create".
- In the "New branch" form, enter the "Name" — for example, "Downtown salon".
- Click "Create".
Above the form is the "Set up booking with AI" block: you can describe your business in words, and the AI will create a branch and add the services, specialists and schedule. See the Setting up booking in the AI chat page for details.
The settings of the new branch open. The platform takes the time zone from your browser and sets the currency itself — check them and correct them if needed.
General settings
In the branch menu, open "Settings" → "General".
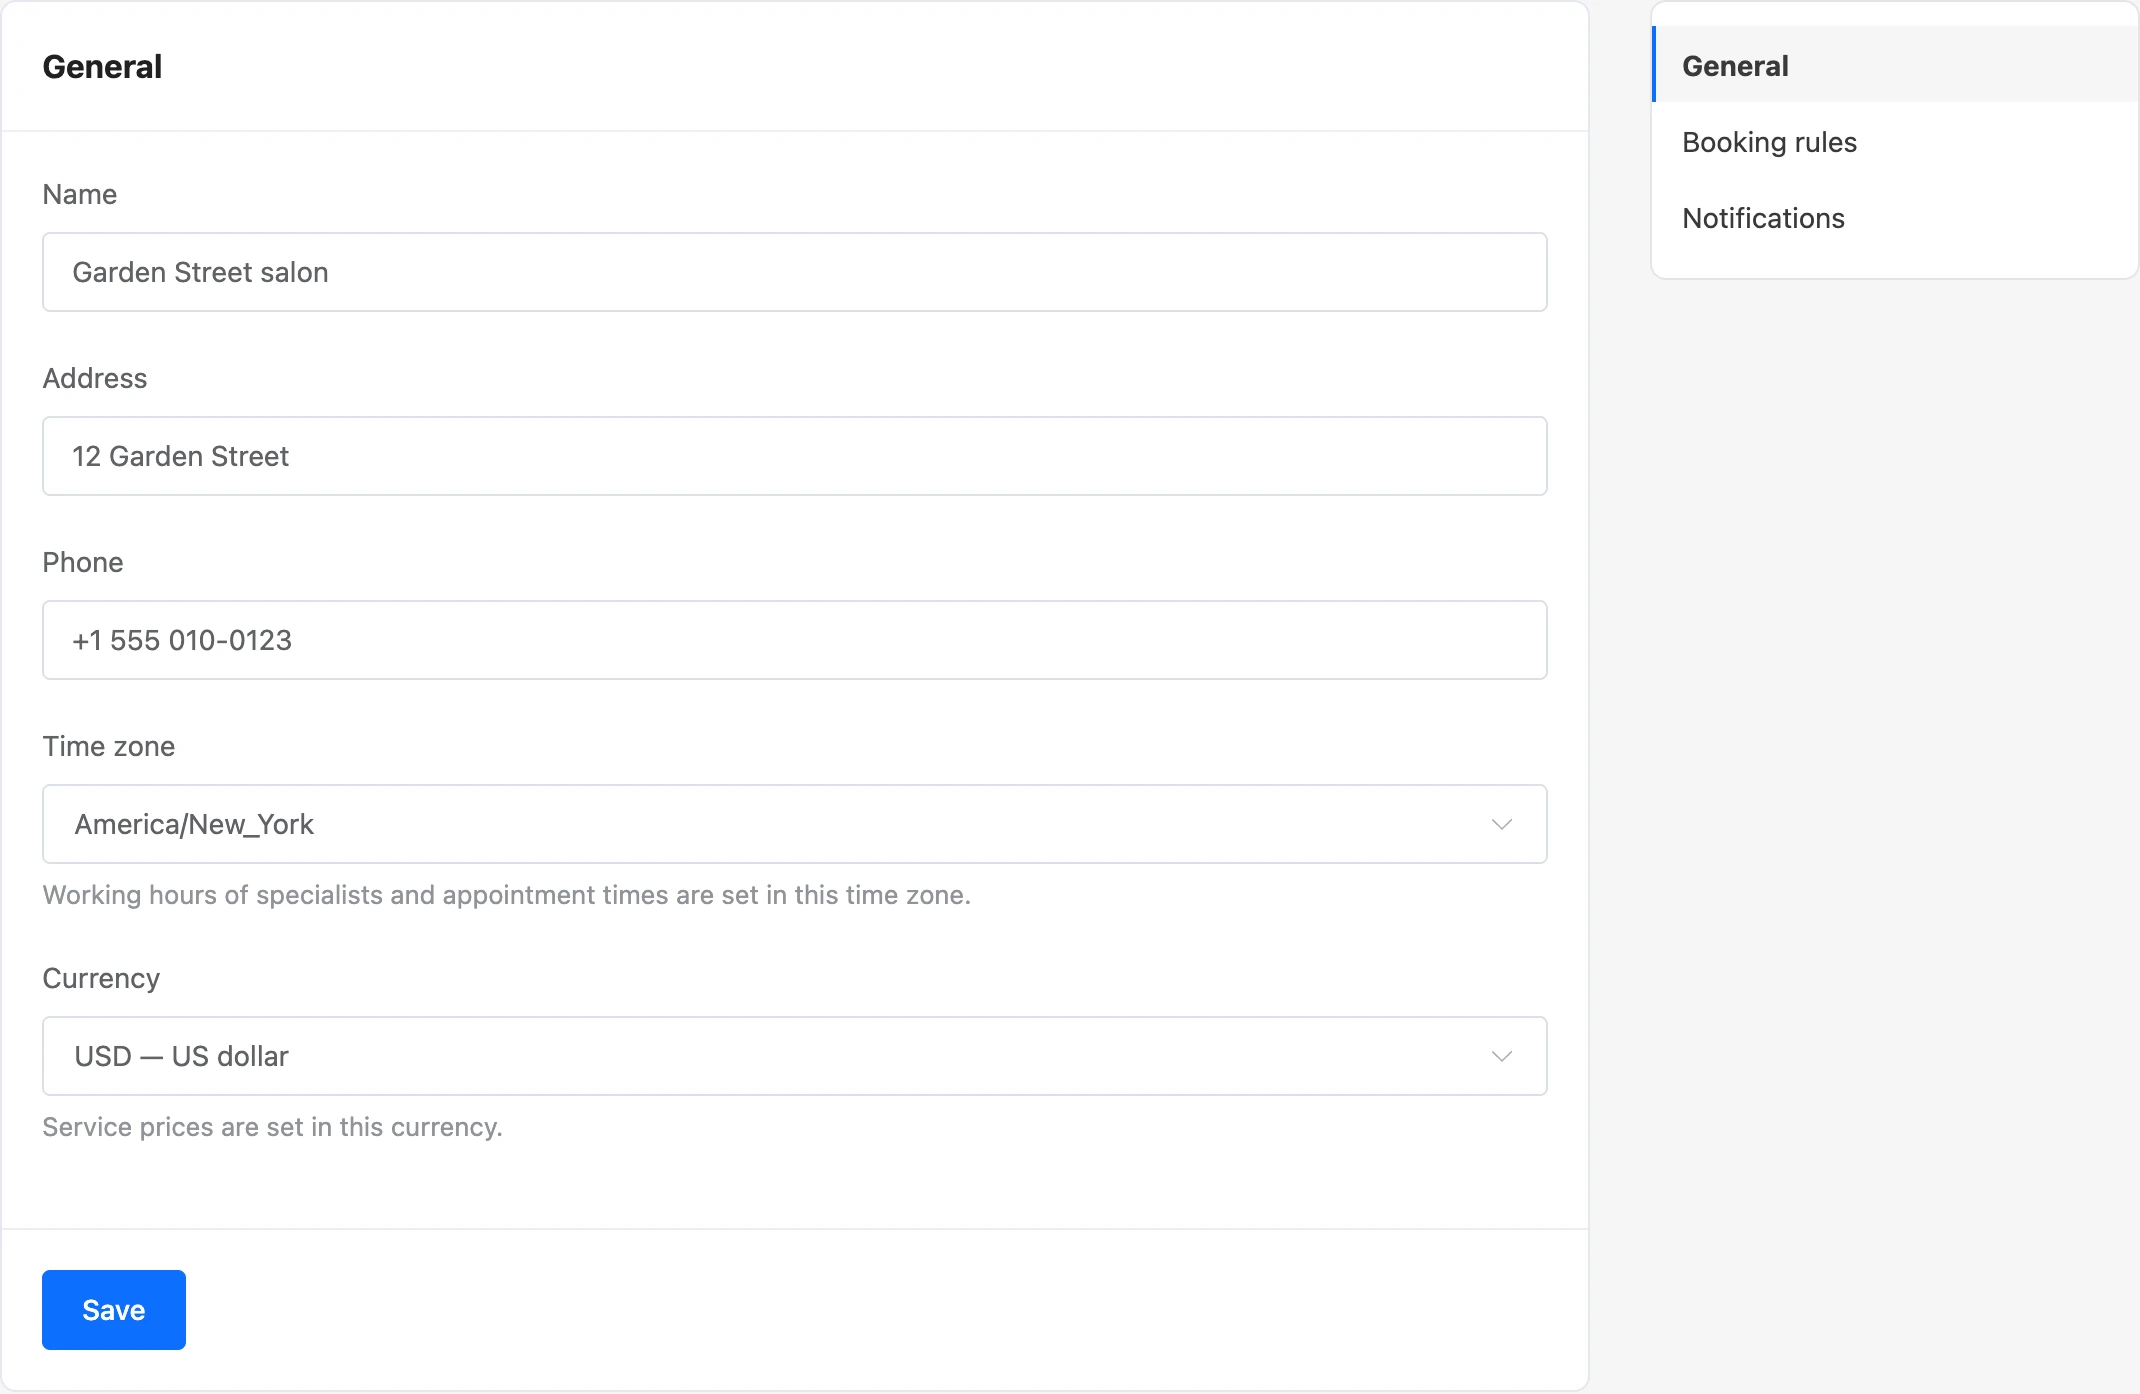
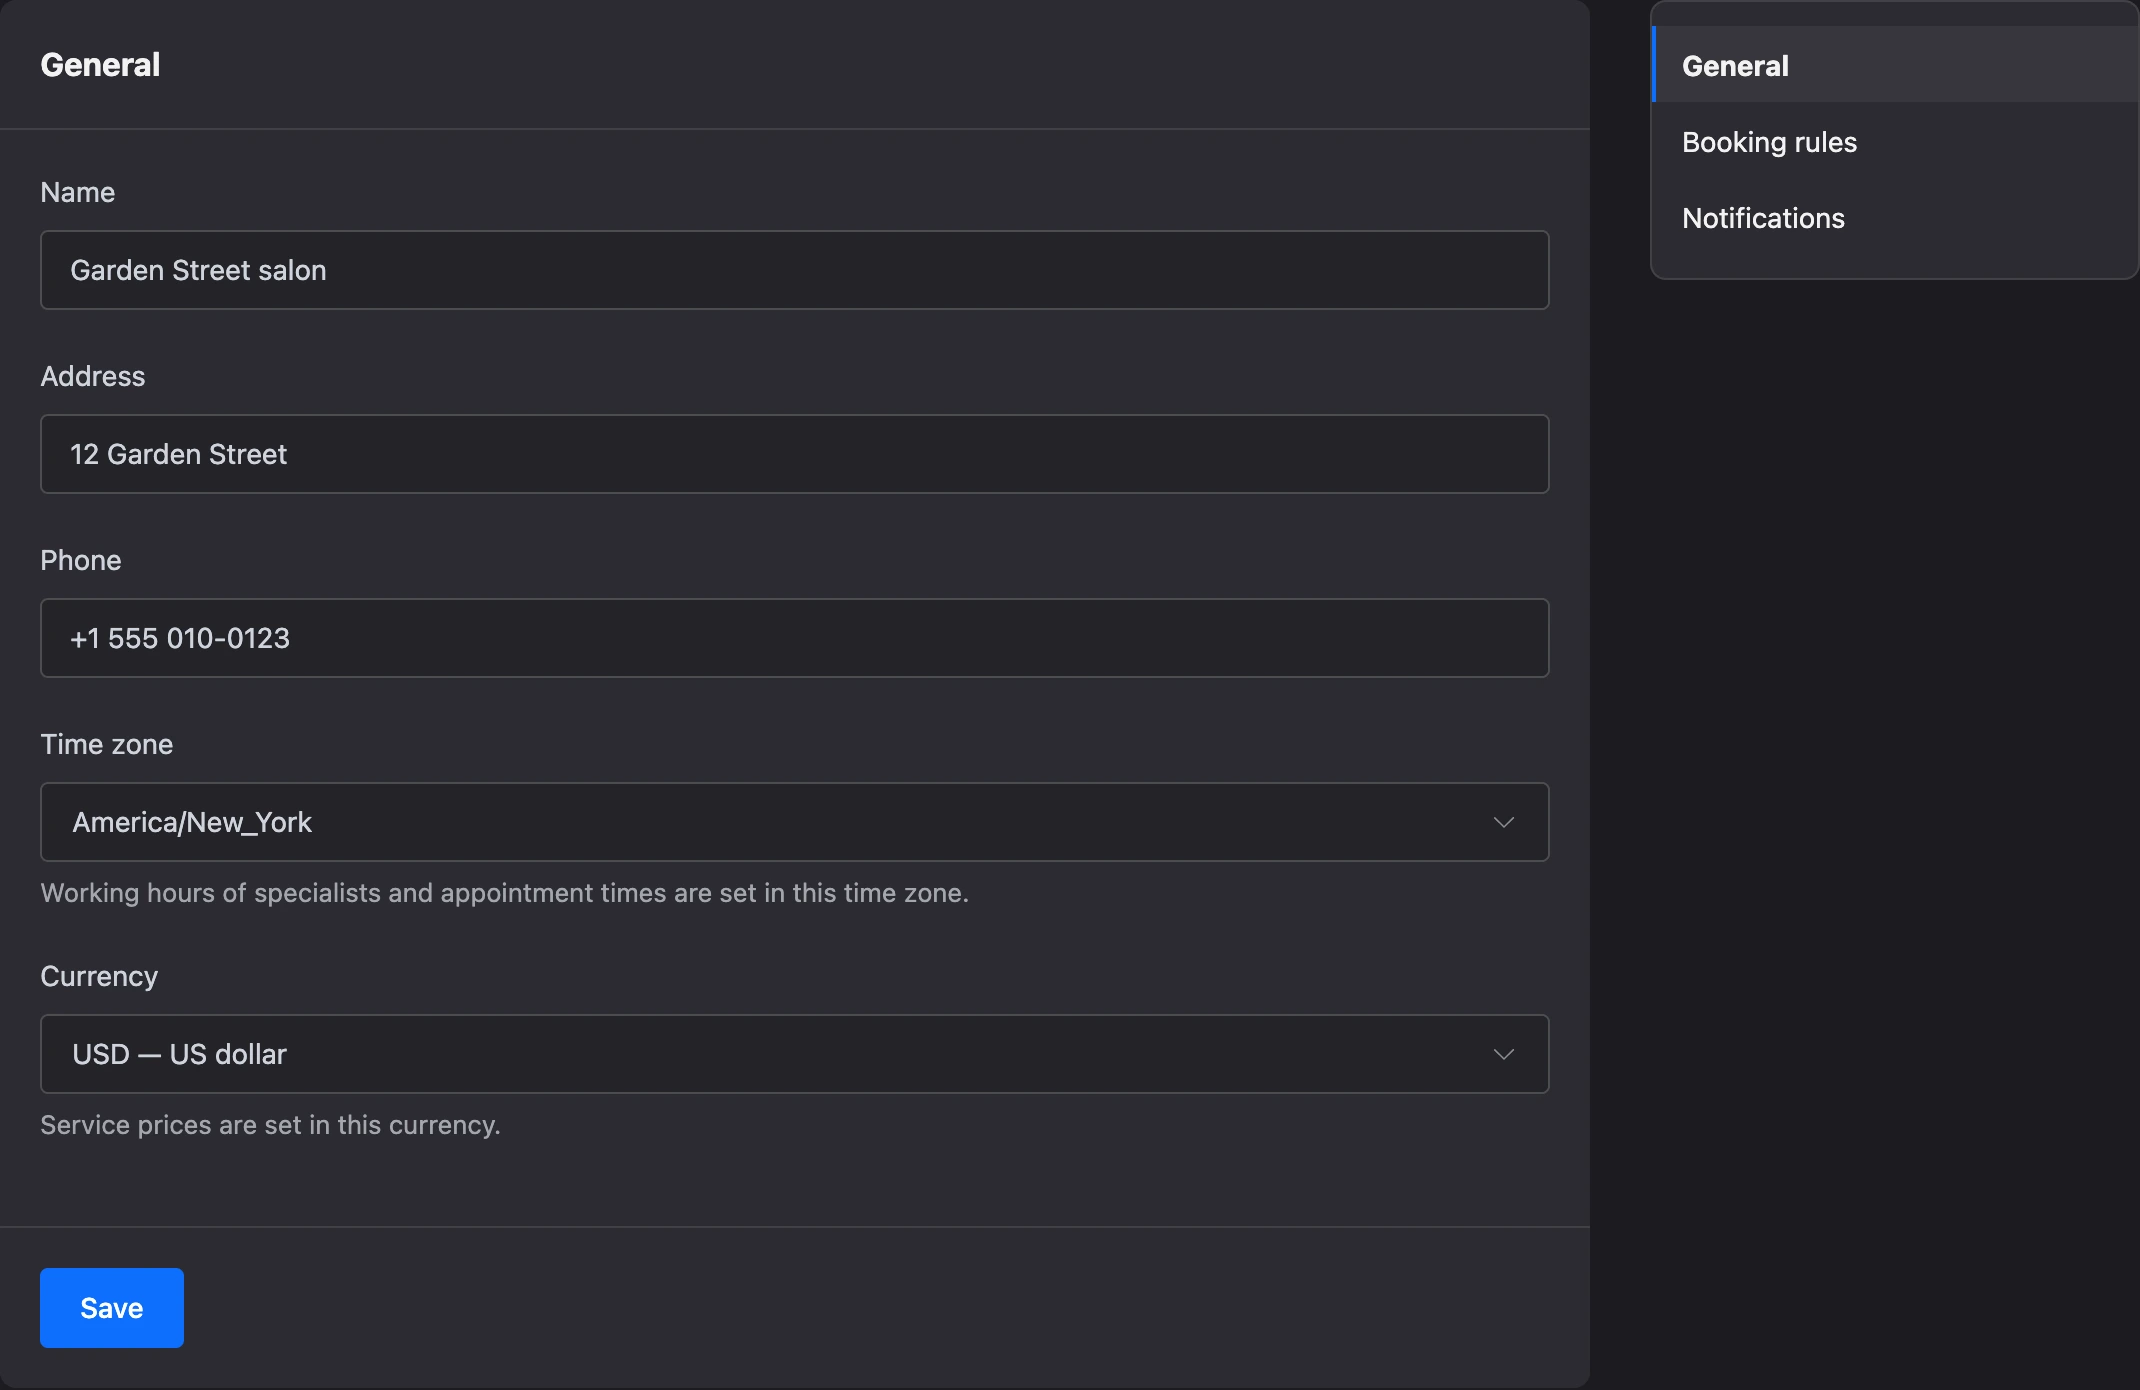
| Field | What it is for |
|---|---|
| "Name" | Shown in the list of branches, in messages to clients and in the mini app |
| "Address" | Goes into messages to the client as the "Where: …" line, into the appointment card and into the list of branches in the mini app |
| "Phone" | Shown to the client in the mini app. The client is asked to call this number if the cancellation deadline has passed |
| "Time zone" | The specialists' working hours and appointment times are set in this time zone |
| "Currency" | Service prices are set in this currency |
Click "Save".
Important
Check the time zone before you set the schedule. The schedule, free time, reminders and the evening summary for specialists are calculated in the branch's time zone, not in yours.
The other settings tabs are described separately: "Booking rules" and "Notifications".
List of branches
In the project's "Appointments" section, branches are shown as a list or as cards — the view is switched with the "List" and "Cards" buttons and is remembered in the browser. A card shows how many specialists and services the branch has.
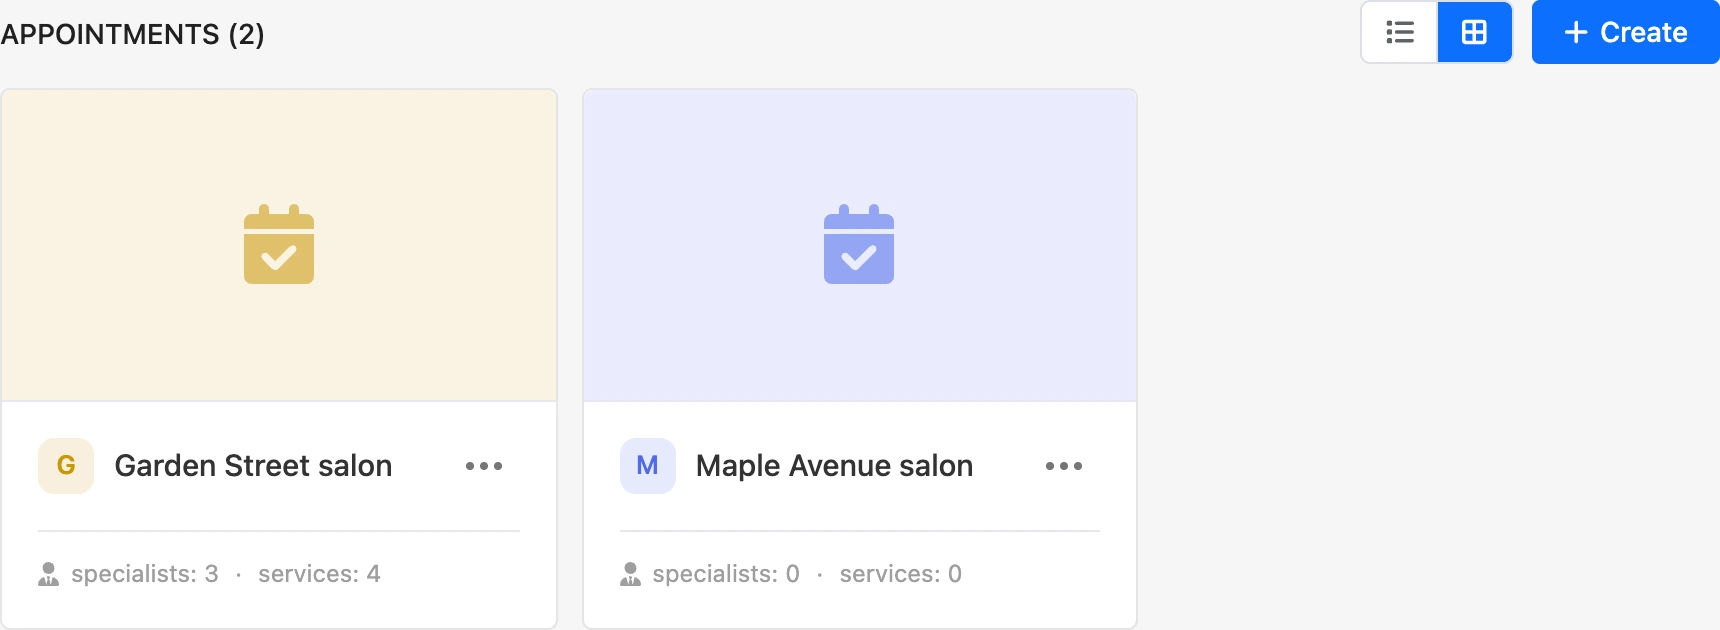
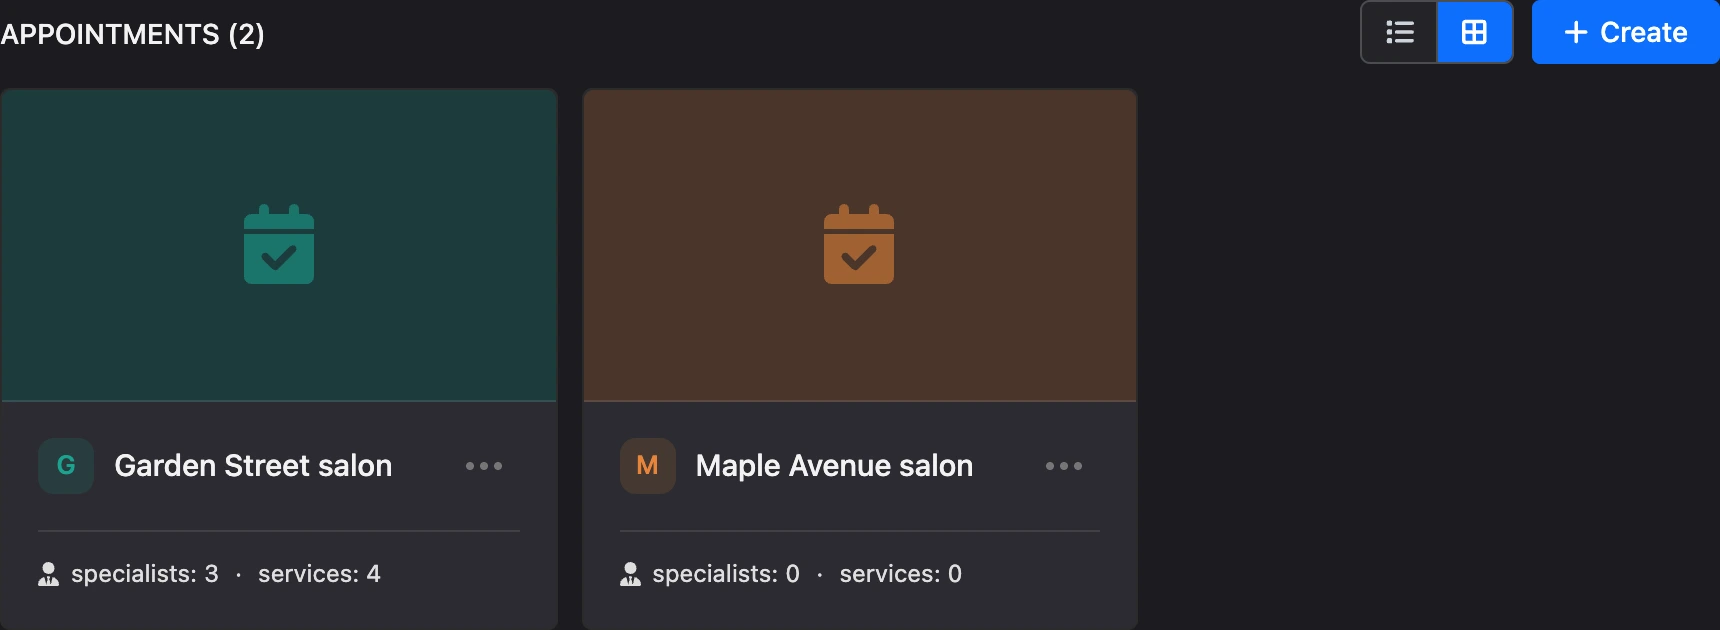
To change the order, drag a branch by the icon on the left. The order is shared by all members of the project.
The "⋯" menu of a branch has:
- "Rename" — change the name.
- "Icon" — upload a picture for the branch.
- "Duplicate" — create the same branch.
- "Move to ..." — move the branch to another project of yours.
- "Delete" — delete the branch.
Which items are visible depends on the team member's permissions.
Inside a branch, there is a switcher at the top of the side menu: click the name to go to another branch of the project ("Recent", "All branches"), find a branch by name or choose "Create branch".
Branch icon
The icon is uploaded from the "⋯" menu → "Icon" or from the branch switcher — the "Change icon" item. JPG, PNG, GIF, WebP and AVIF up to 5 MB are accepted; a square picture works best.
Note
Clients see the icon: it is shown in the mini app in the list of branches.
Branch copy
"Duplicate" creates a branch in the same project named "… (copy)". This is handy when you open a second location with the same price list.
The copy gets:
- the settings, booking rules and notification settings;
- categories and services;
- specialists with their services, own prices and durations;
- schedule templates and manually changed days — starting from today.
The copy does not get:
- appointments — appointment numbering in the new branch starts over;
- ratings and specialists' rating;
- specialists' calendar links and specialists' links to the mini app.
A copy can be made by the project owner or by a team member who has both permissions: "Create branches" and "Configure branches".
Moving to another project
Only the project owner can move a branch, and only between their own projects.
- In the "⋯" menu, choose "Move to ...".
- In the "Move the branch to another project" window, choose a project.
- Click "Move".
What changes after the move:
- Clients are shared by the whole project, so the branch's appointments are linked to the clients of the new project. A client is looked up by bot contact, phone and email; if there is no such client, a new one is created with the same details.
- If a specialist was linked to a team member who is not in the team of the new project, the link is removed. The specialist stays.
Delete a branch
In the "⋯" menu, choose "Delete" and confirm.
Warning
The branch is deleted together with its services, specialists and schedule.
Several branches and the client
If there are several branches, the client can choose theirs in the mini app — there is the "Booking branches" element for that. How to set it up is on the Booking through a mini app page.
If something does not work
- "A project cannot have more than 100 branches". The project limit is reached. Delete a branch you do not need or create a new one in another project.
- "You can create no more than 20 branches per day." Copies count too. Wait until the next day.
- "The icon must be an image in JPG, PNG, GIF, WebP or AVIF format." Save the picture in one of these formats and upload it again.
- There is no "Move to ..." item in the list. Only the project owner can move branches.